AI-Powered Fully Automated Blogging in UBot Studio

Look, I have to be honest. This stuff is just getting crazy. With this new AI tech that’s out there, one person can do the work of 10. UBot Studio harnesses all that power, and today I’m gonna show you an example. We’re going to build a bot that writes 10 high quality blogs, and posts them to our blog.

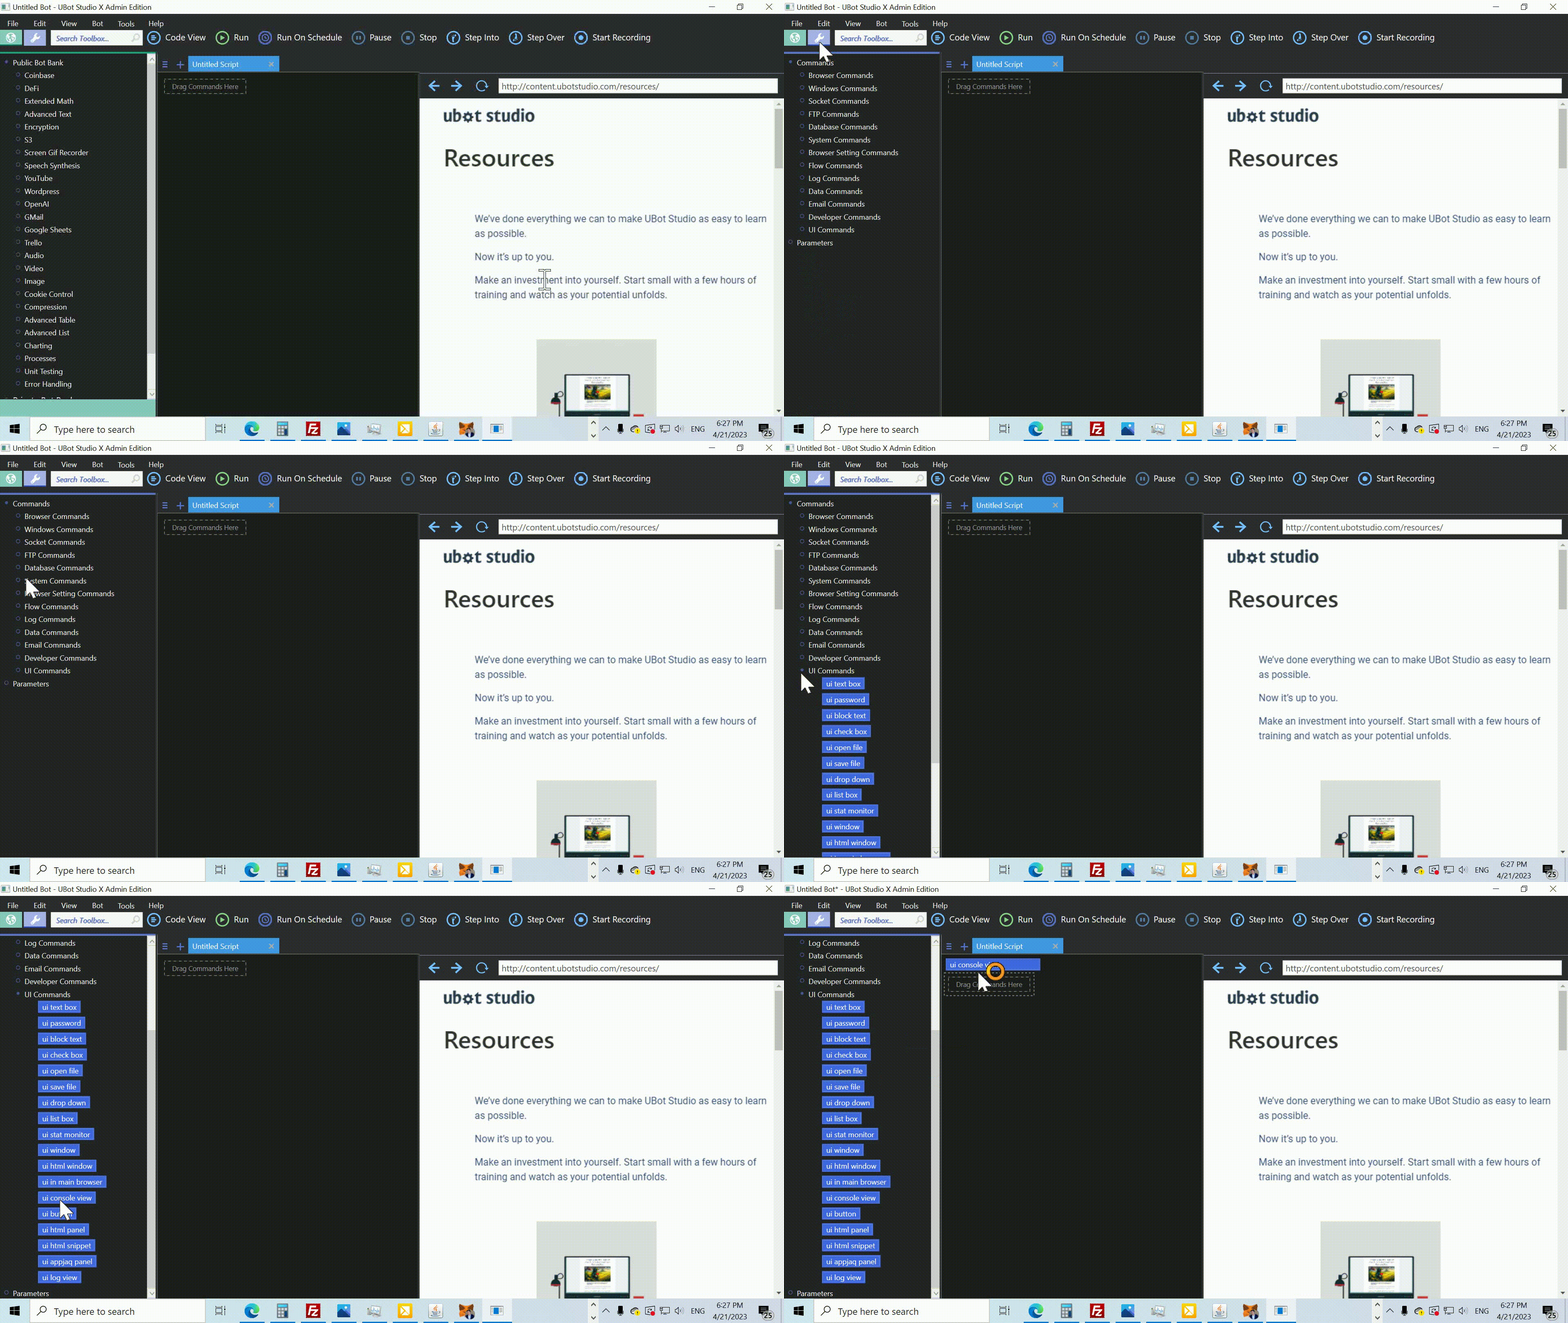
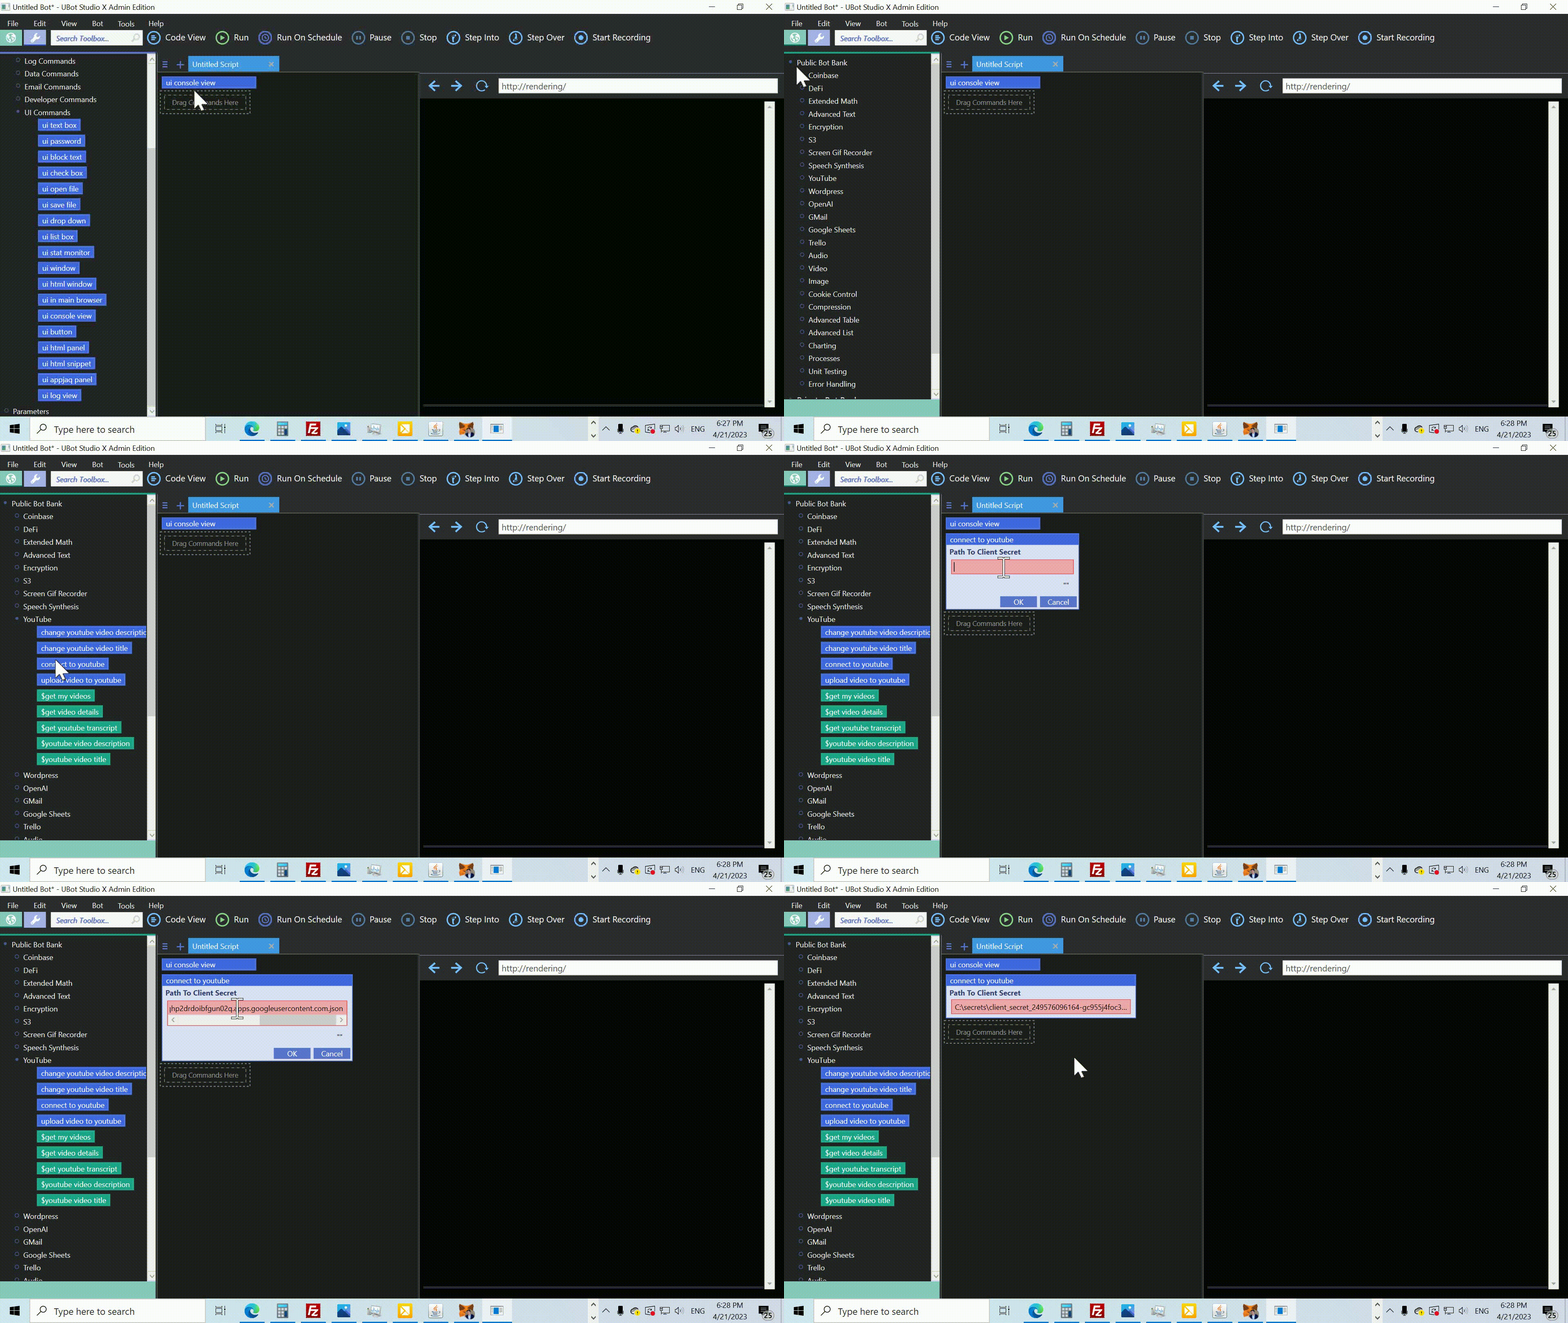
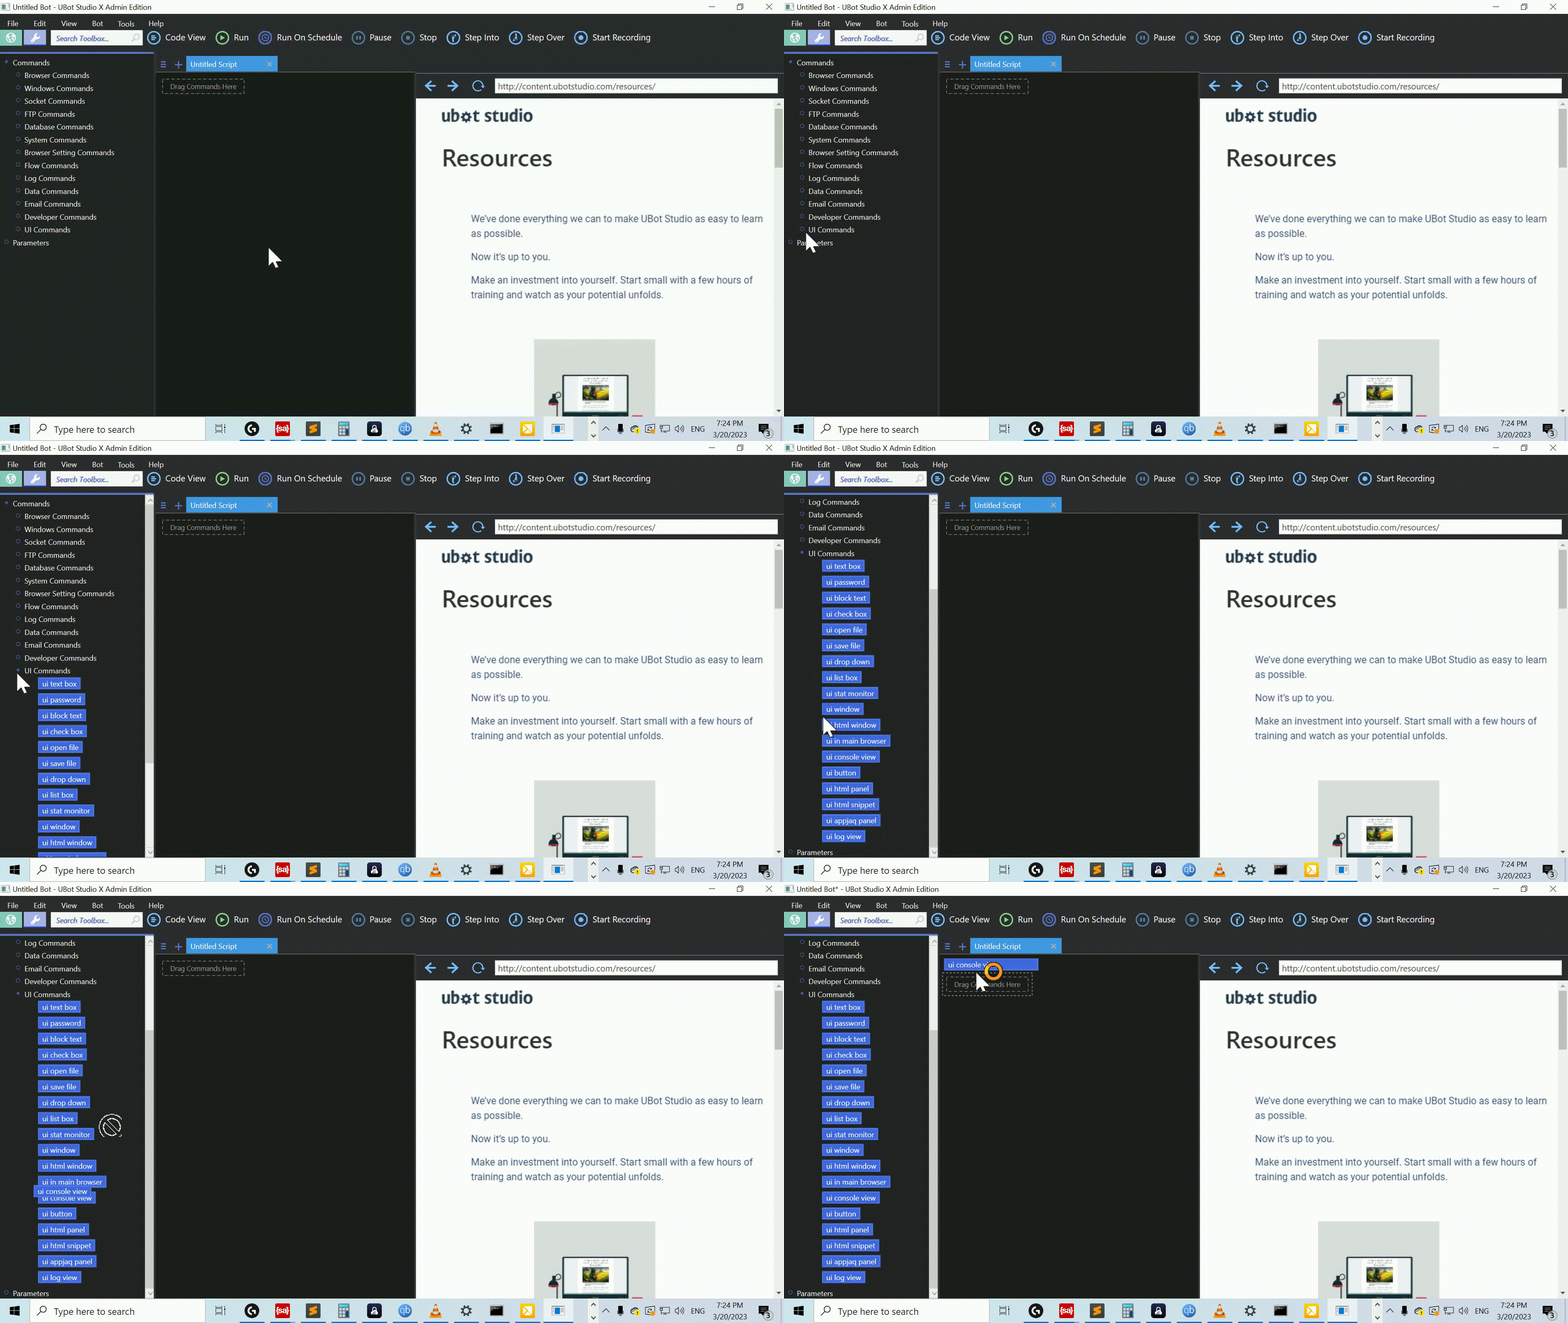
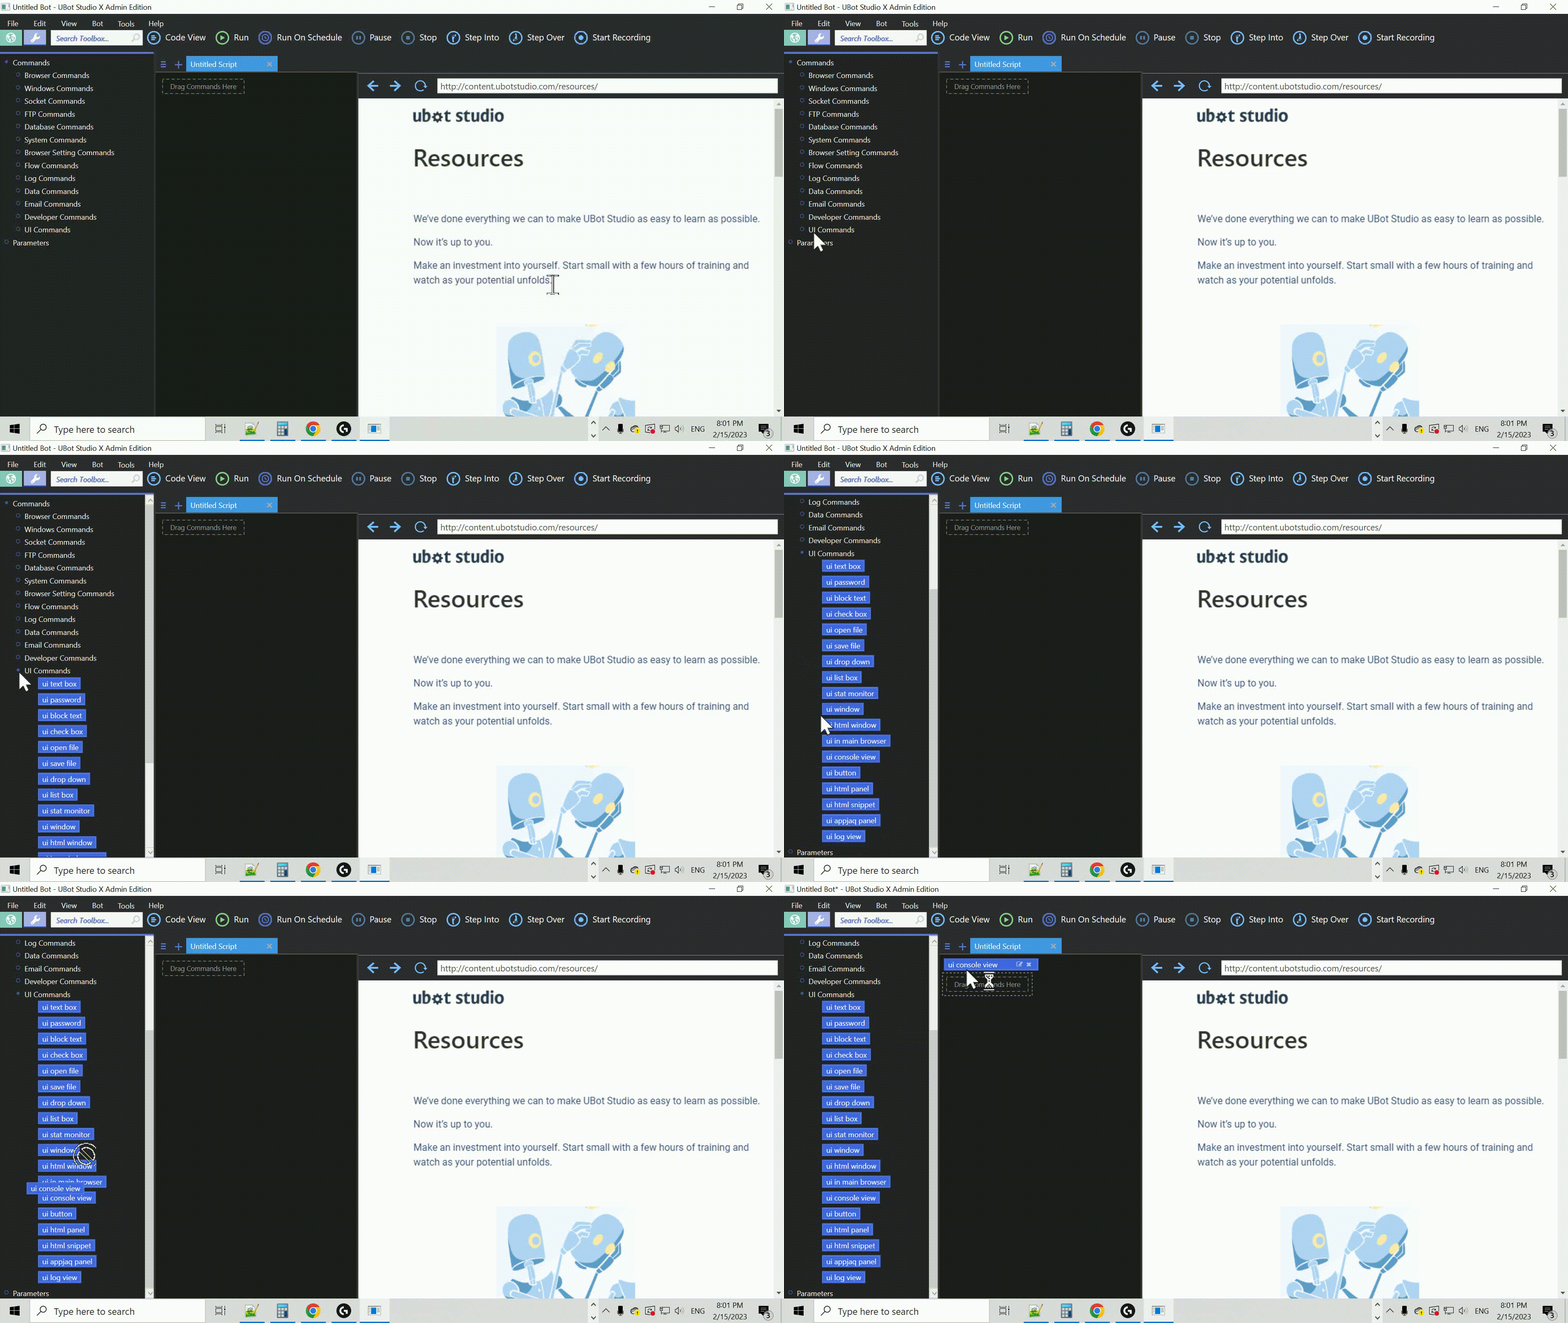
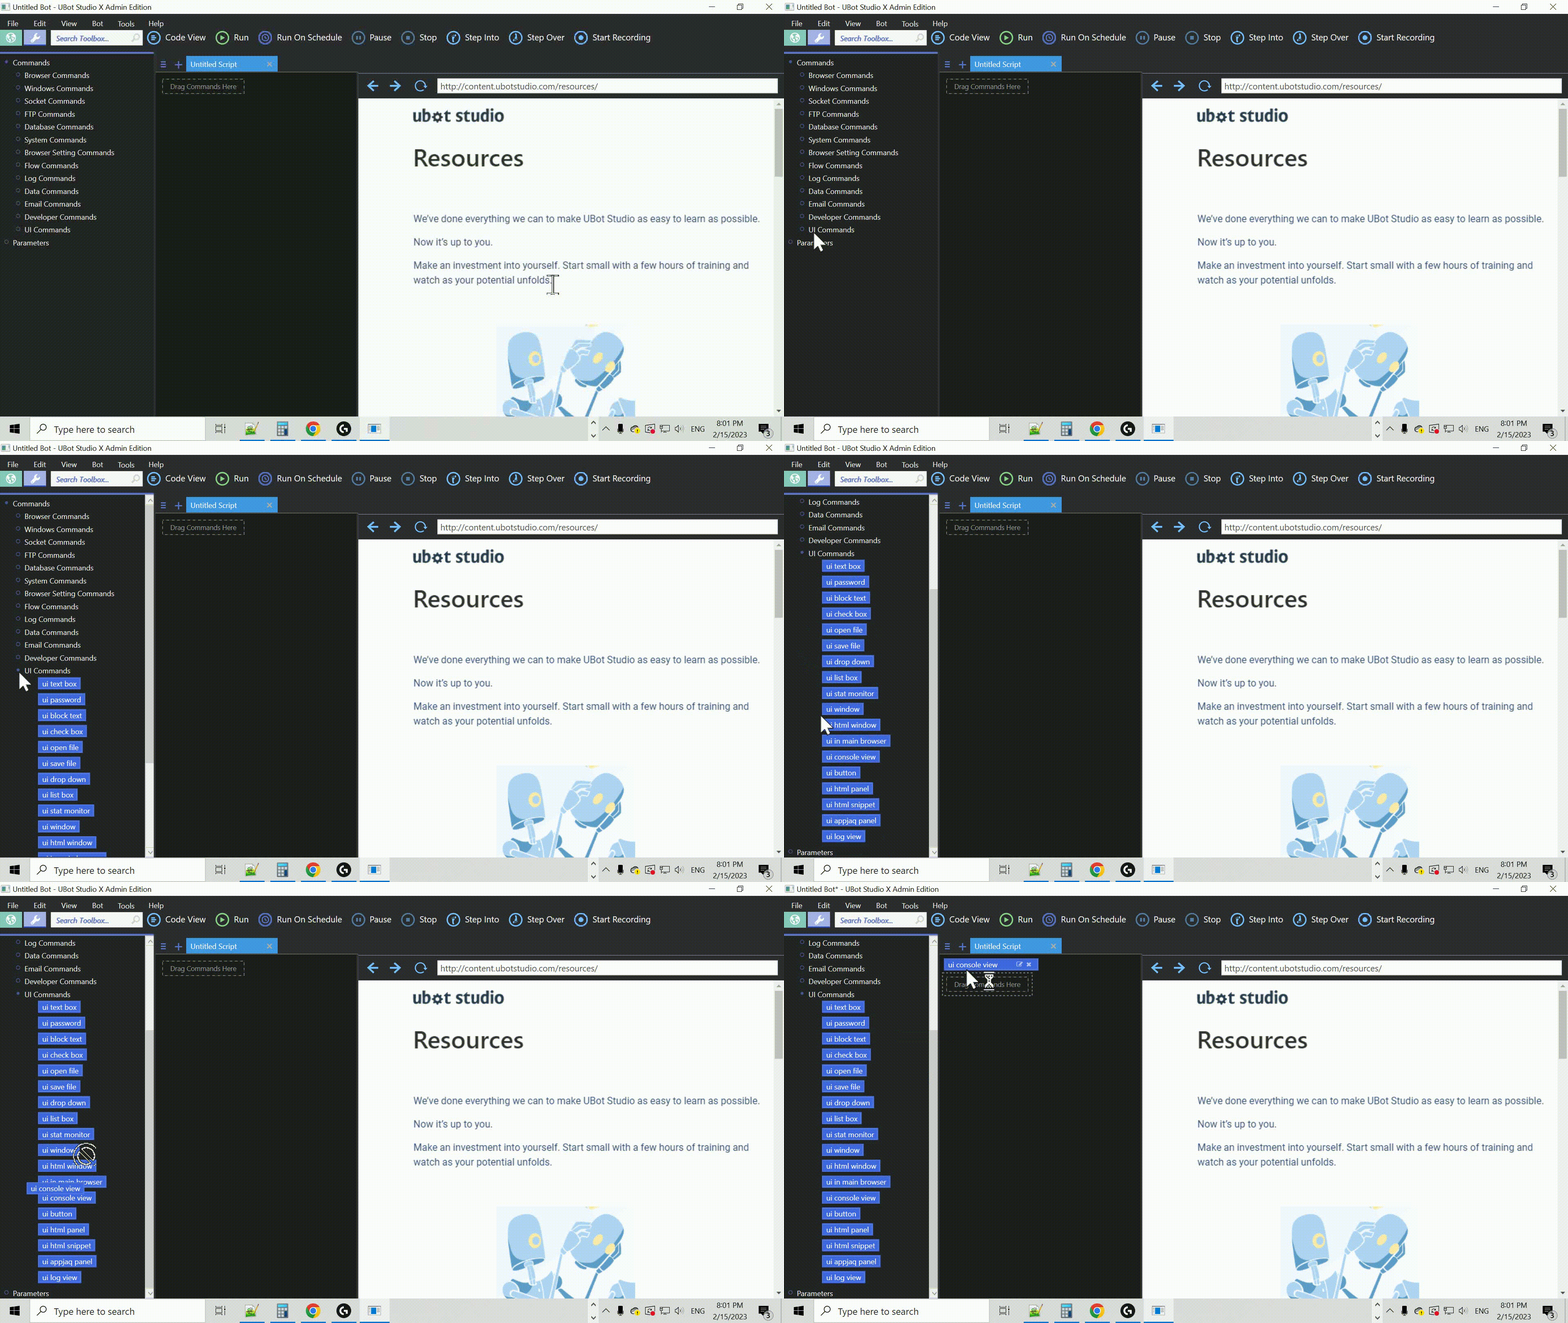
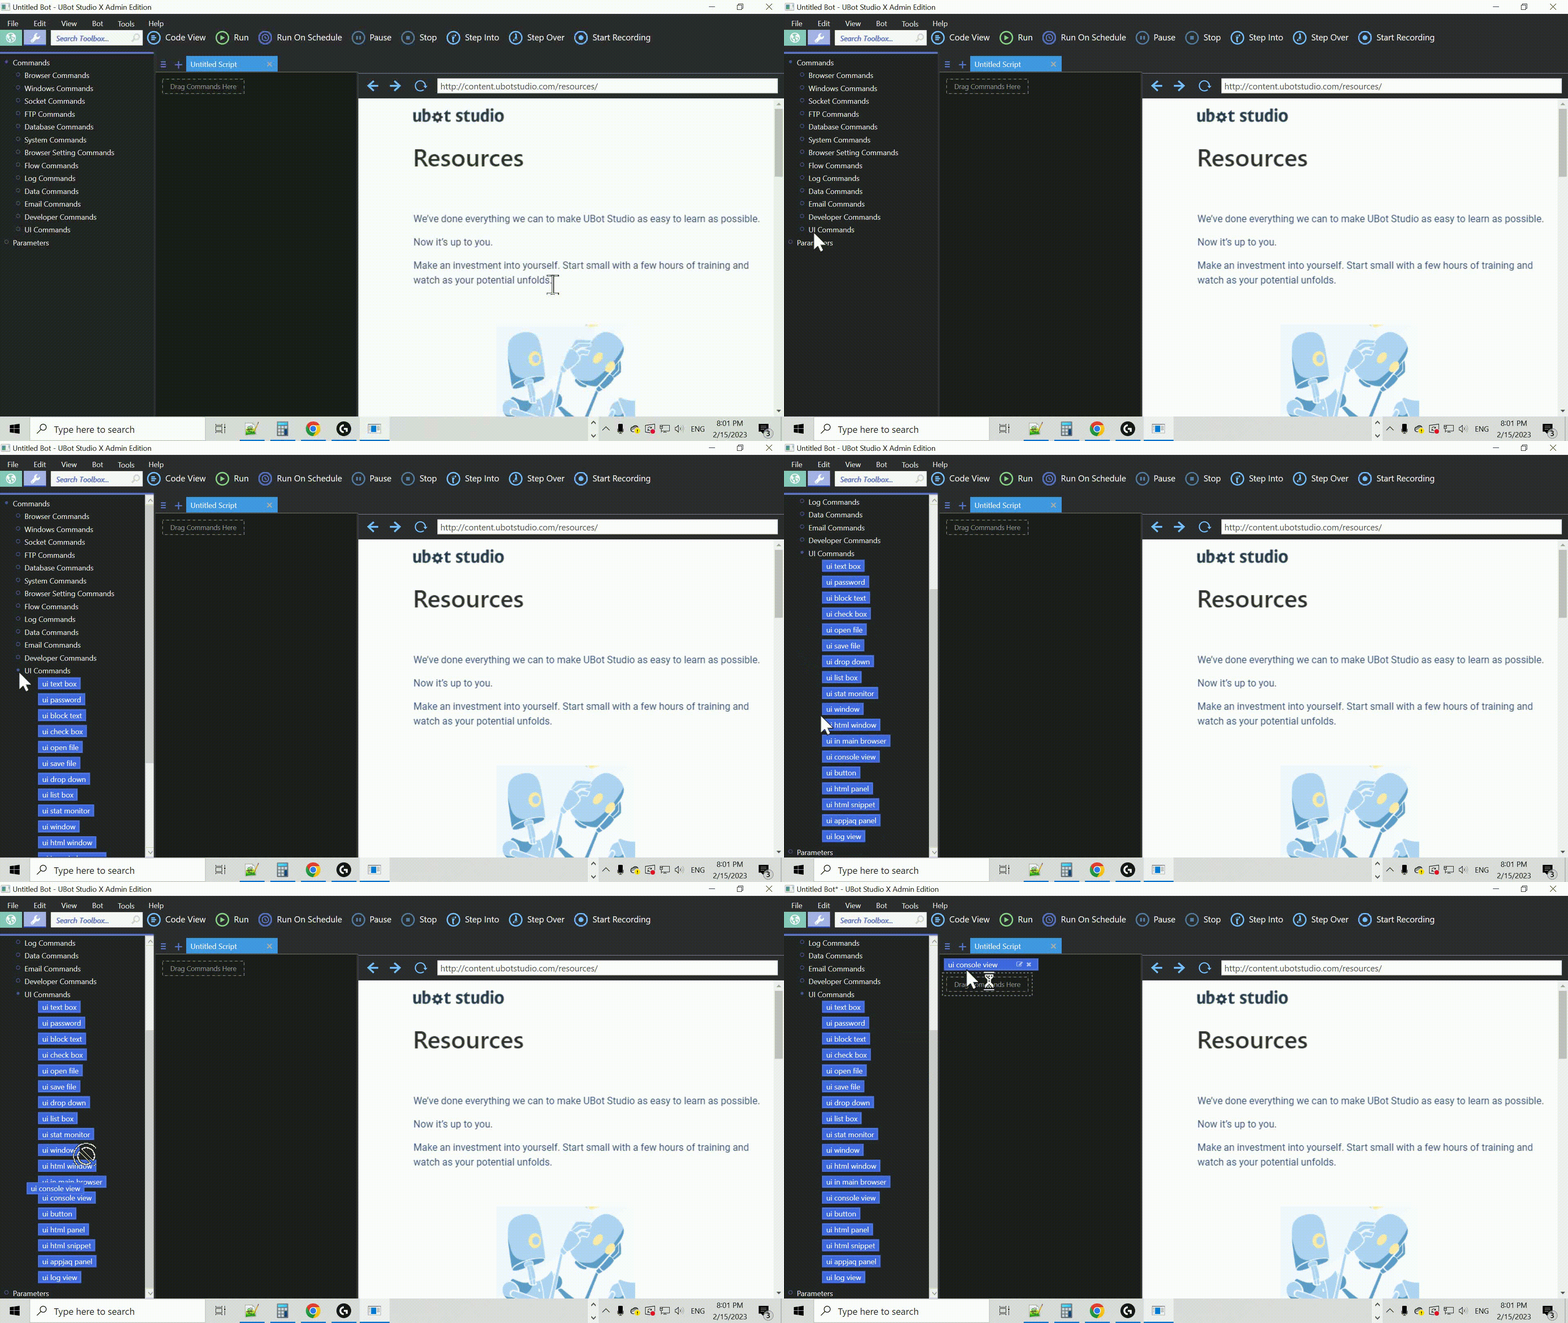
We’ll start out by dragging the ui console view command. This command will change the UBot browser into a console interface, where we can see the output of our bot’s actions.

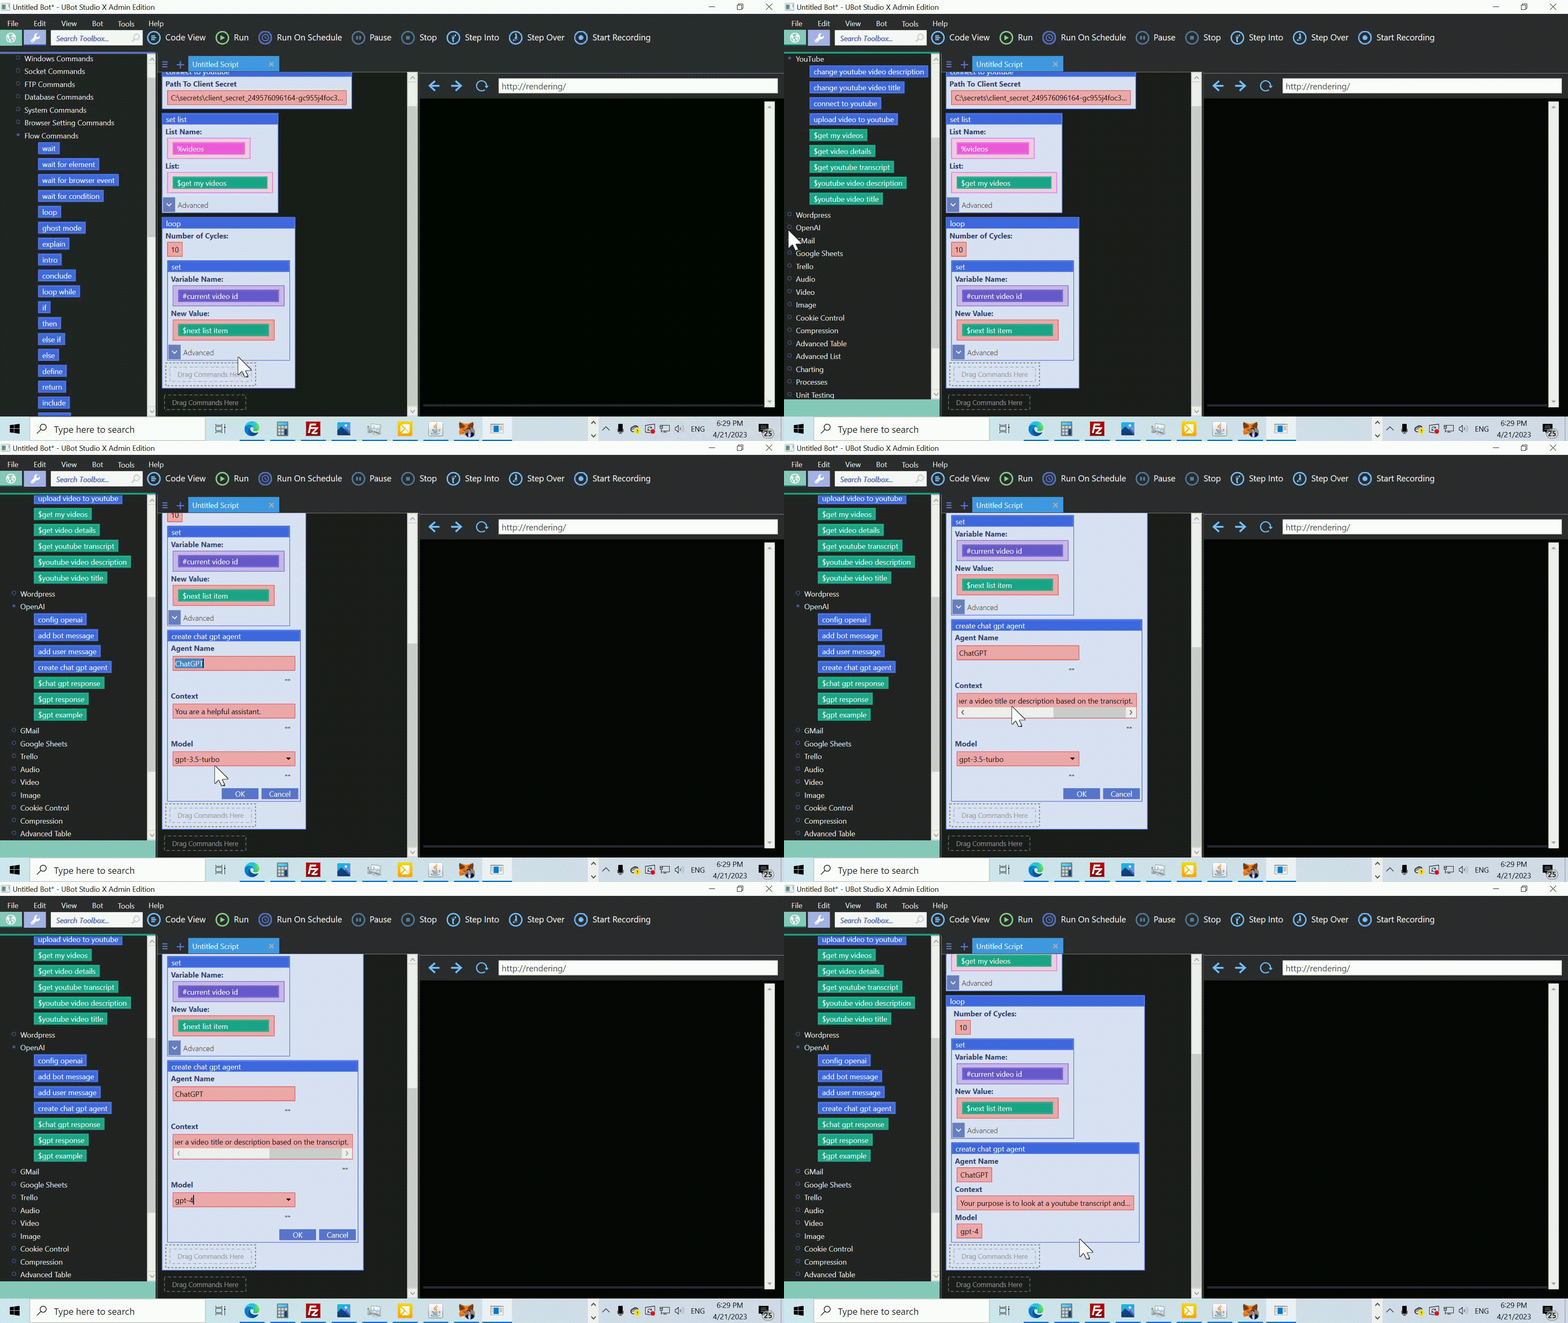
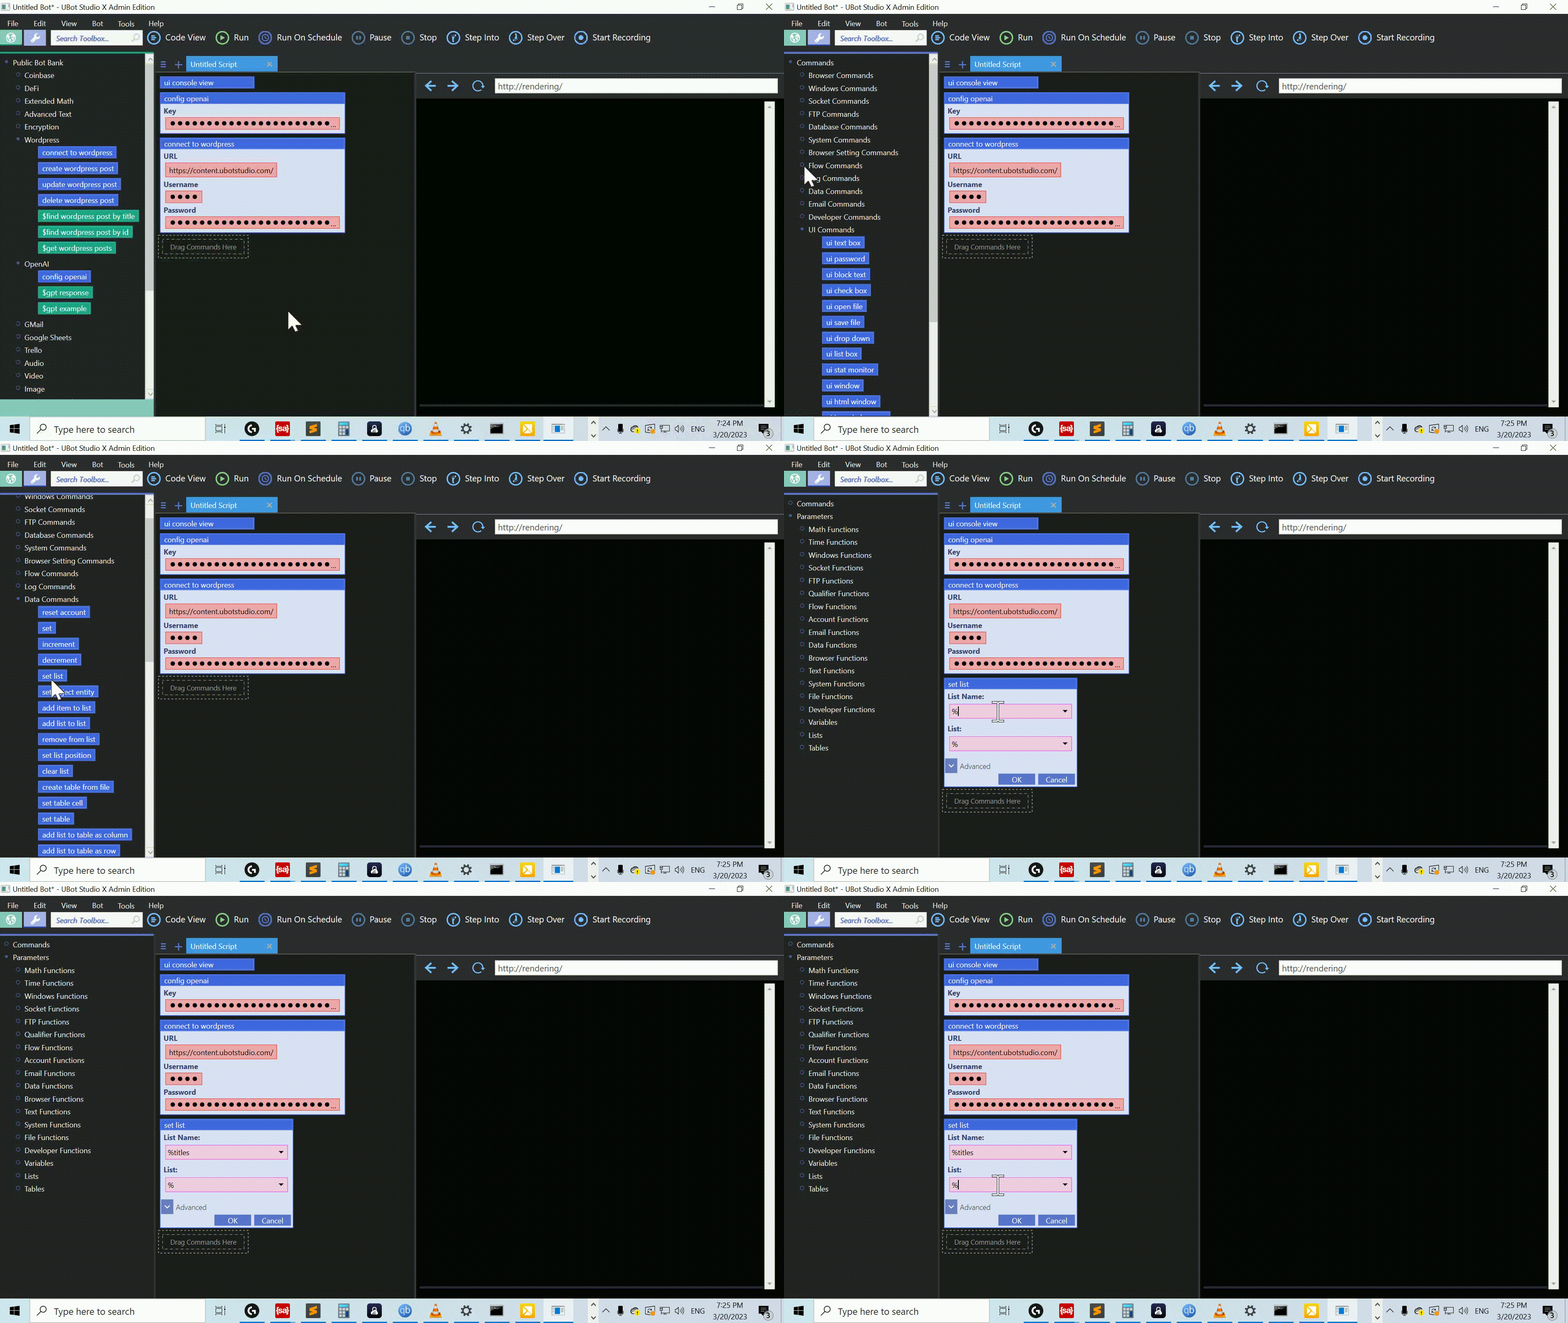
Next, we’ll drag the config openai command. This will allow us to interact with the advanced artificial intelligence systems from openai. We’ll need to provide our Private Key, which we can get from OpenAI.

Now, we’ll use the connect to wordpress command to connect to our WordPress site. We’ll need to provide our WordPress site URL, username, and Application password.

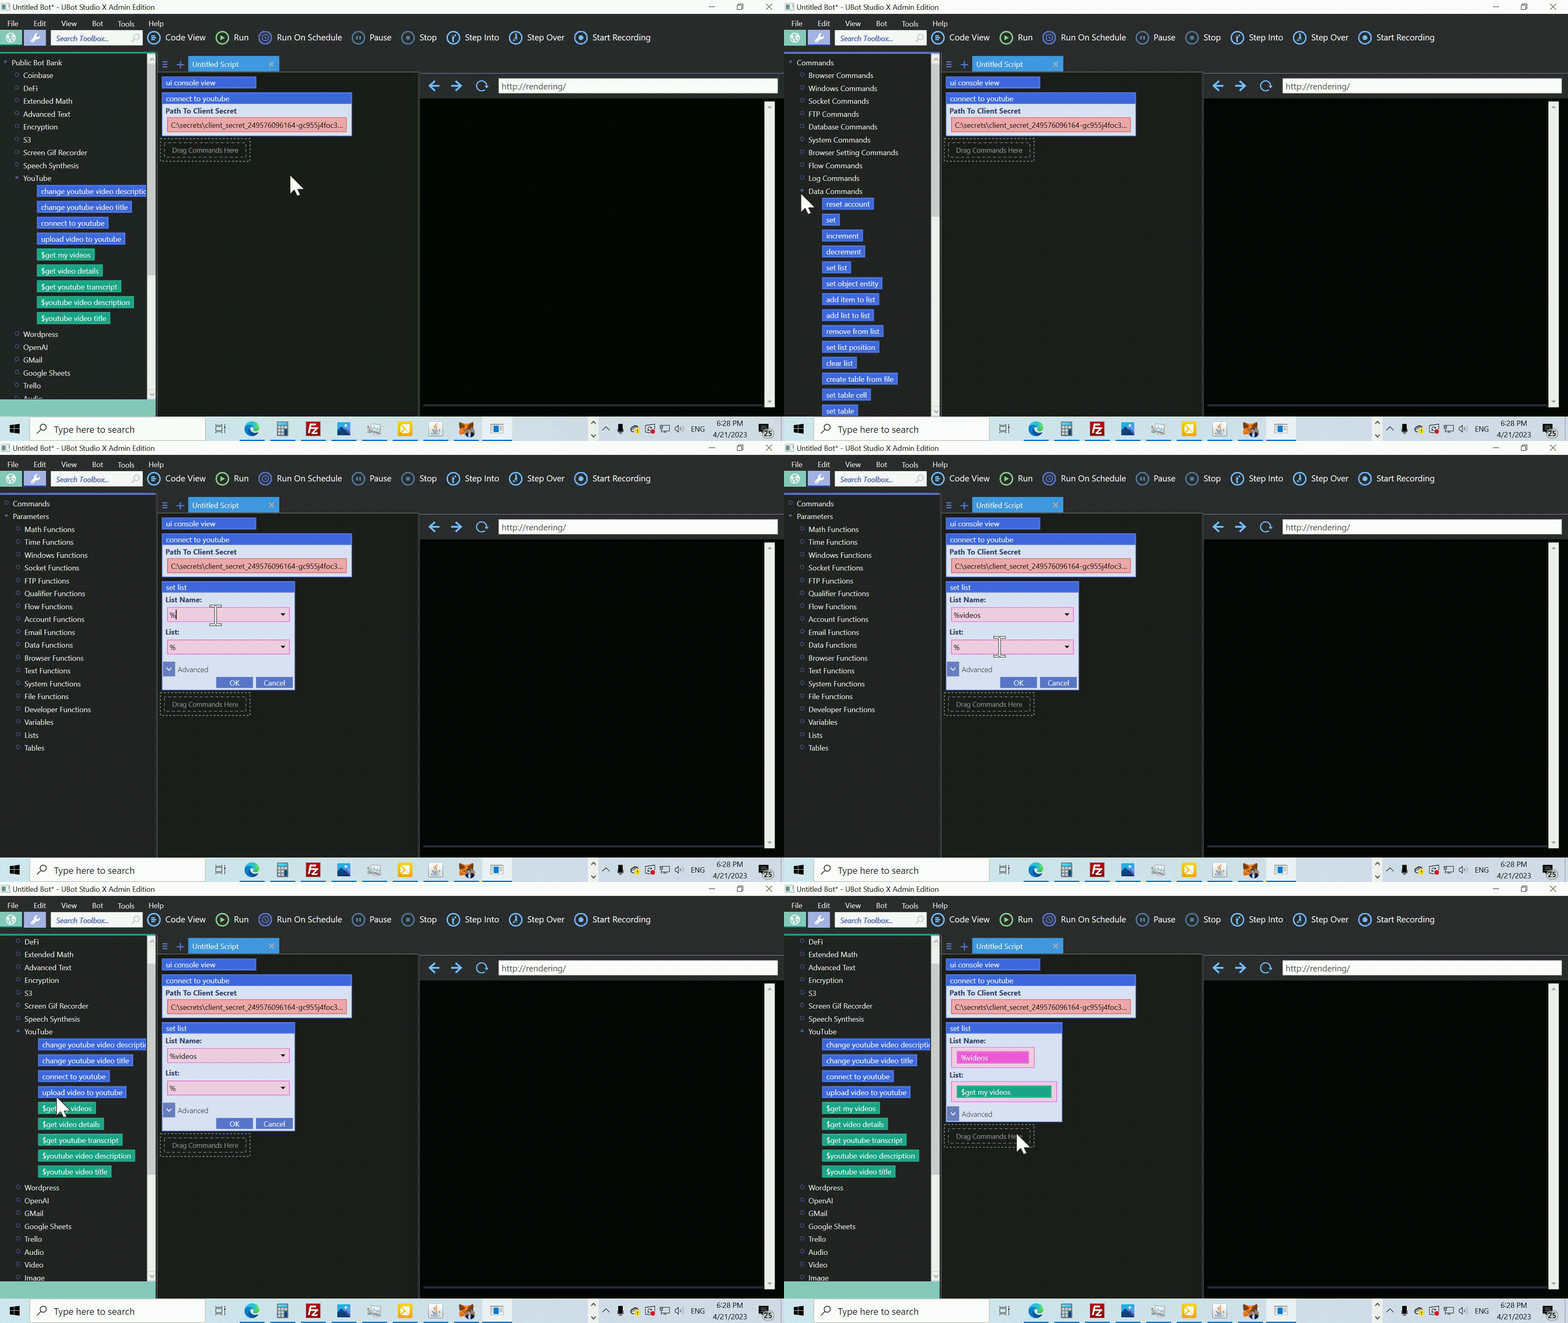
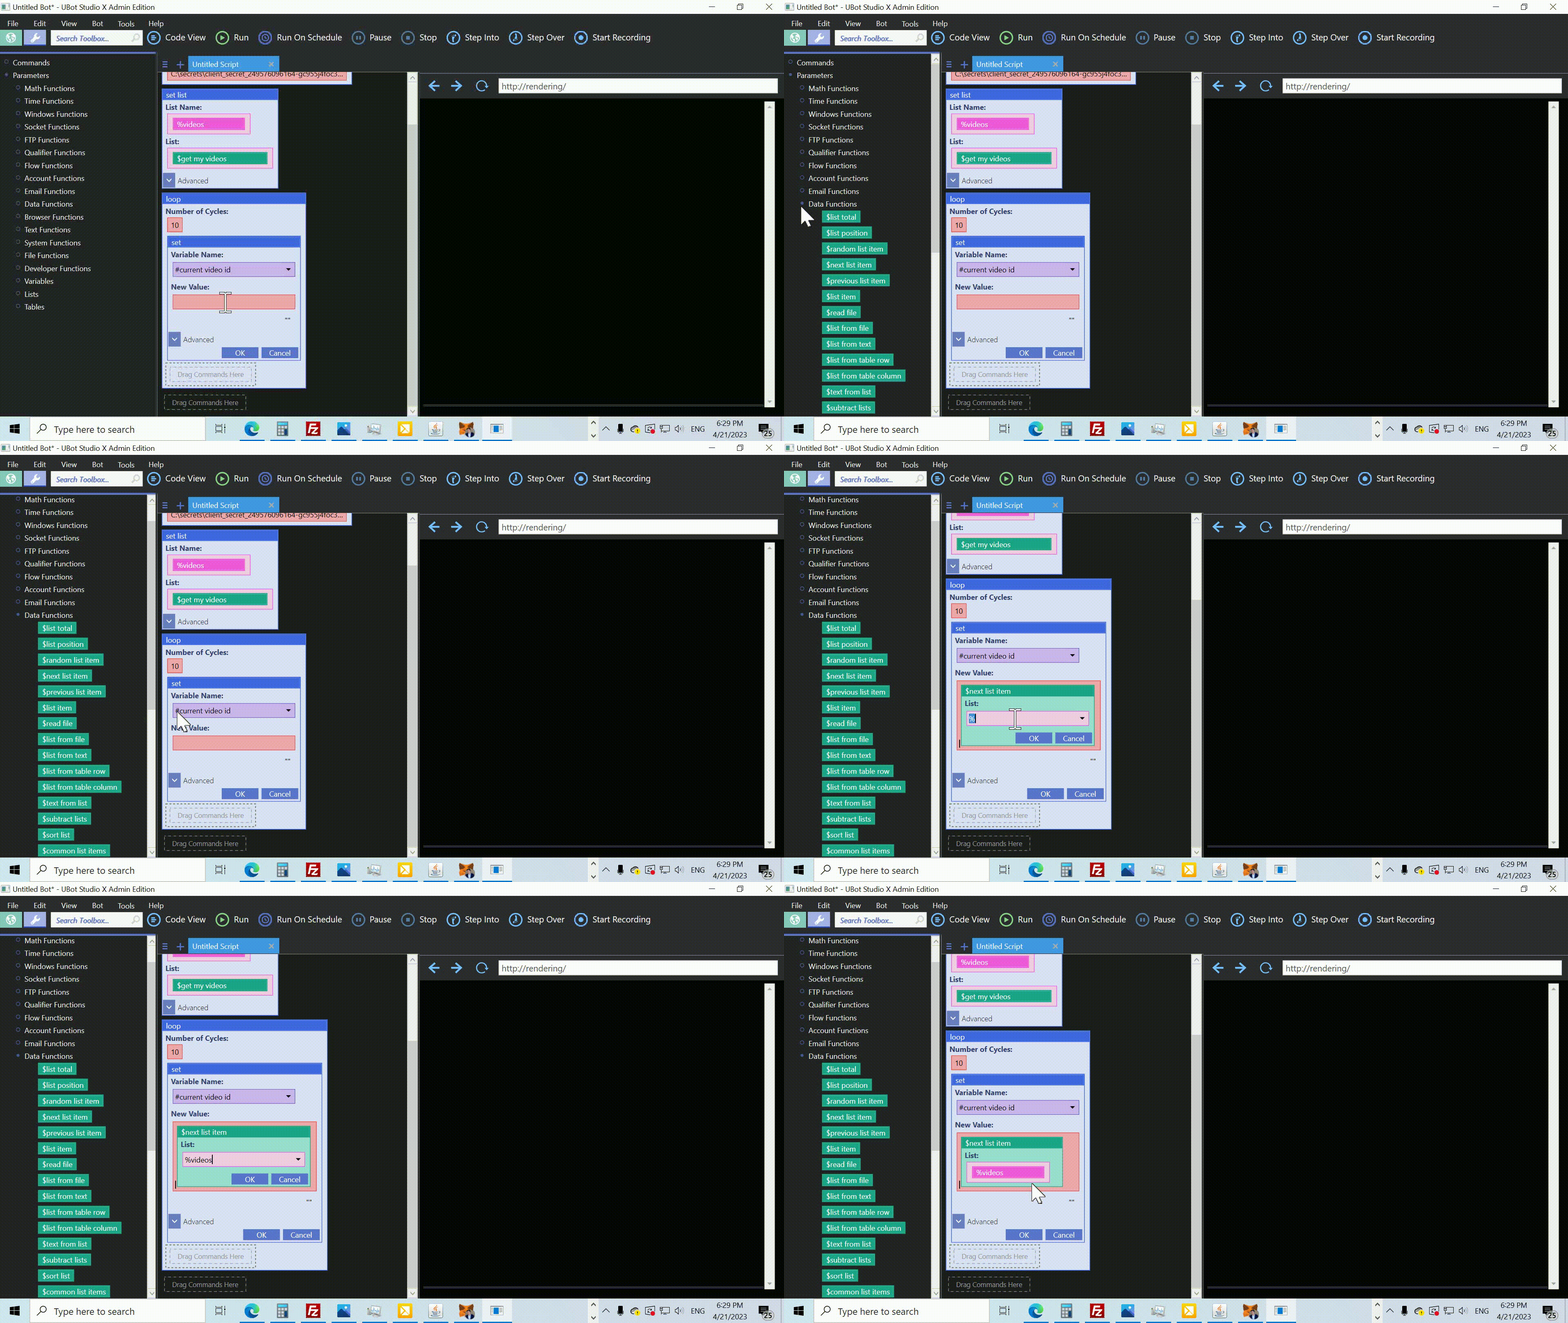
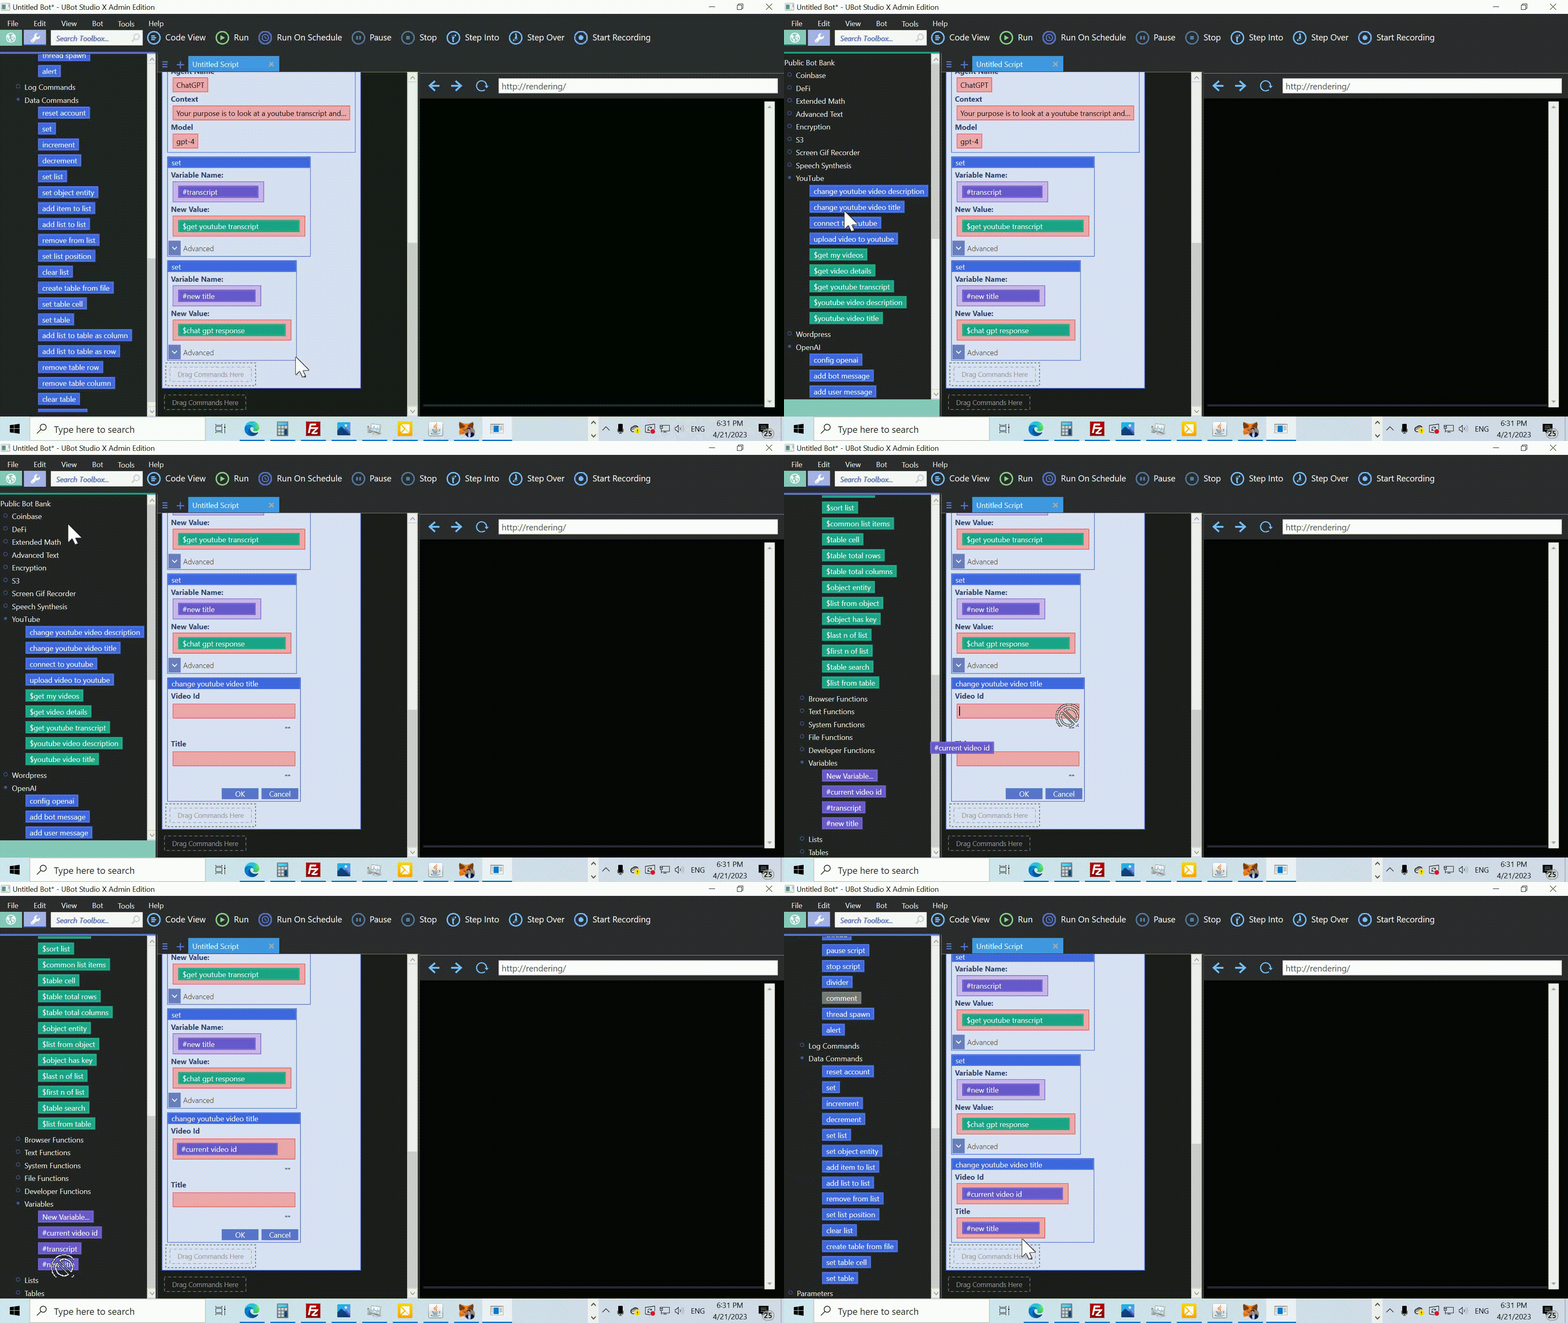
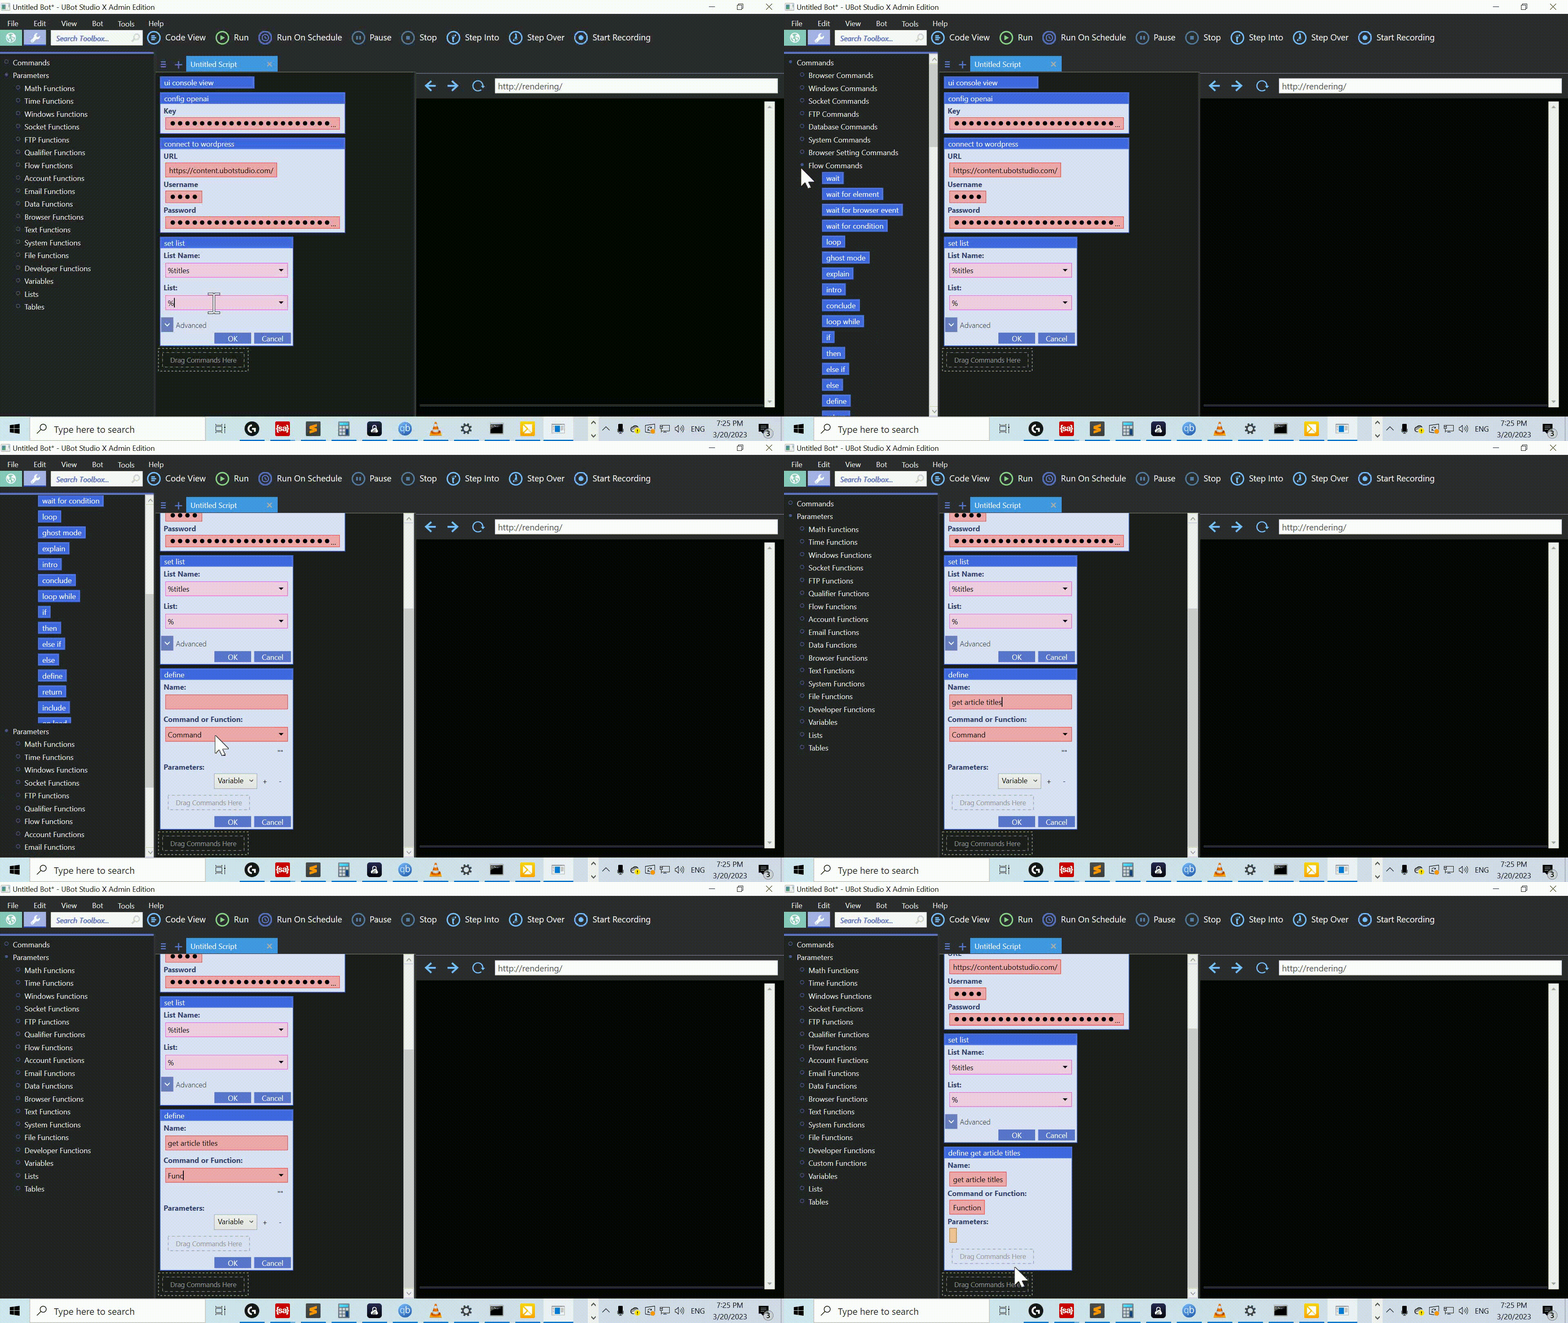
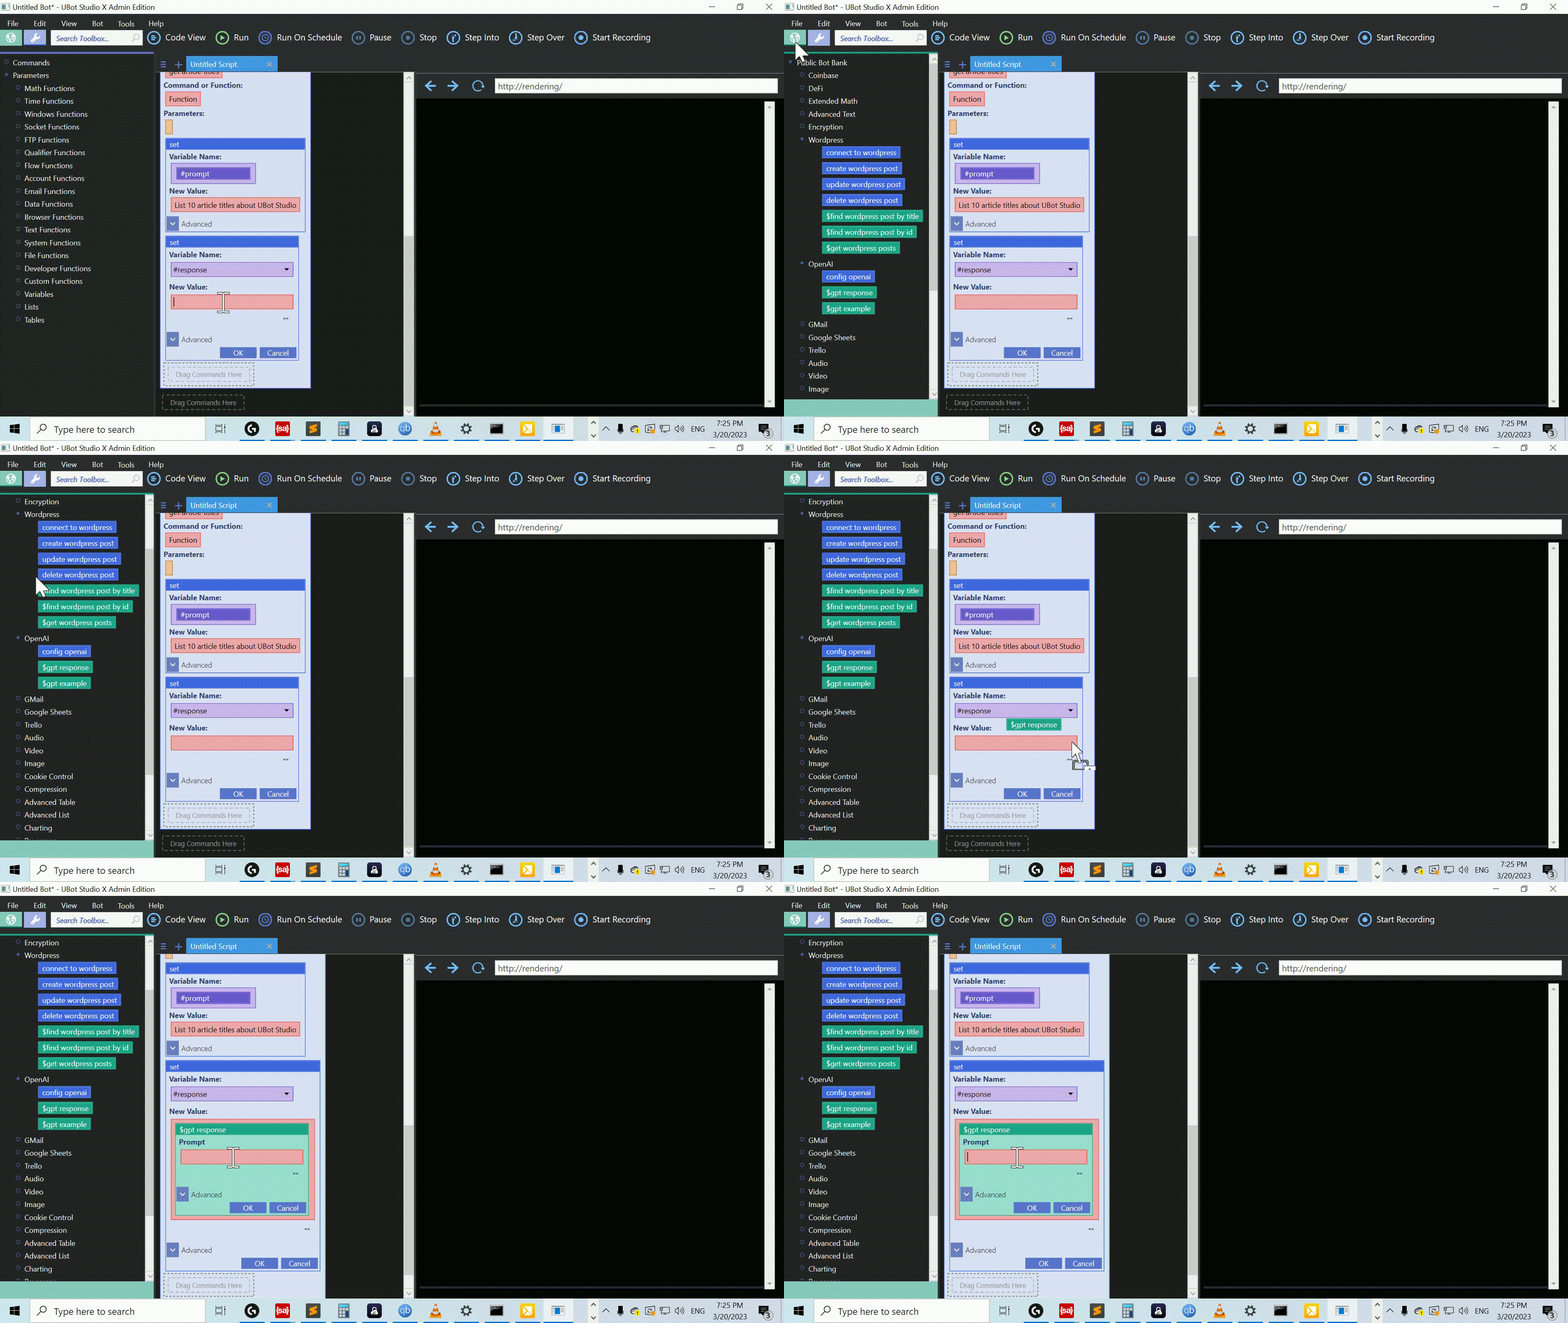
Now let’s generate some article titles. We’ll drag the set list command, and name it %titles. For the value, we’re going to define a function.

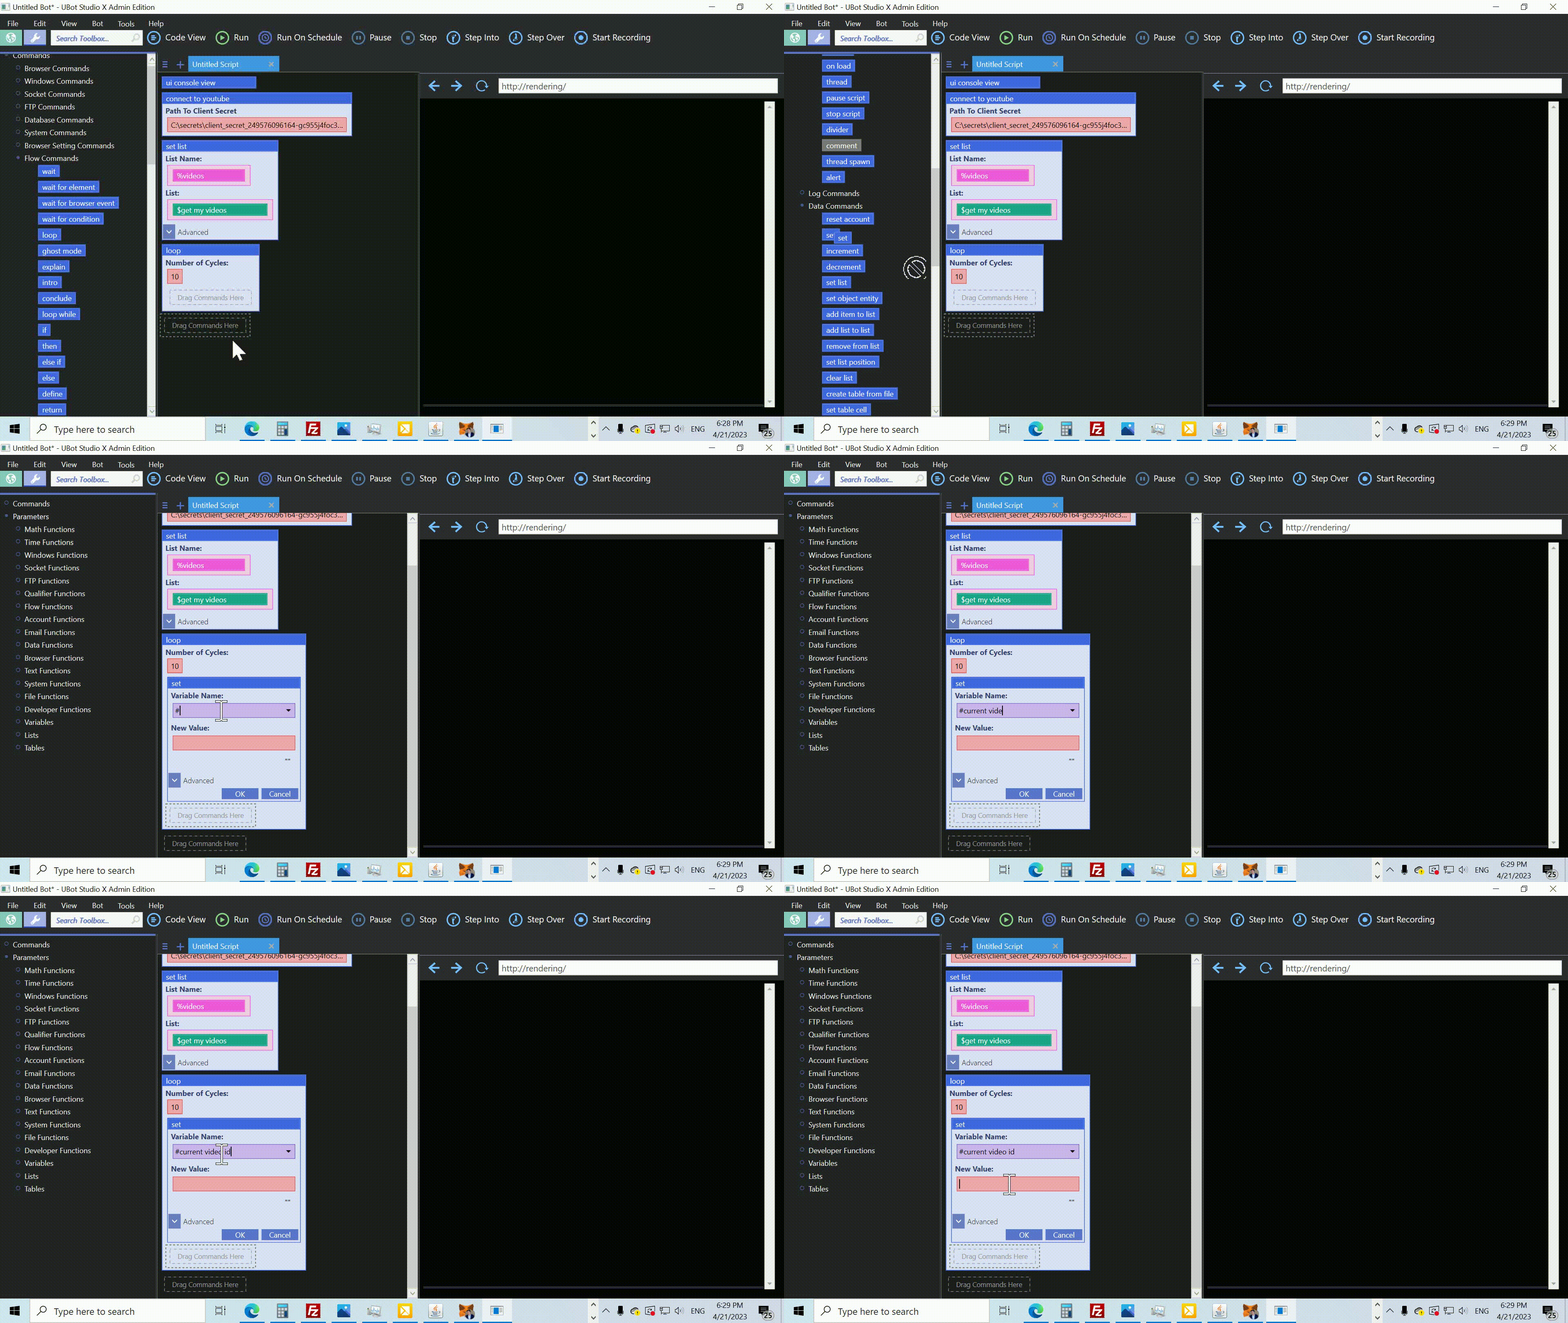
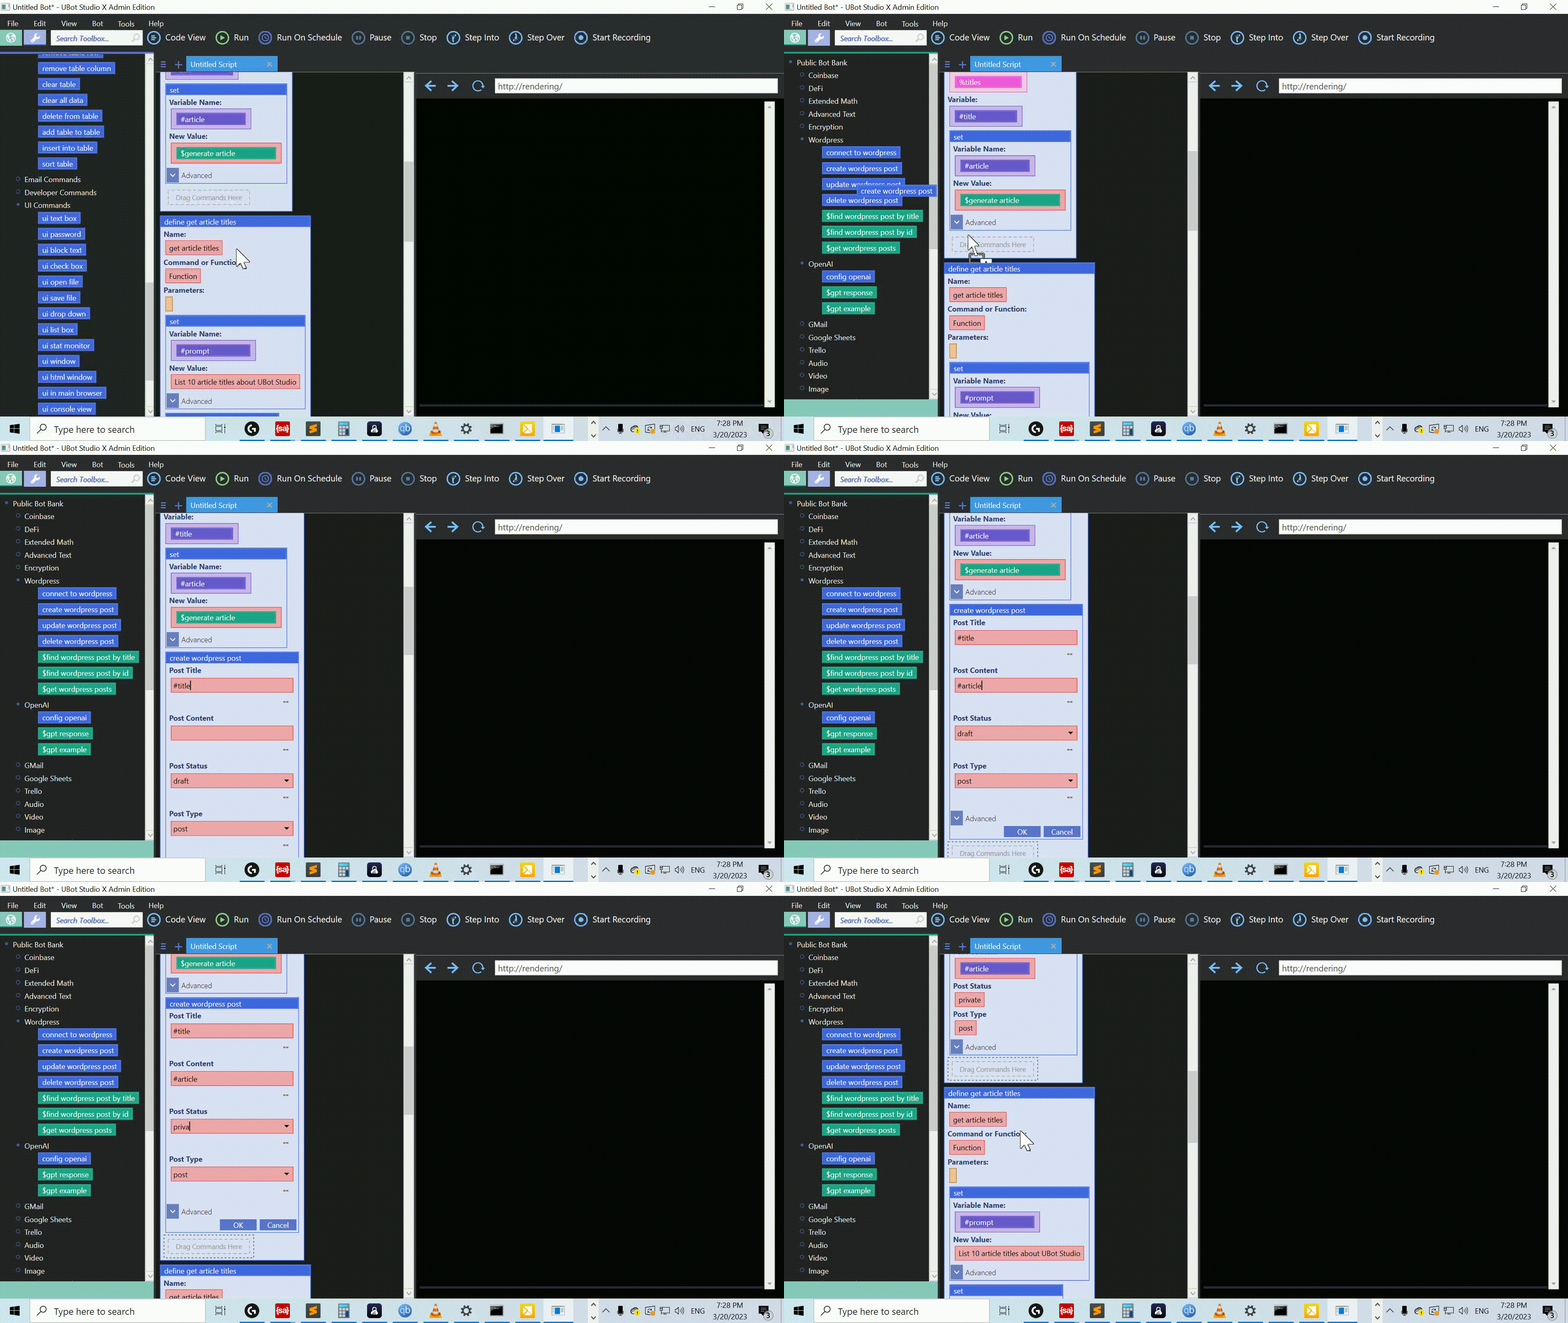
So let’s drag over our define command. we’ll set the name to “get article titles” and we’ll set it to be a function. In our function, we’ll set a variable named #prompt. For the value, we’ll enter “List 10 article titles about UBot Studio

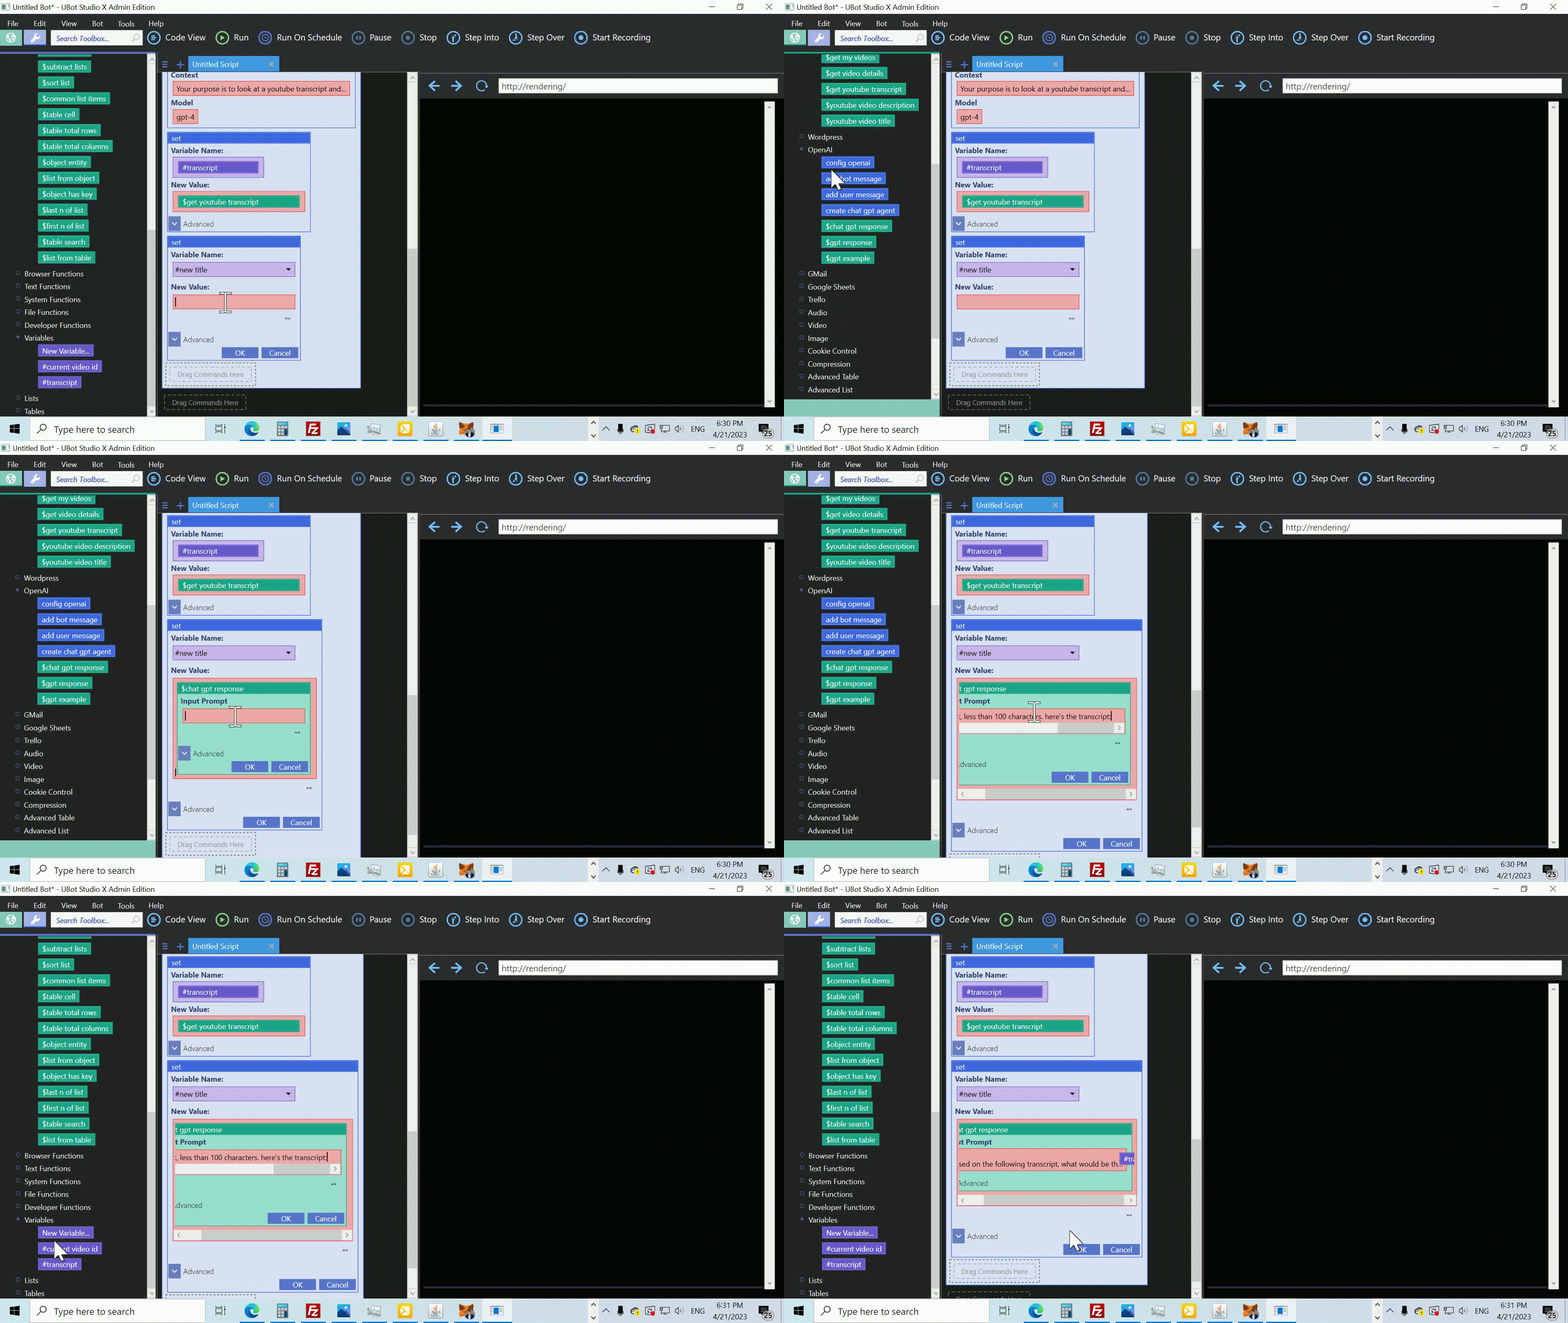
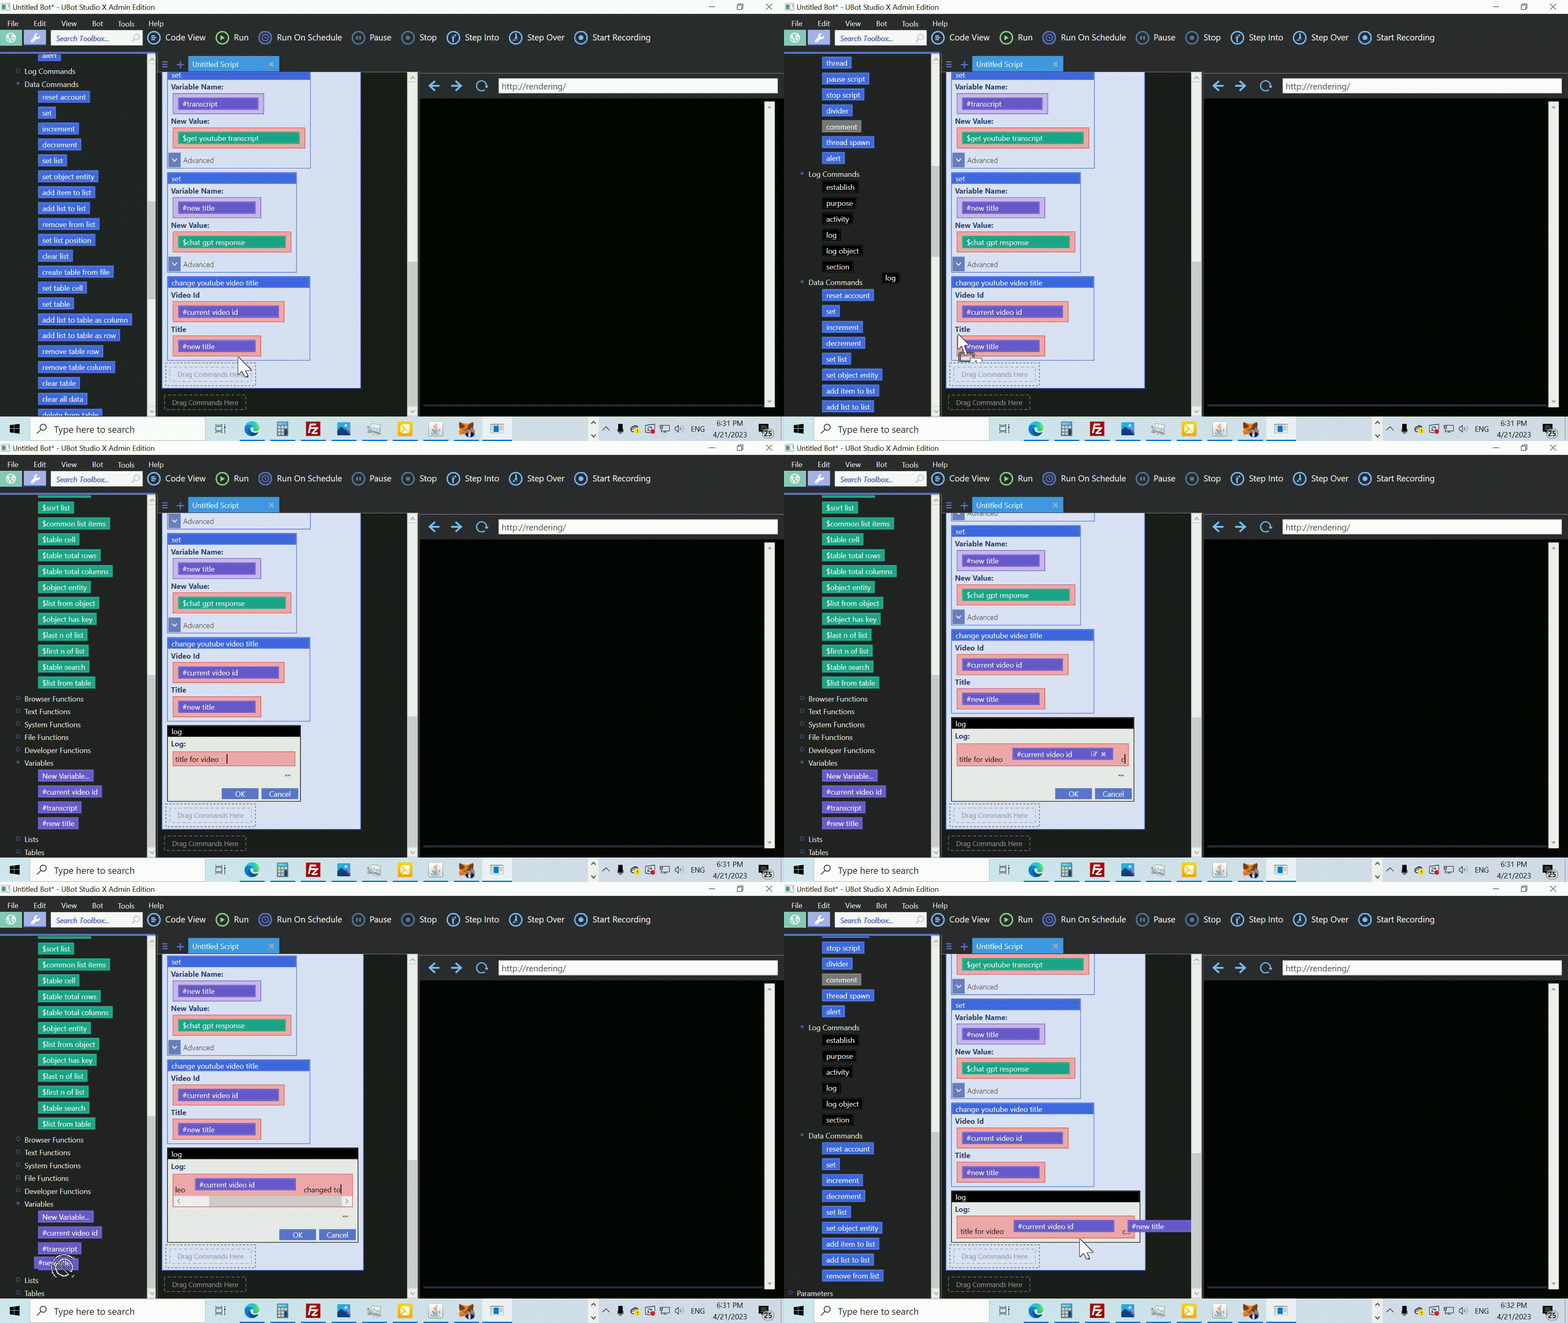
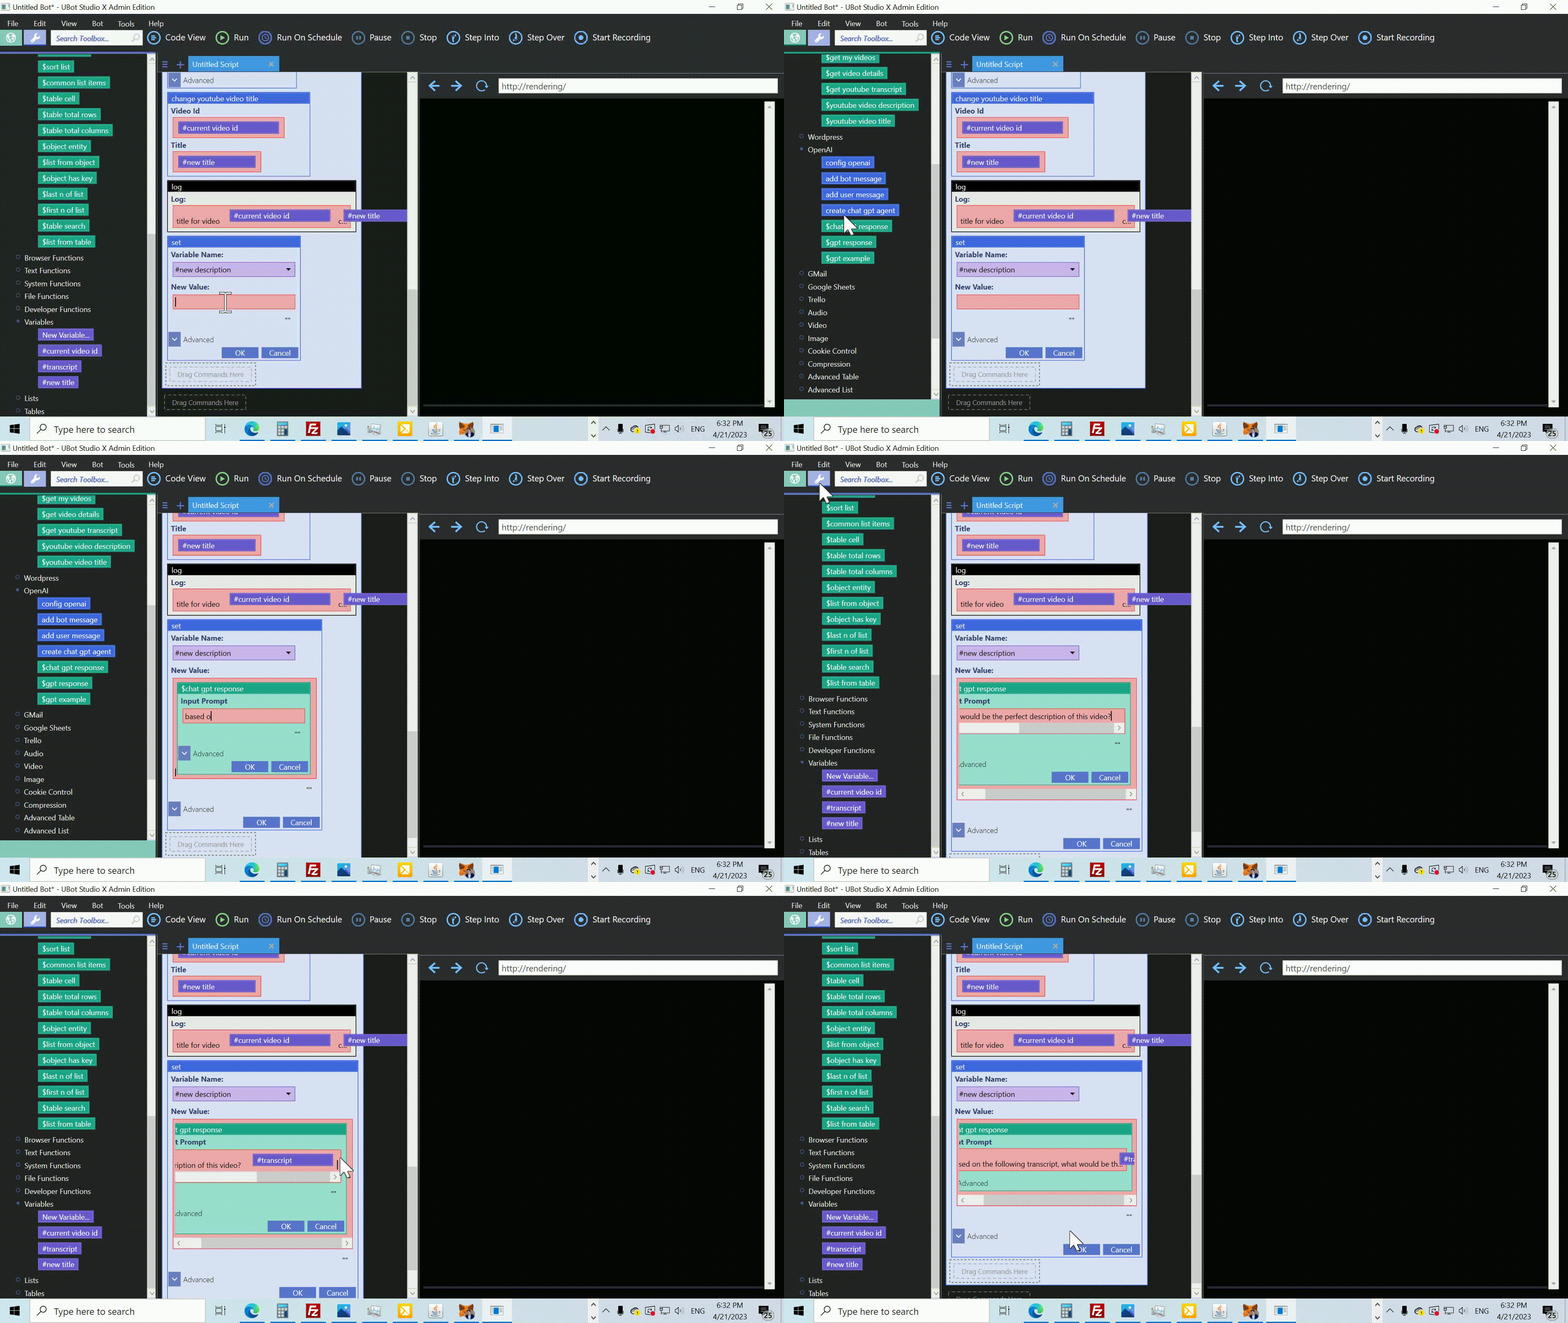
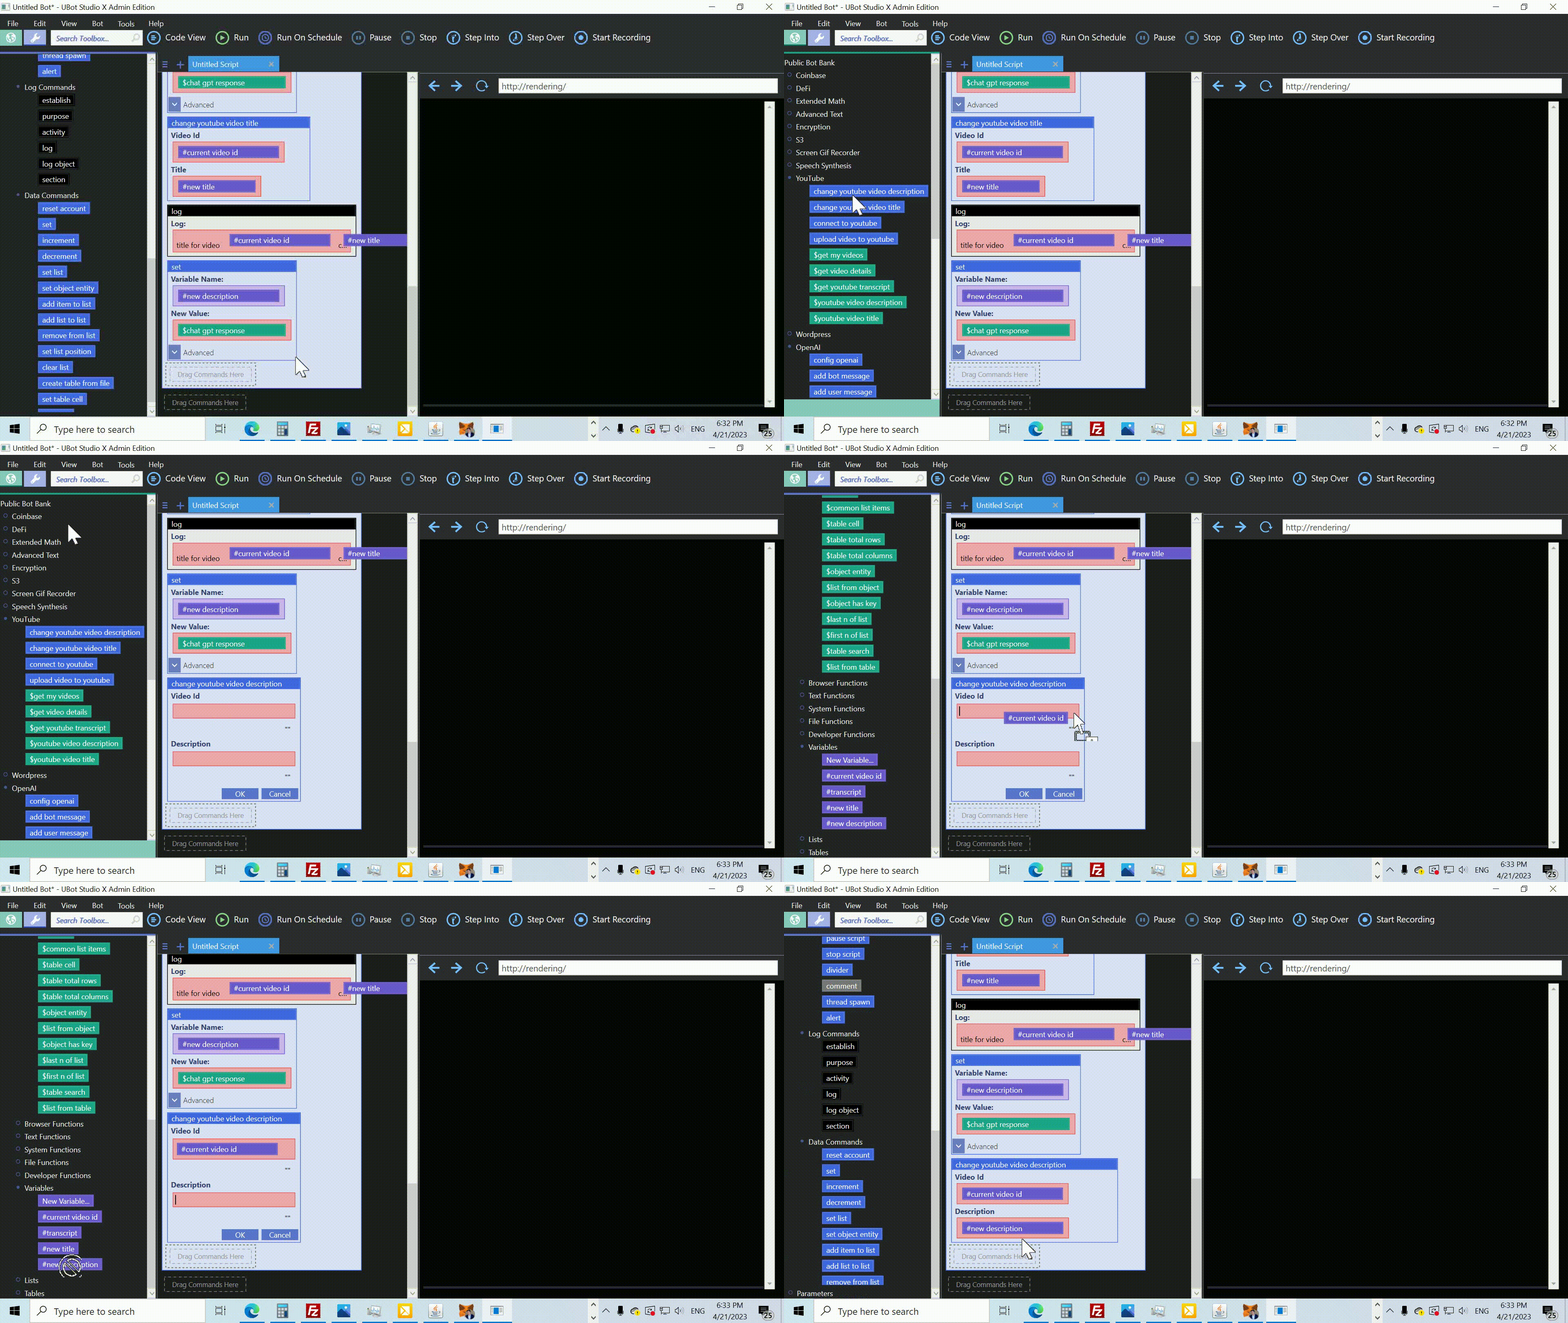
Next, we’ll set the #response variable. For the value, we’ll use the $gpt response function. This function will call the AI engine generate a response.

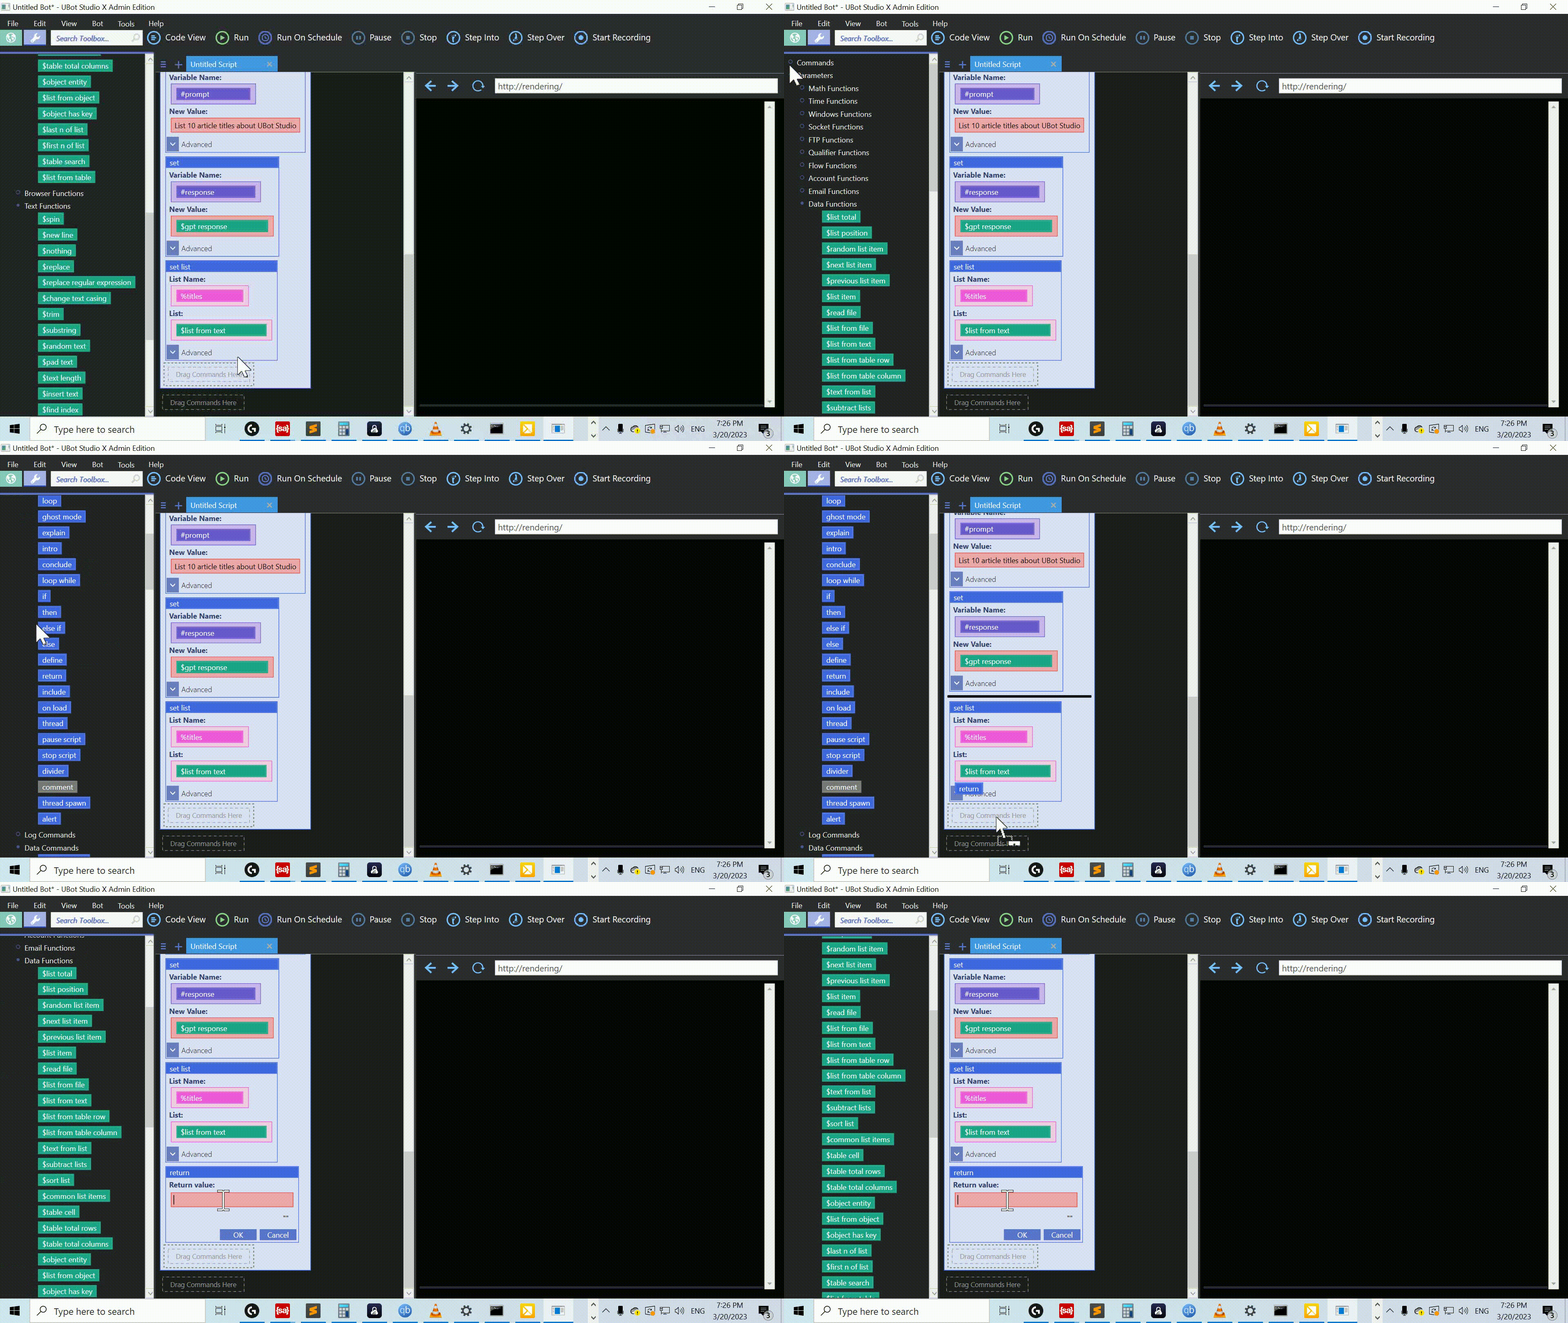
The response is in the form of a long string, so we need to convert it into a list of titles. To do that, we’ll drag the set list command and set the name to %titles. For the value, we’ll use the $list from text function.

And finally, we’ll drag the return command to output our %titles list, and then we should be good to use our shiny new function.

Alright, back to our main script. Now we can drag our function and set our variable.

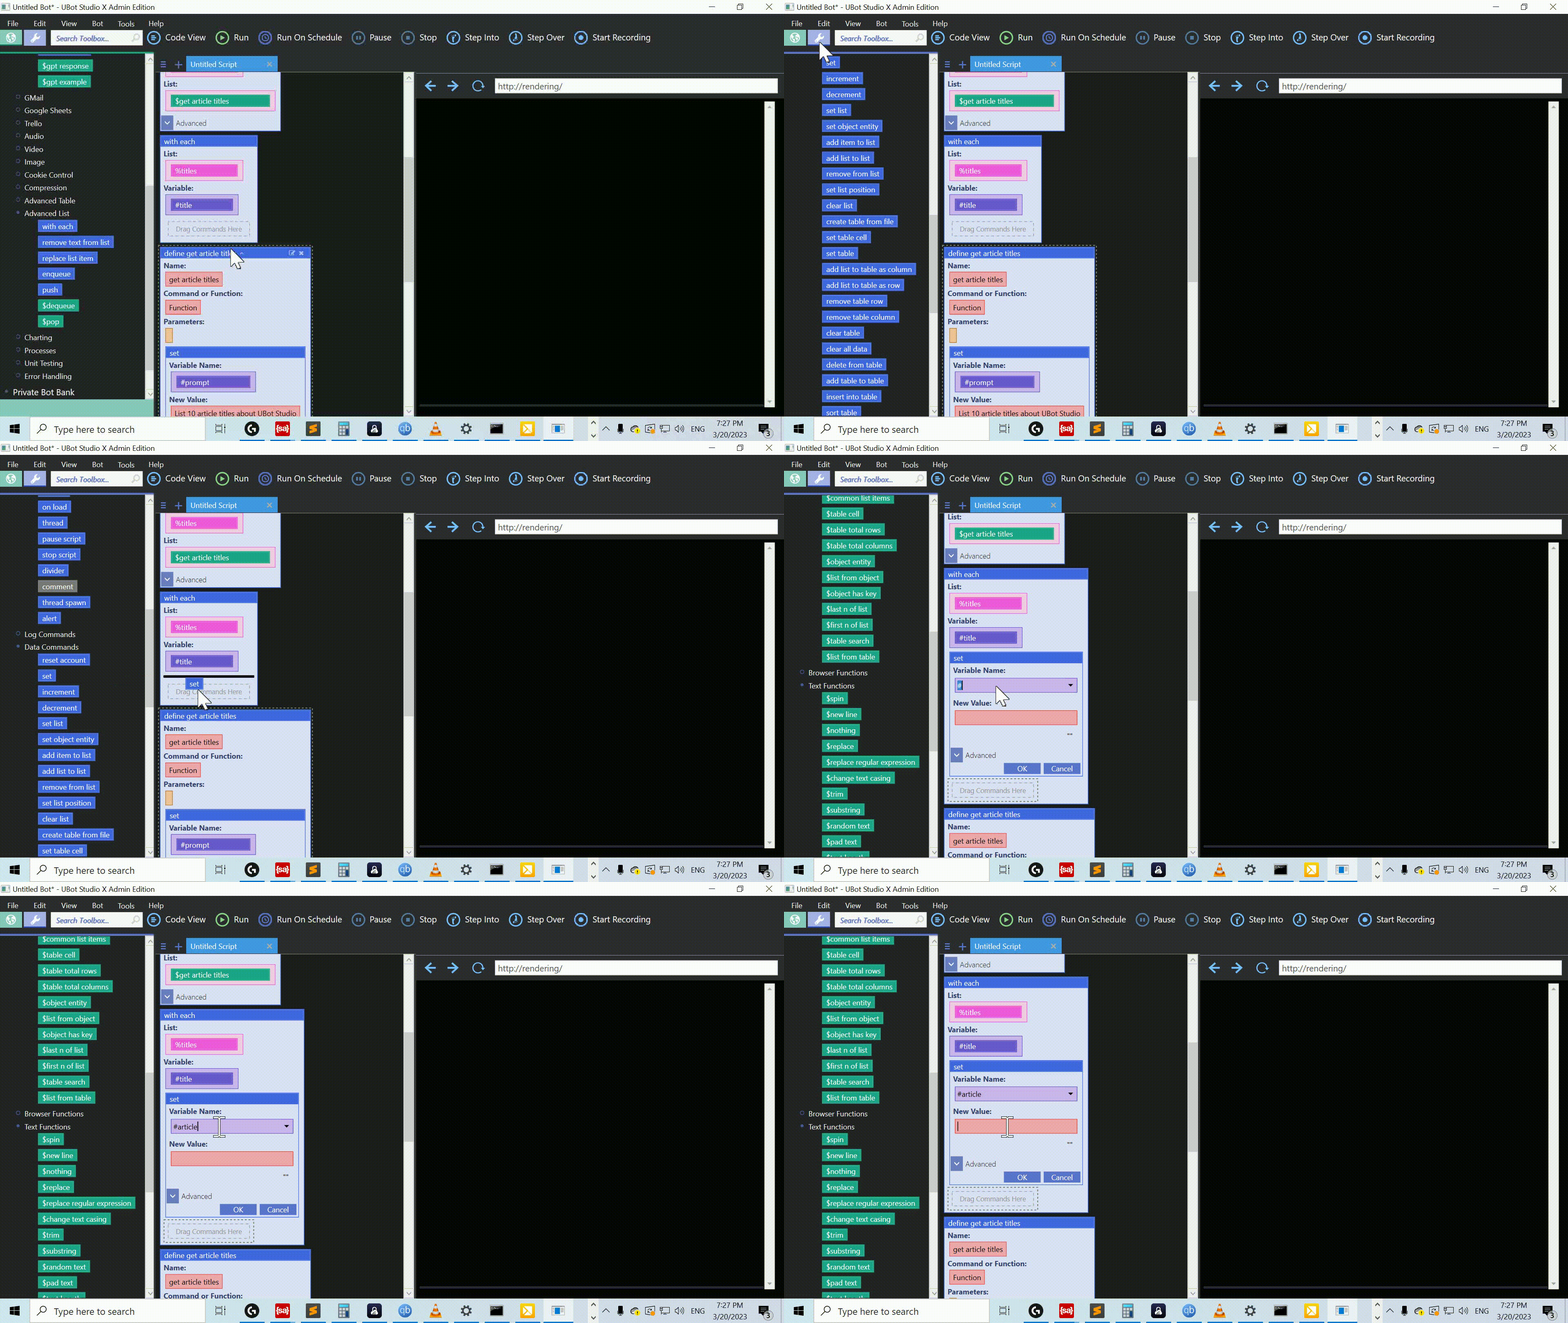
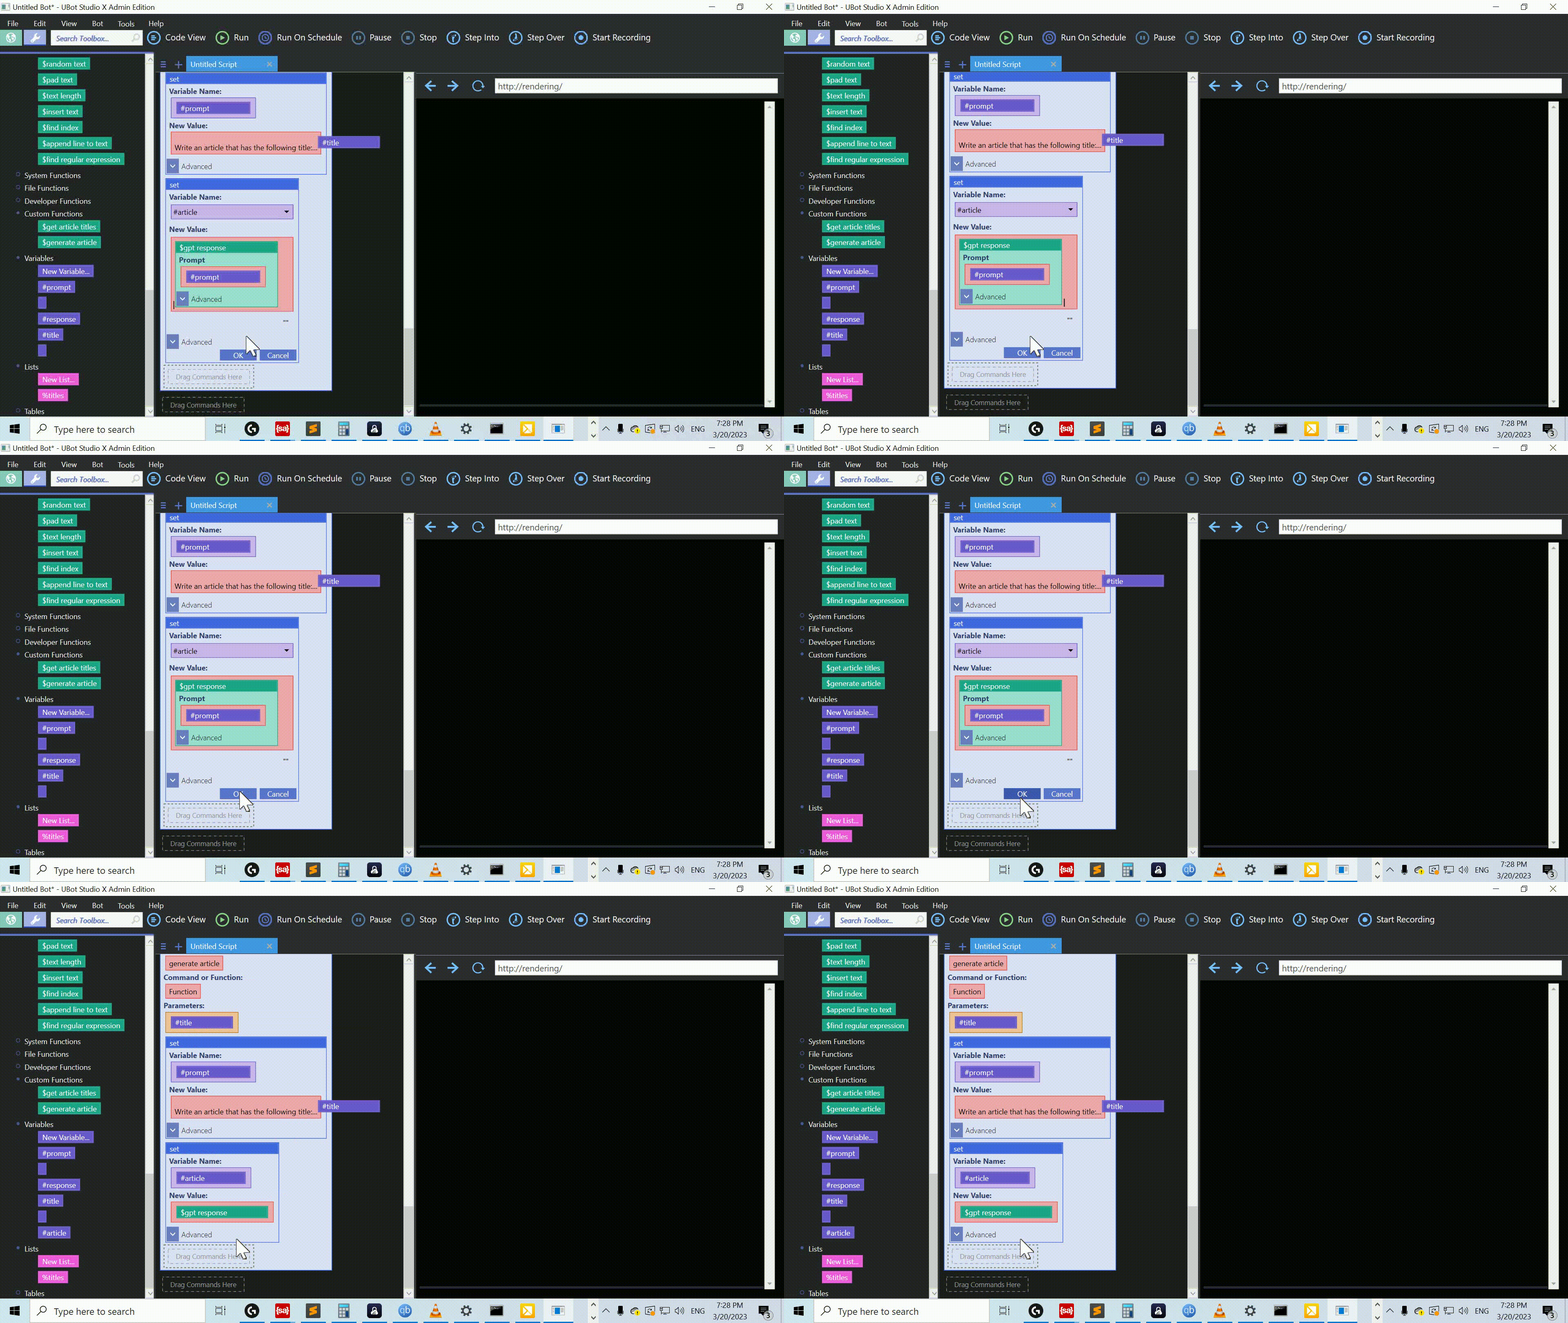
With our list, we can use the with each command to iterate through. We’ll use the #title variable to store the current title. For each title, we’ll use the set command to set a variable. We’ll name it #article, and for the value, we’ll need to define another function.

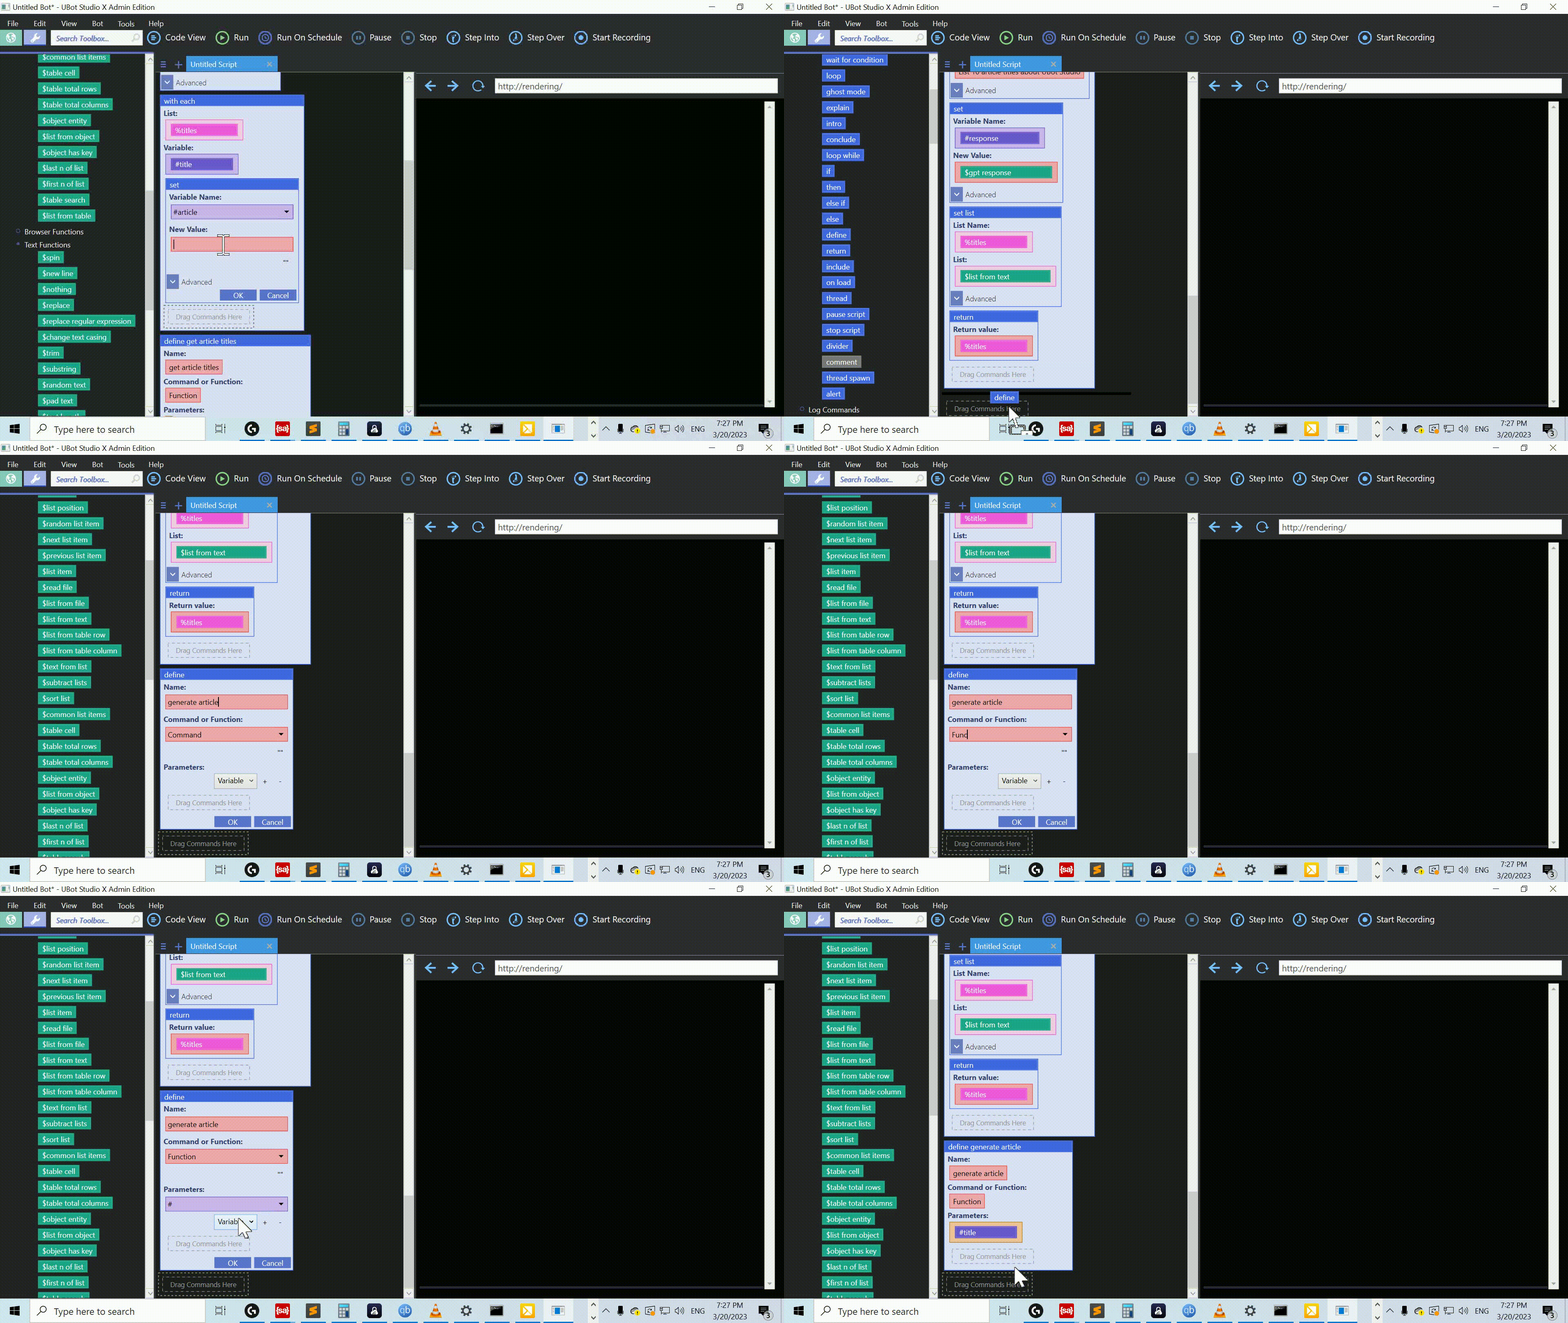
Once again, we’ll drag over a define command. We’ll name it “generate article” and make it a Function. This function is going to have one parameter called #title.

This will be a simple function. Let’s drag over a set command to set the #prompt variable. This variable will store the text of the article prompt. For the value, we’ll use the string “Write an article that has the following title: ” and pass in our #title variable.

Next, we’ll drag over the set command again, and set the #article variable. For the value, we’ll drag over the $gpt response function. This function will generate an article based on our title.

Let’s finish our function with a return command, and set it to the #article variable.

Now we can drag over our $generate article function. We’ll pass in #title as our prompt.

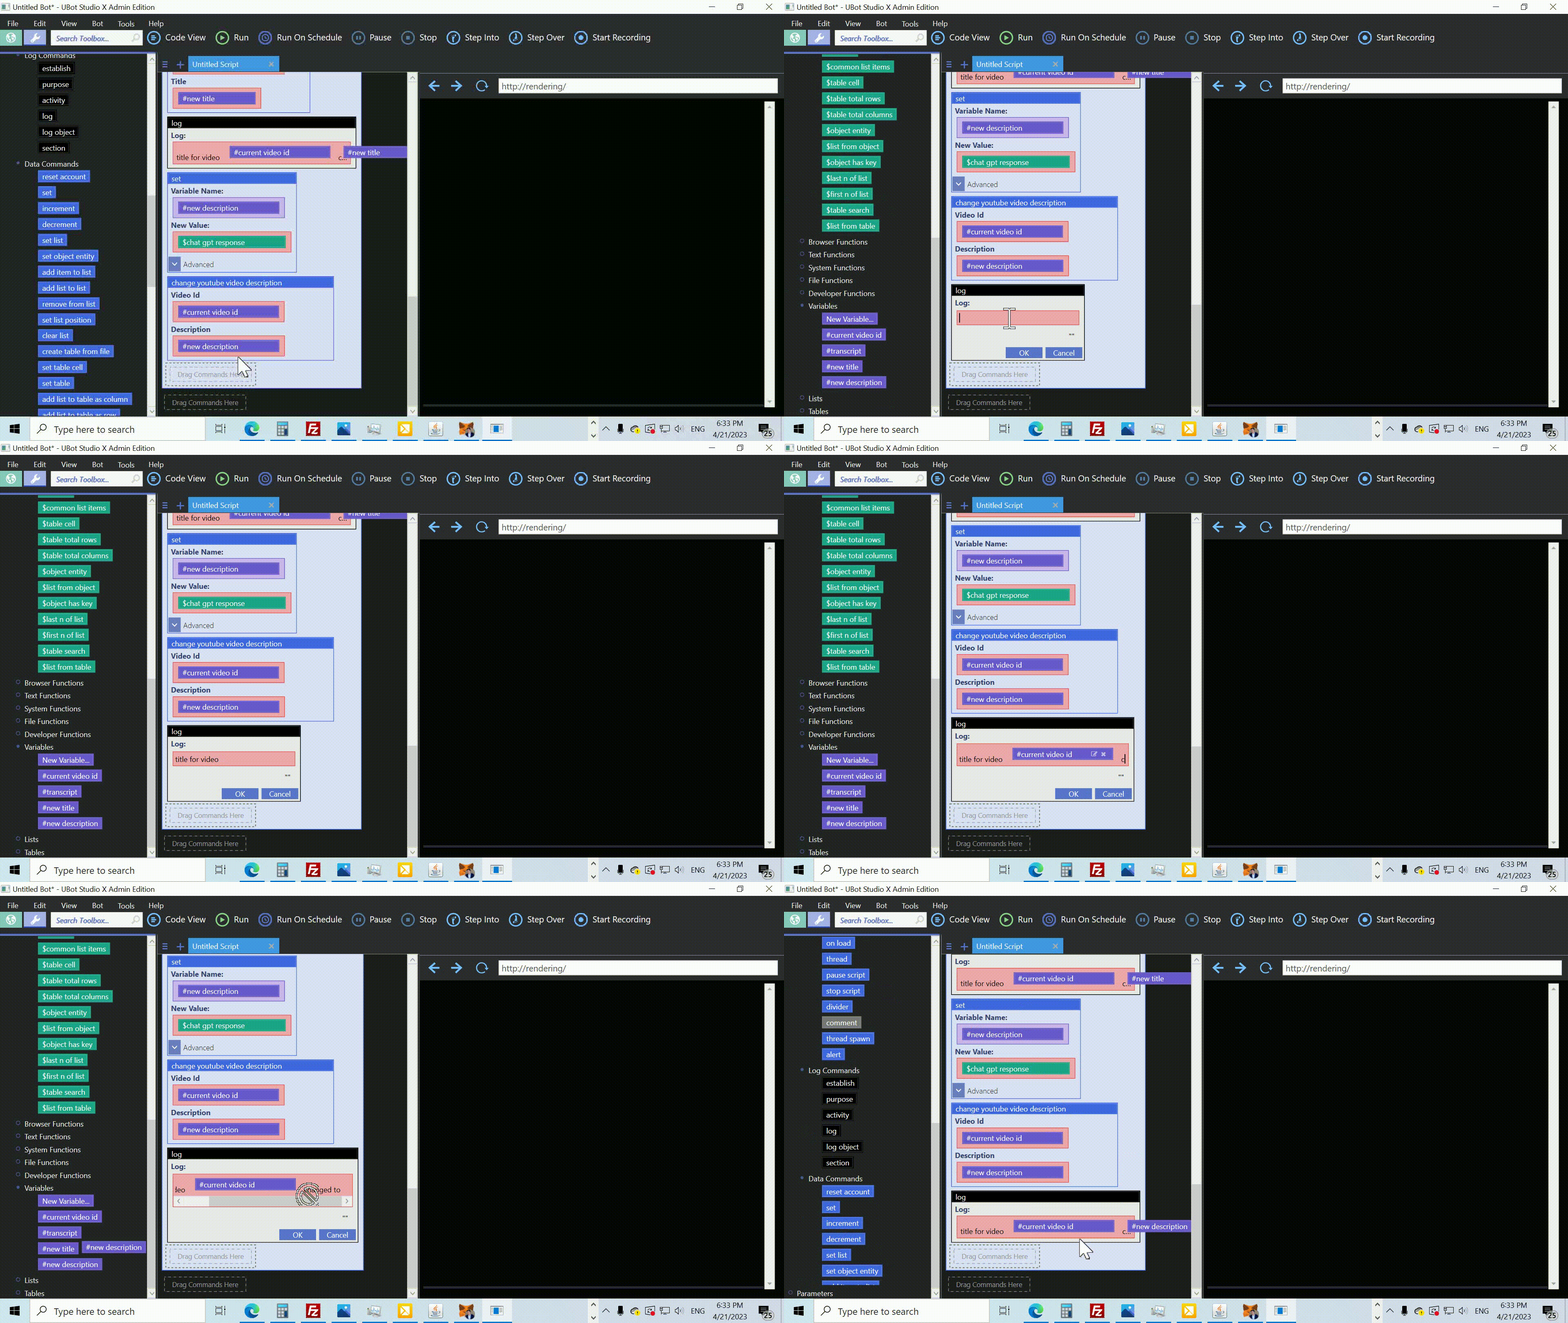
Finally, we can use our title and article to create a post on our blog. We’ll set it to private, so that we can edit it before going live.

And while we’re at it, let’s log our title and article to the console.

Let’s give this a run and see what it looks like. Hey, not bad at all. Note that the point of this isn’t just to fill up the internet with a bunch of low quality articles. The point is to save you time. If I were to really use these, I would go in and edit each article by hand, making sure it says what I want it to. But that’s a lot faster than writing all of these from scratch. Using a tool like this could literally save hours out of your day, giving you more time to do other stuff, which ultimately translates to a business advantage, and a more satisfying life in general. So go have some fun with this, and rocket your business into the new generation of AI assisted growth and success!

ui console view
config openai("YOUR API KEY")
connect to wordpress("YOUR WEBSITE URL","YOUR USERNAME","YOUR APPLICATION PASSWORD")
set list(%titles,$get article titles(),"Local")
with each(%titles,#title) {
    set(#article,$generate article(#title),"Local")
    create wordpress post(#title,#article,"draft","post",#post id)
    log(#article)
}
define $get article titles {
    set(#prompt,"List 10 article titles about UBot Studio in JSON format","Local")
    set(#response,$gpt response(#prompt,""),"Local")
    set list(%titles,$list from text(#response,$new line),"Local")
    return(%titles)
}
define $generate article(#title) {
    set(#prompt,"Write an article that has the following title: {#title}","Local")
    set(#article,$gpt response(#prompt,""),"Local")
    return(#article)
}

Enjoy the Fruits of Your Fully Automated Yield Farming Bot

We planted the seeds, we cultivated exponential growth, and our reward is a bountiful harvest of wealth and abundance for a lifetime to come.

In this post, we’ll take you step-by-step through the creation of a powerful bot that can help you withdraw from a farm, remove liquidity from a pool, swap tokens, and swap native tokens, all fully automated using UBot Studio. So, let’s get started!

We’ll start out by dragging the ui console view command. This command will change the UBot browser into a console interface, where we can see the output of our bot’s actions.

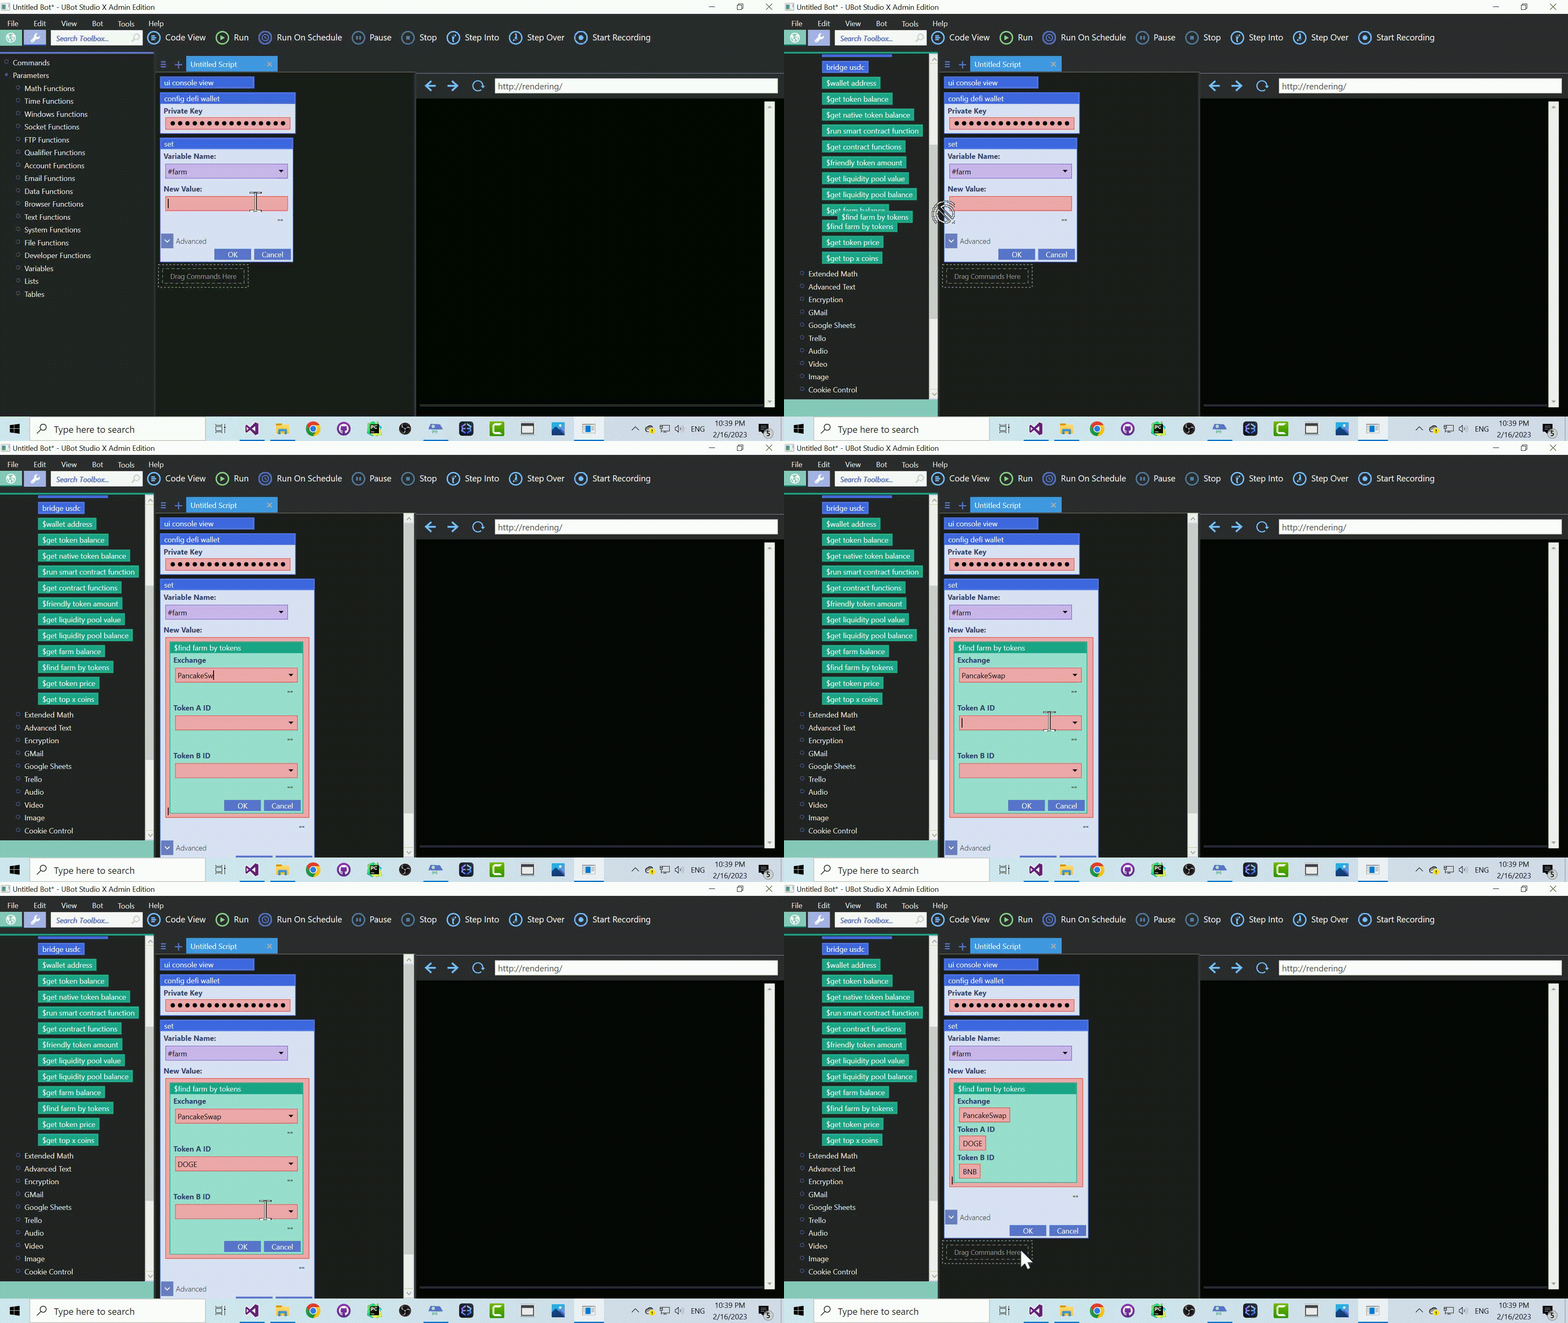
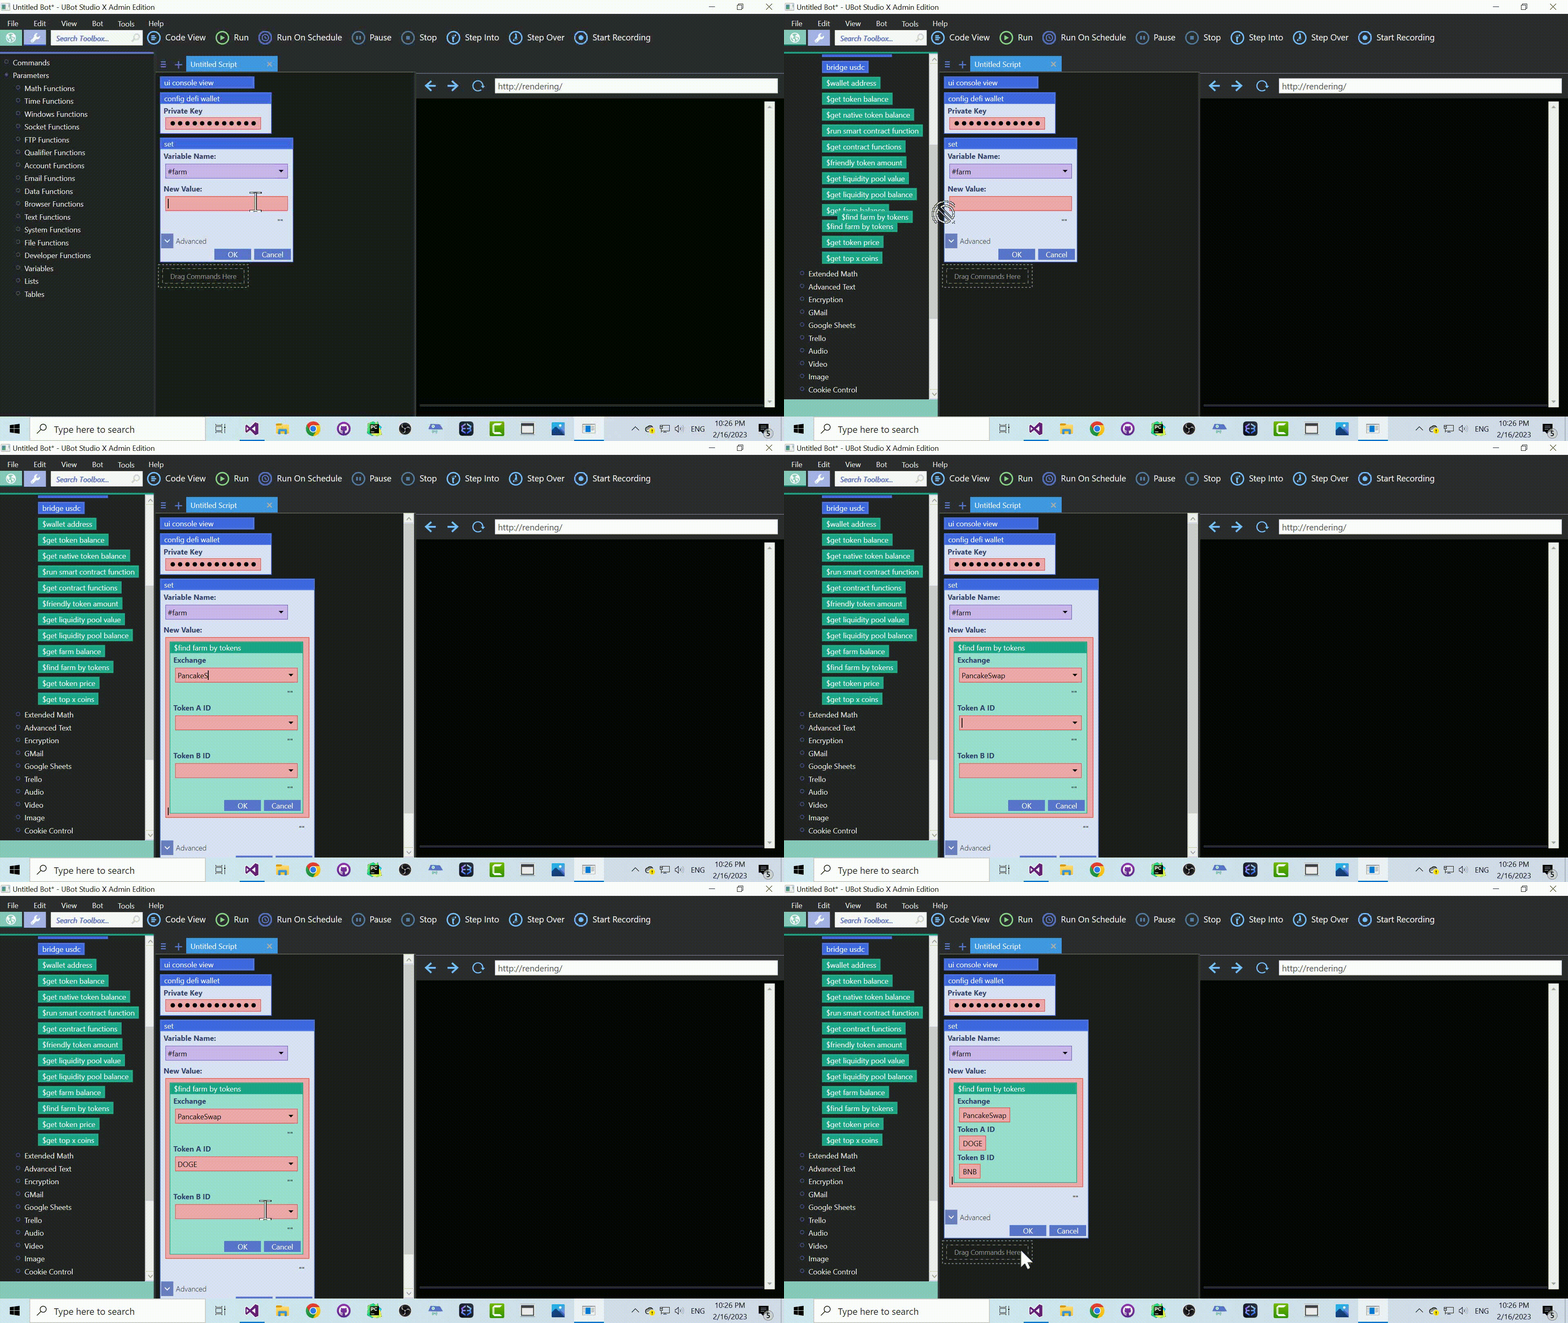
Next, we’ll drag the config defi wallet command. This function is used to configure our wallet for use with DeFi protocols. The Private key will be your wallet private key, which you can get from MetaMask.

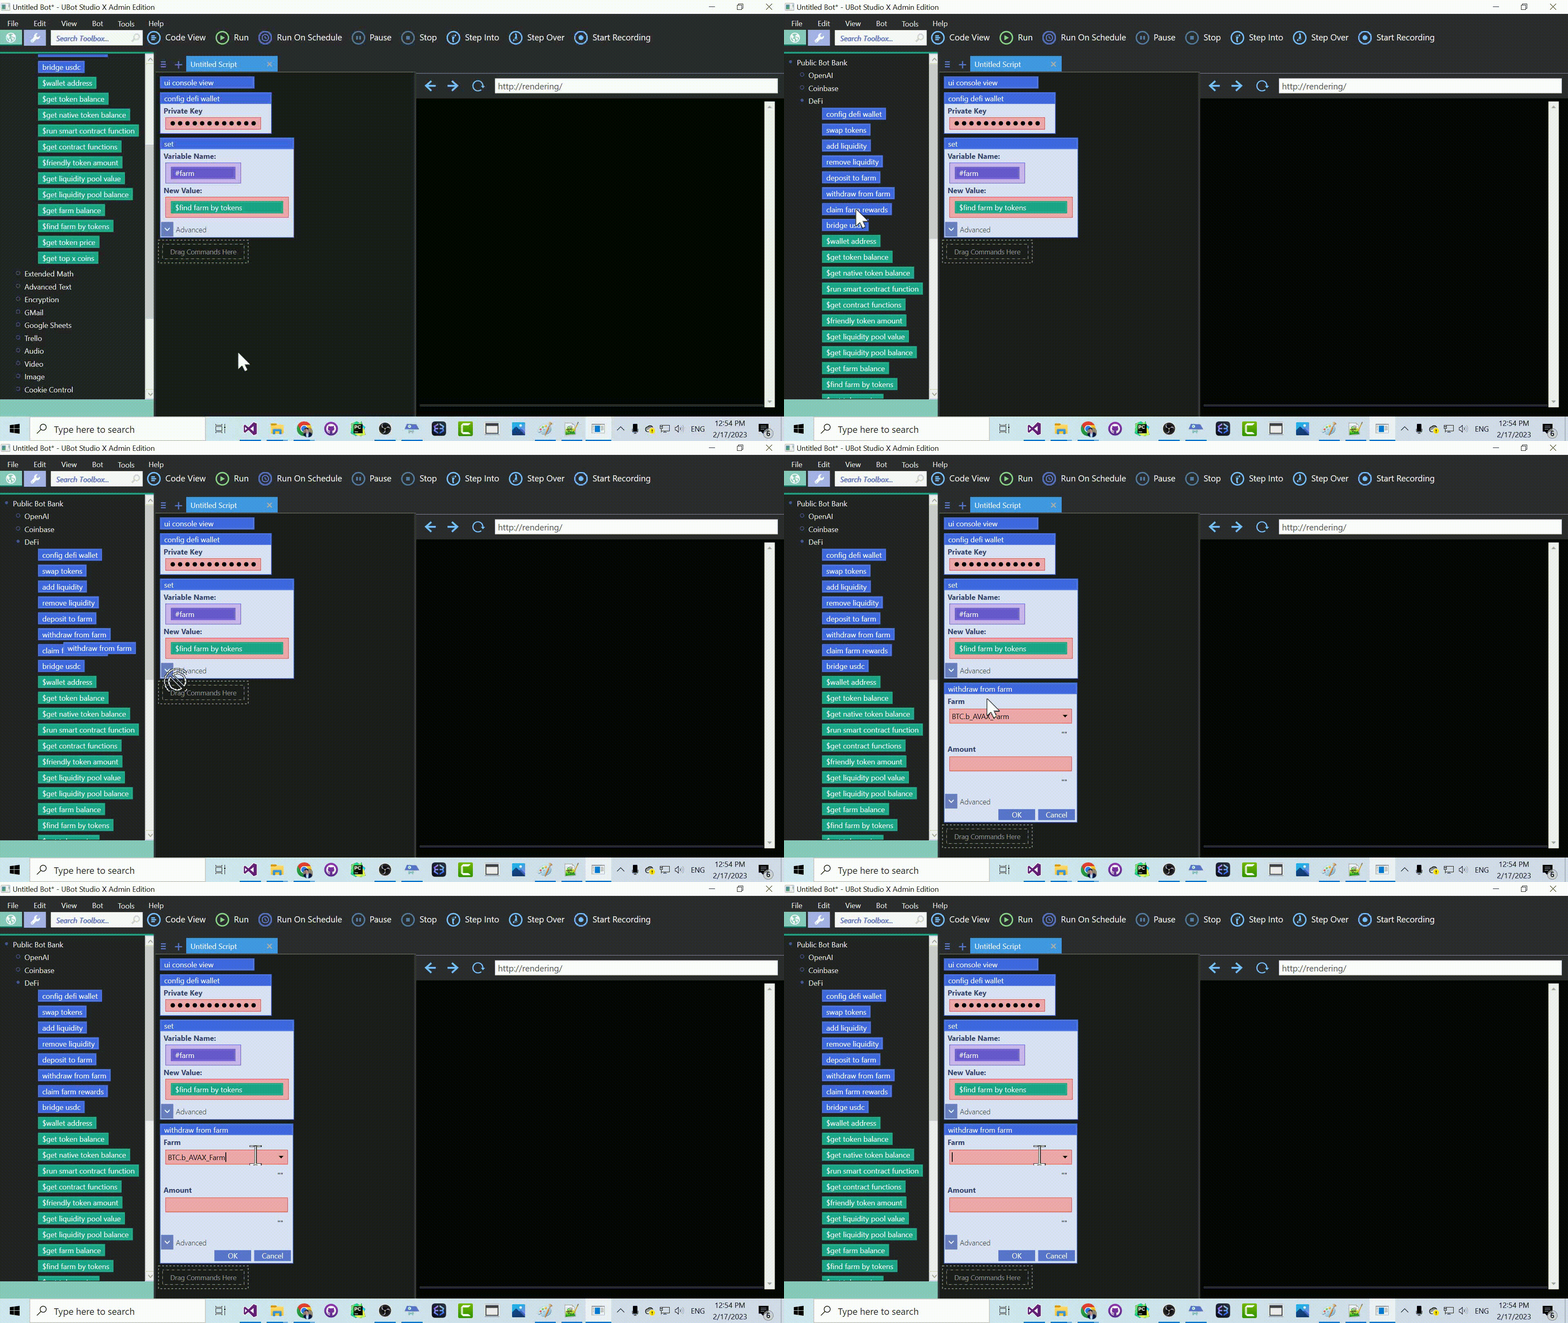
Now that our wallet is set up, we need to find the farm we want to withdraw our tokens from. We can do that with the set command. We’ll name our variable #farm, and for the value, we’ll drag over our $find farm by tokens function.

For our function, we’ll use “PancakeSwap” as our exchange, “DOGE” as Token A and “BNB” as Token B.

Now that our farm is set up, we can withdraw our LP tokens from the farm using the withdraw from farm command. We’ll use the #farm variable to specify which farm to withdraw from, and use the $get farm balance command to get our current balance of tokens in the farm, so that we can withdraw all of them.

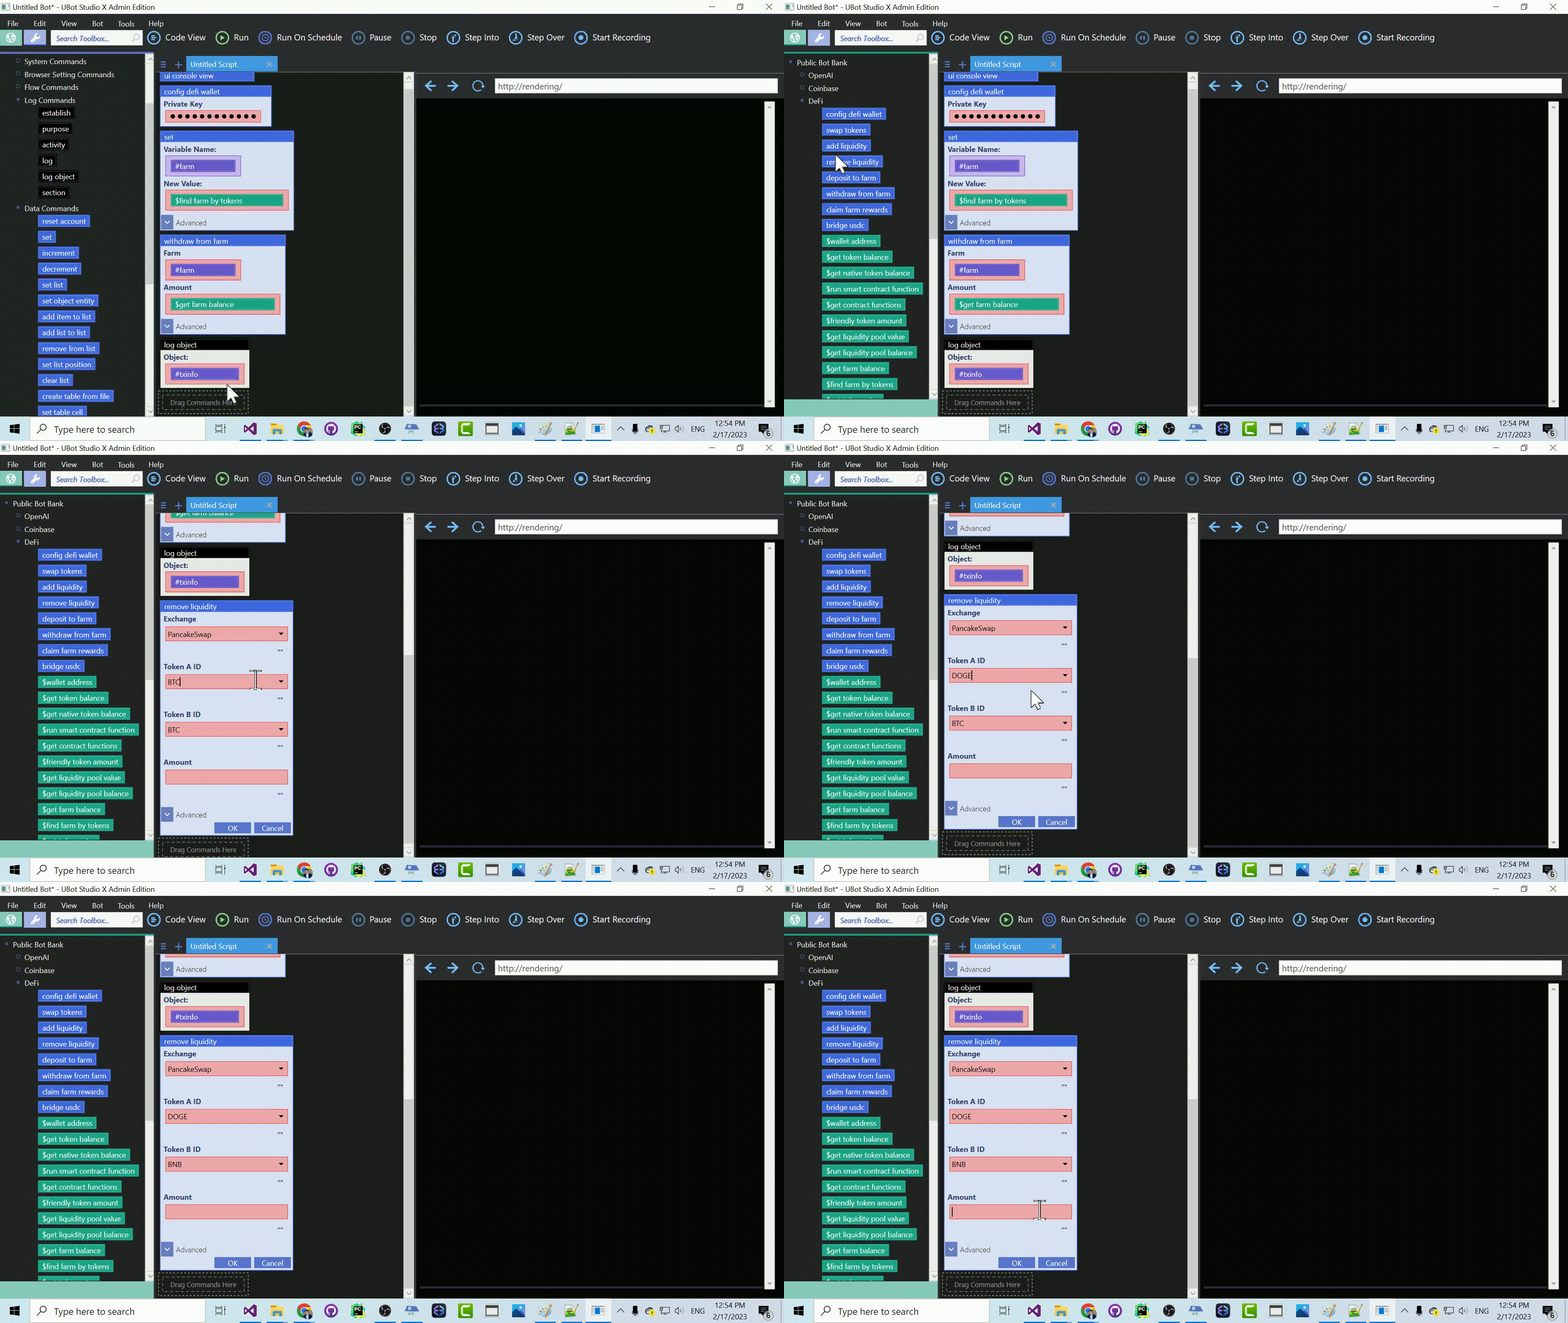
And once again we’ll log our result.

Now that we have withdrawn our LP tokens, we can remove our liquidity from the pool. We can do that with the remove liquidity command. We’ll use “PancakeSwap” as our exchange, and set “DOGE” as Token A and “BNB” as Token B. For the amount, we’ll use the $get liquidity pool balance function and remove all the liquidity we have.

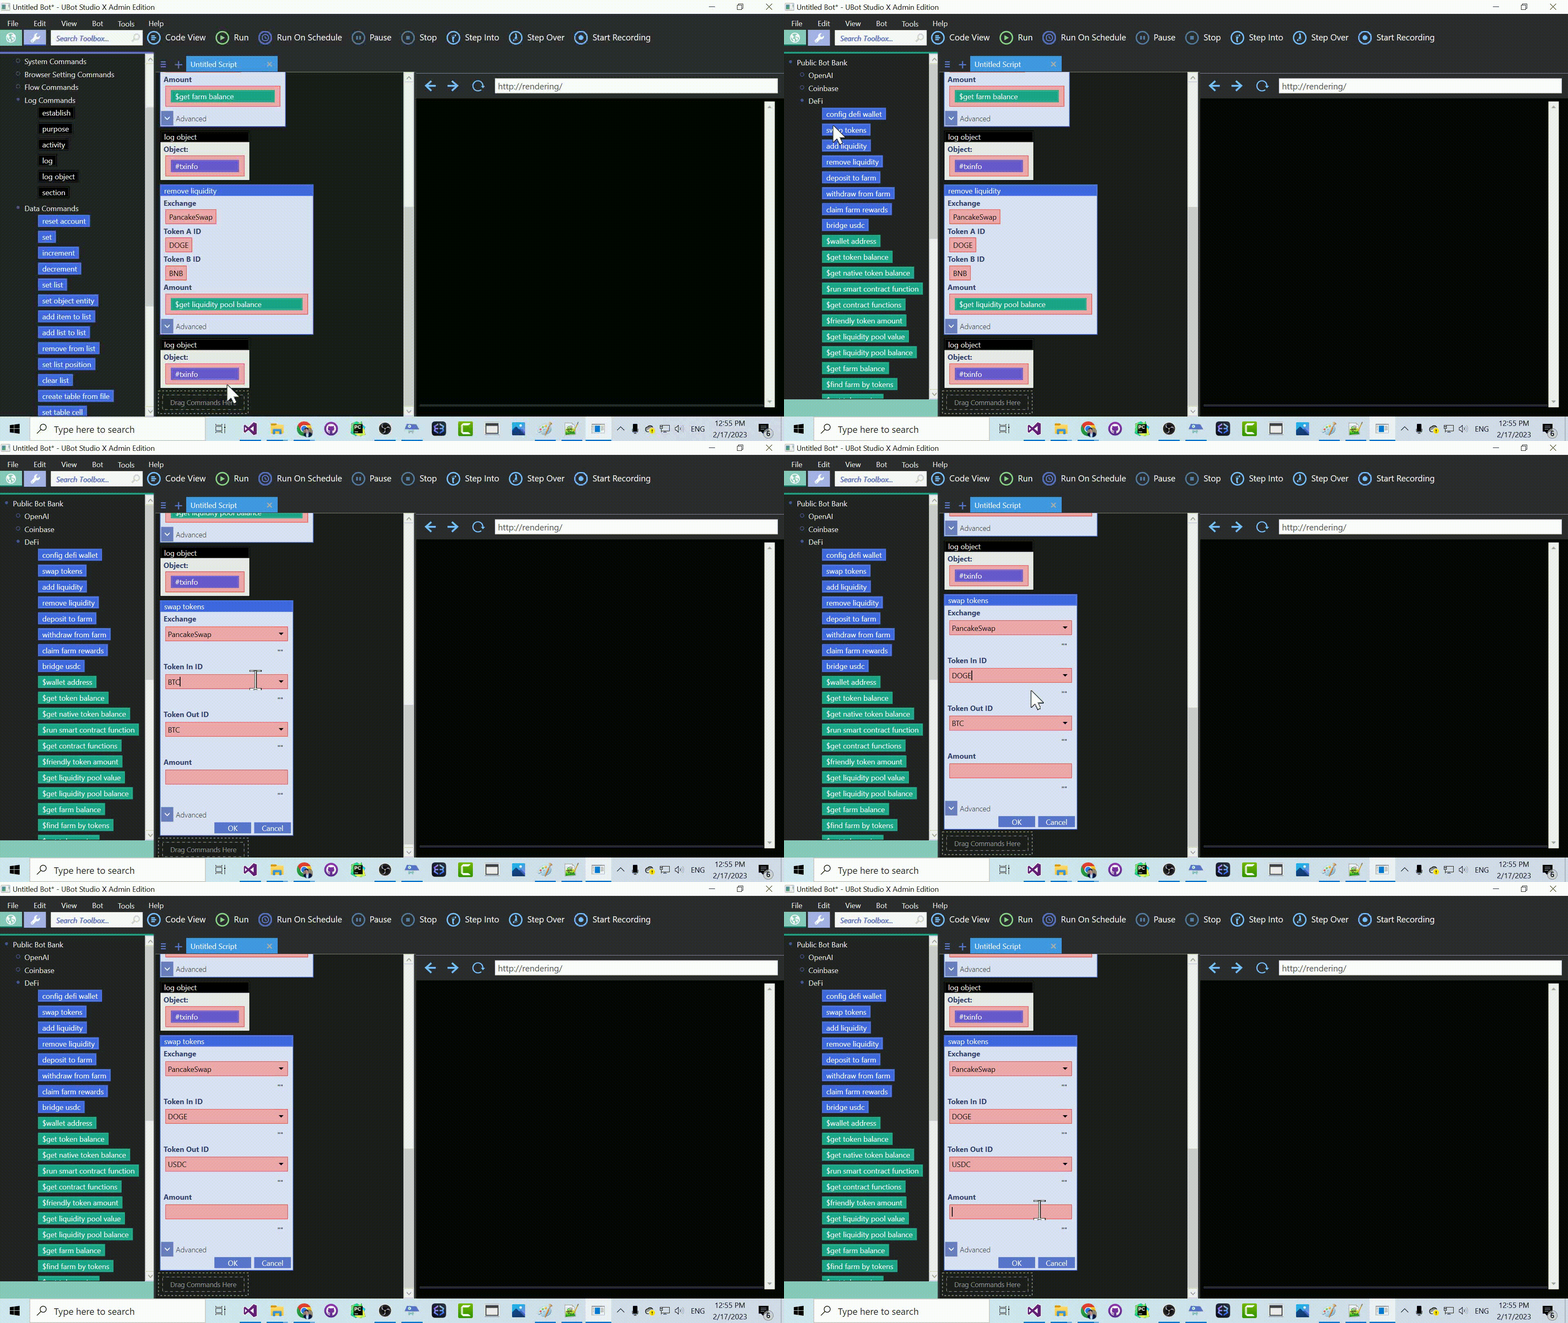
And once again we’ll log our result.

Now let’s turn our tokens back into USDC with the swap tokens command. We’ll set “PancakeSwap” as our exchange, “DOGE” as Token In ID and “USDC” as Token Out ID. For the amount, we’ll use the $get token balance function to get our current balance of DOGE tokens.

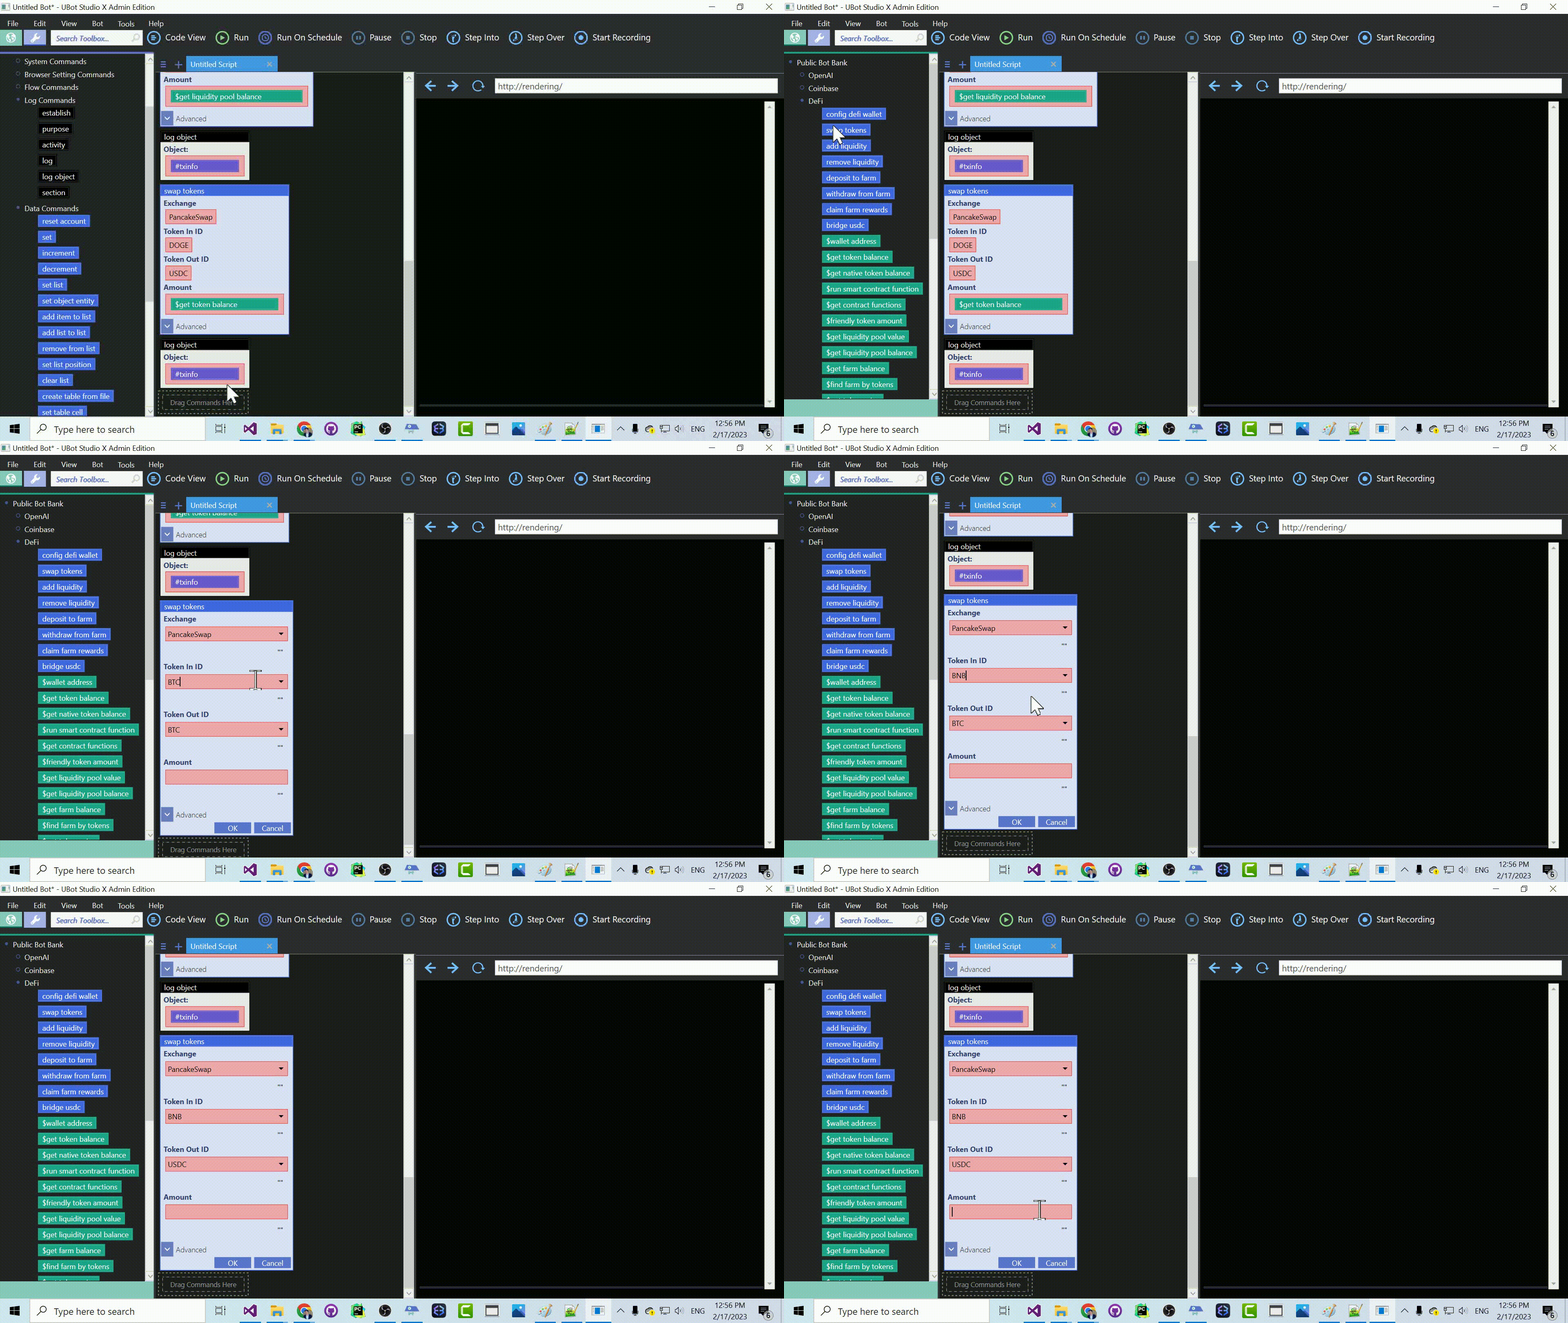
And once again we’ll log our result.

Finally, we’ll swap our BNB for USDC, again with the swap tokens command. We’ll use “PancakeSwap” as our exchange, “BNB” as Token In ID, and “USDC” as Token Out ID. For the amount, we’ll subtract .01 from the $get native token balance command, which will get our current balance of BNB tokens.

And one last time, let’s log our result.

And that’s it! We’ve successfully created a bot that can perform complex DeFi actions automatically, giving us more time to focus on what really matters. With this powerful tool at our disposal, we can start harvesting our rewards, making profits, and participating in the world of DeFi in a more efficient and automated way.

Have fun with it, go make some money, and I’ll see you next time.

Here’s the code for this script:

ui console view
config defi wallet("YOUR_API_KEY")
set(#farm,$find farm by tokens("PancakeSwap","DOGE","BNB"),"Local")
withdraw from farm(#farm,$get farm balance(#farm),#txinfo)
log object(#txinfo)
remove liquidity("PancakeSwap","DOGE","BNB",$get liquidity pool balance("PancakeSwap","BNB","DOGE"),#txinfo)
log object(#txinfo)
swap tokens("PancakeSwap","DOGE","USDC",$get token balance("BinanceSmartChain","DOGE"),#txinfo)
log object(#txinfo)
swap tokens("PancakeSwap","BNB","USDC",$subtract($get native token balance("BinanceSmartChain"),.01),#txinfo)
log object(#txinfo)

Exponential Earnings with a Fully Automated Yield Farm Compounding Bot

Cryptocurrency empowers anyone, anywhere, to participate in the financial revolution, multiplying their investments and opening up a world of new opportunities.

In our last post, we looked at how to invest in liquidity pools, and how to earn bigger rewards by staking our liquidity in yield farms. In this post, we’re going to make this idea even more powerful by building a bot that automatically compounds our earnings back into the farm. By reinvesting your earnings and rewards, you can achieve exponential growth in your investments. Compounding is a powerful tool that can turn even modest investments into substantial wealth over time. With this bot, you can take full advantage of compounding to grow your wealth and earn the rewards you deserve. So let’s dive in!

We’ll start out by dragging the ui console view command. This command will change the UBot browser into a console interface, where we can see the output of our bot’s actions.

Next, we need to set up our wallet for use with DeFi protocols. We’ll drag over the config defi wallet command, and enter our private key.

Next, we need to claim rewards from our farm. To do that, we need to find the farm we want. We’ll drag over the set command to set a variable, and name it #farm. For the value, we’ll drag over the $find farm by tokens function, and set the exchange to “PancakeSwap”, Token A to “DOGE”, and Token B to “BNB”.

NOTE: I’m using a different farm in this tutorial than I used in the last tutorial. If you want to use the same farm, you would set the tokens to “USDC” and “USDT”.

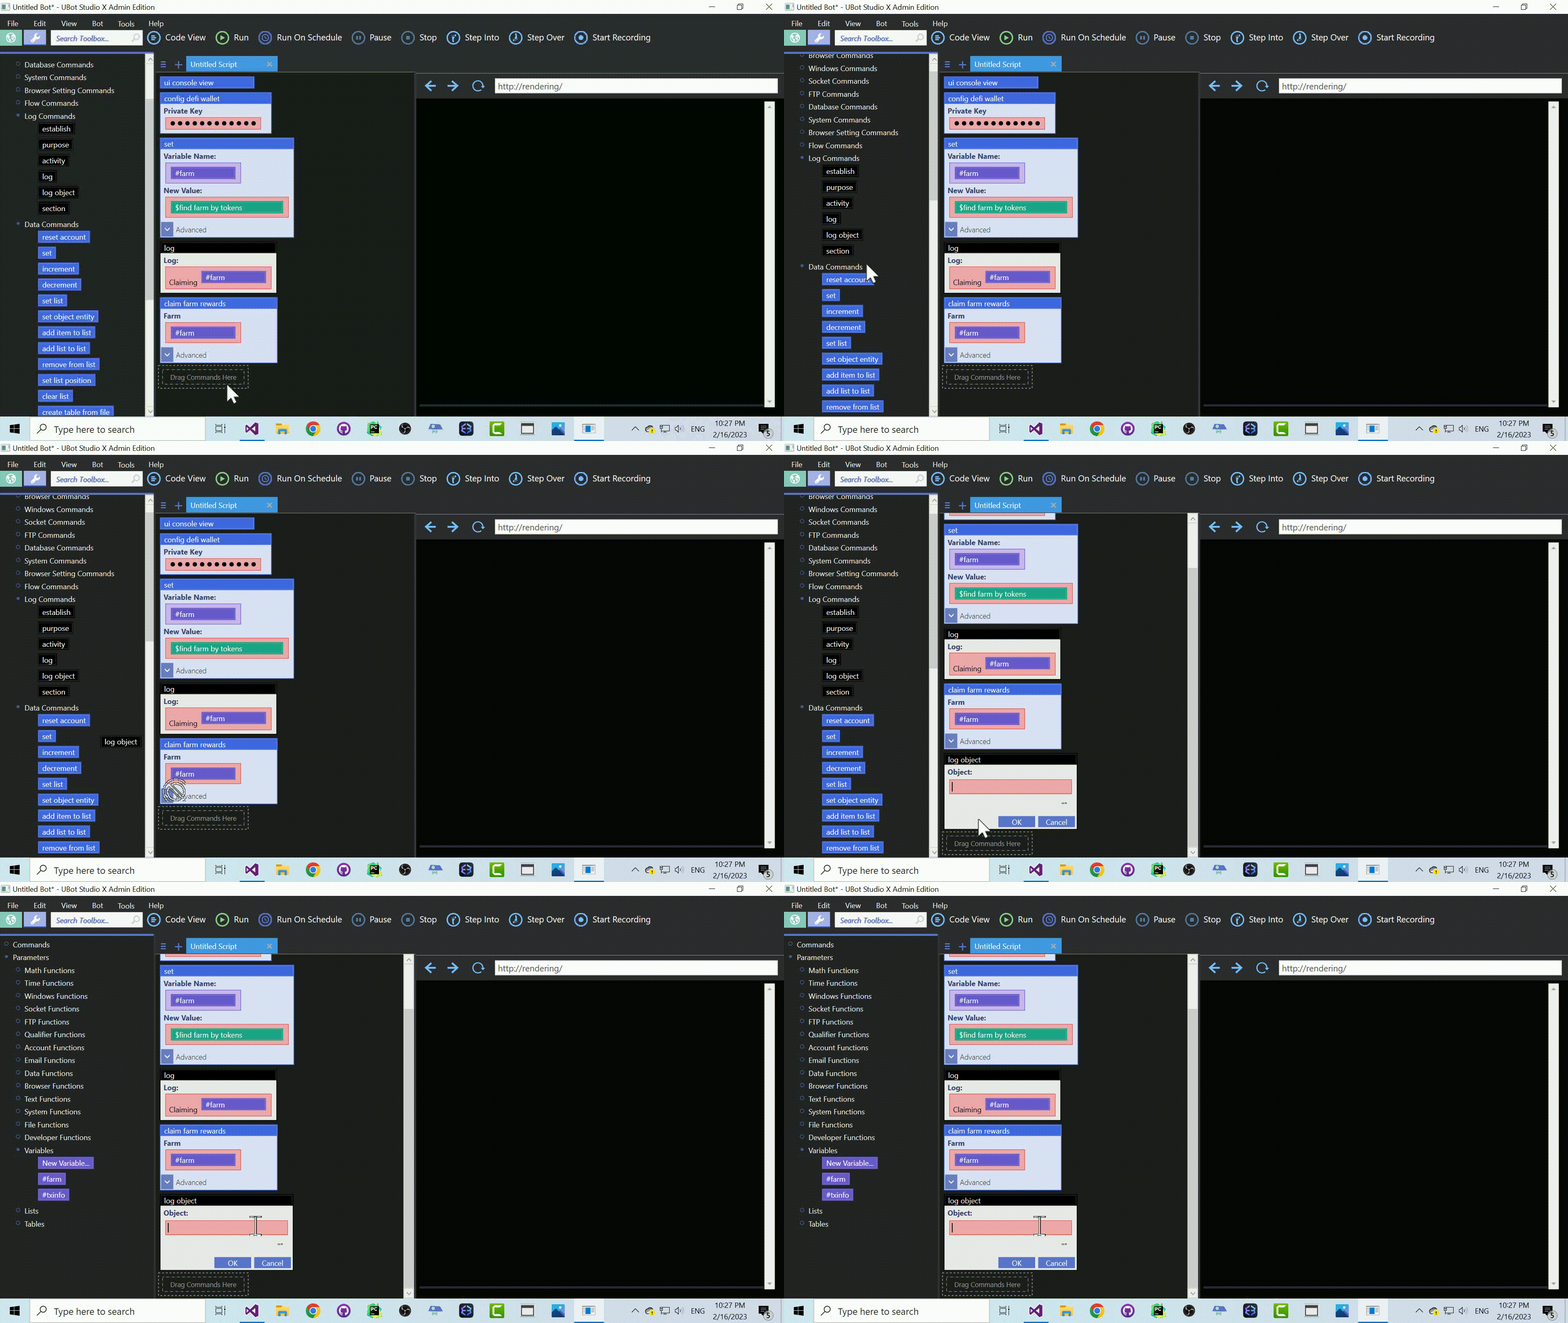
Once we have our farm, we can claim rewards using the claim farm rewards command. We’ll use the #farm variable.

As always, we should log every transaction.

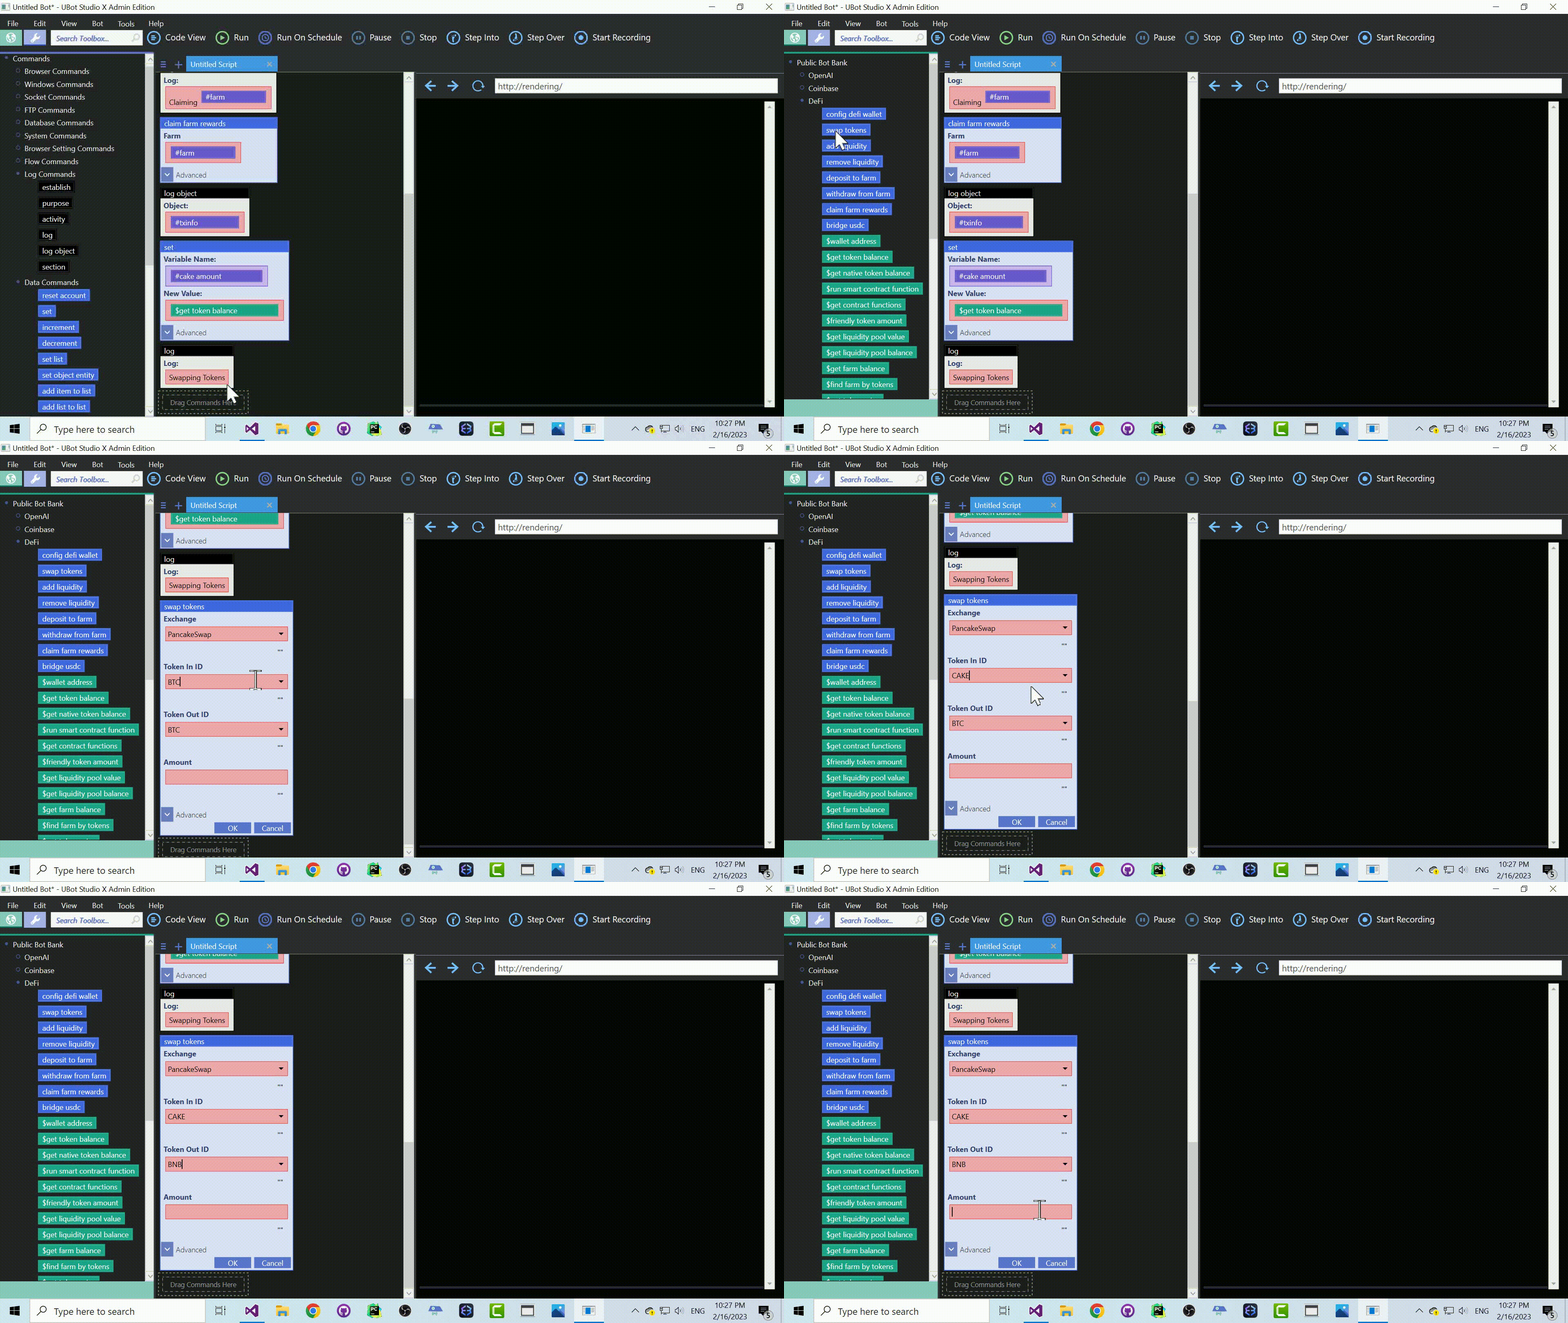
Now, let’s swap some tokens. To figure out how much we got in rewards, we need to check our balance. We’ll drag over the set command to set a variable, and name it #cake amount. For the value, we’ll use the $get token balance function to get our current balance of CAKE tokens.

Next, we’ll use the swap tokens command to swap half of our CAKE tokens for BNB, and the other half for DOGE. We’ll log our result after each swap.

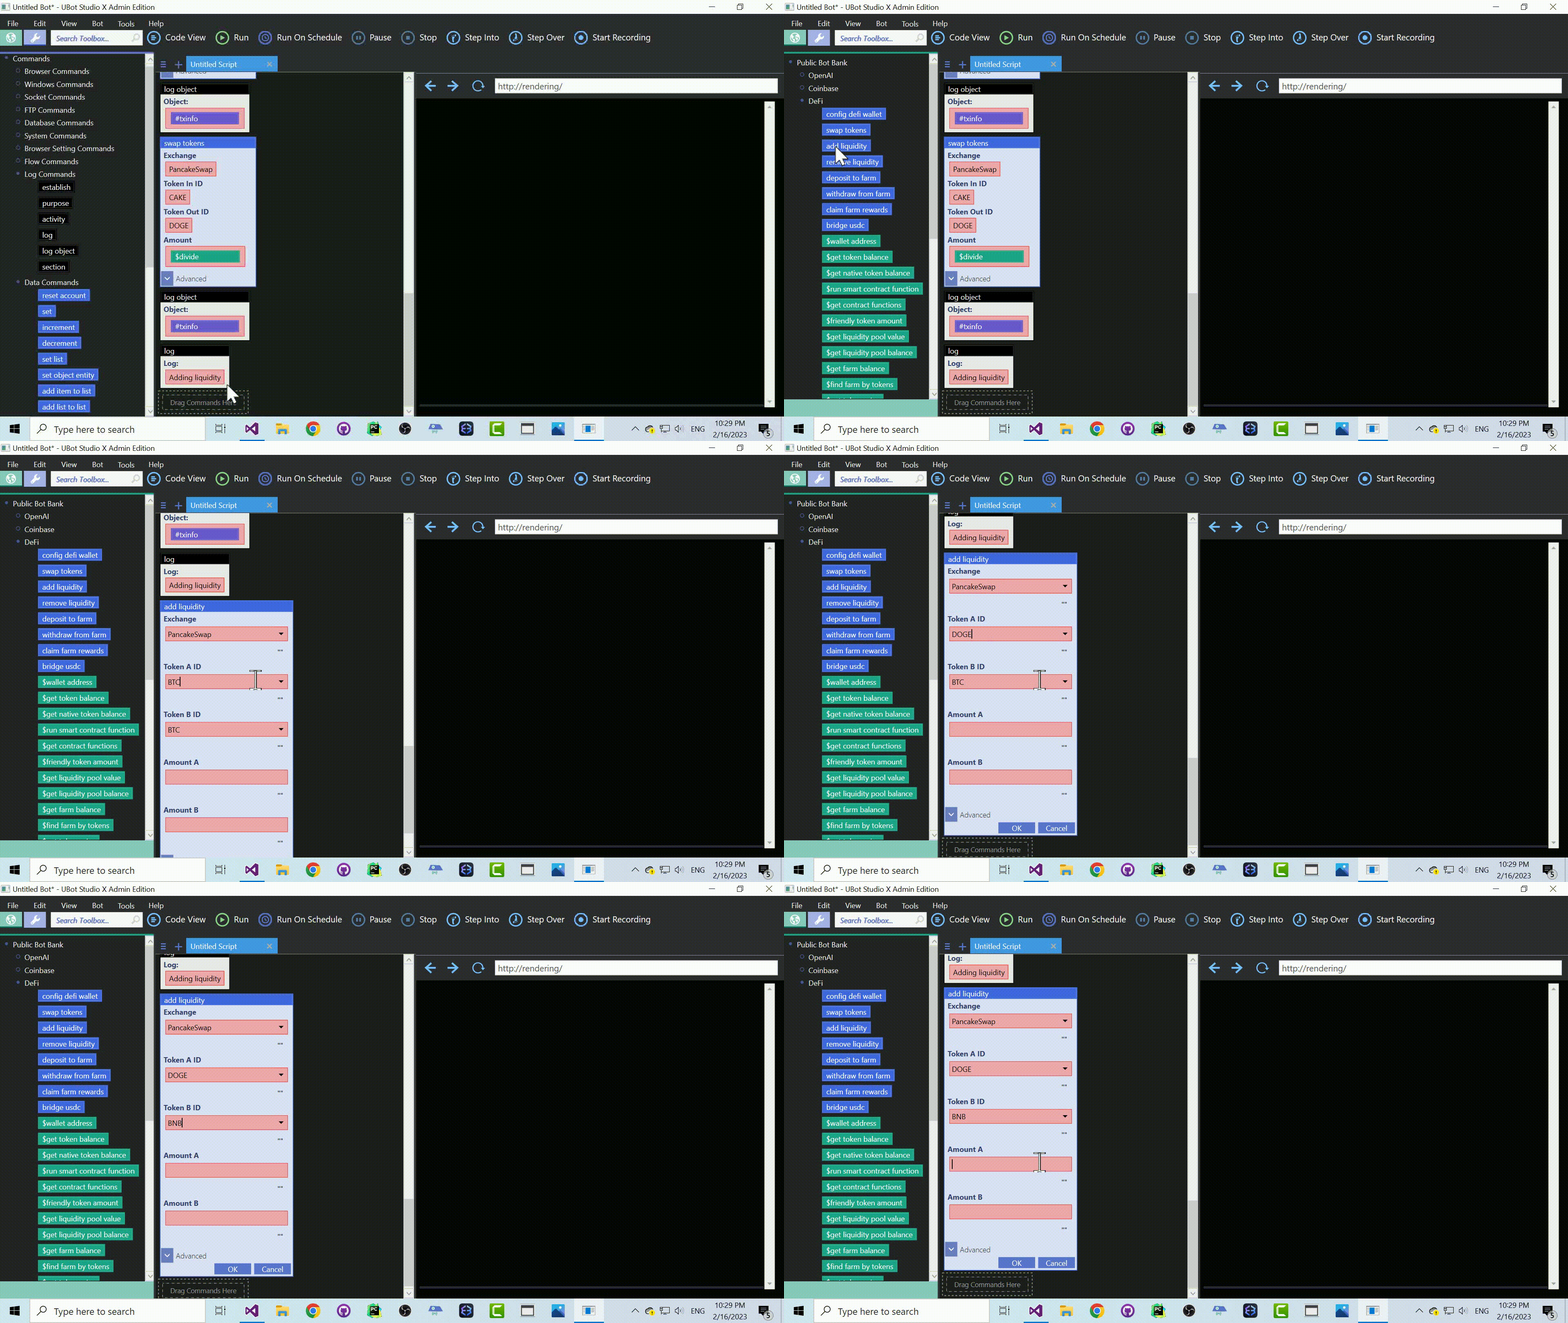
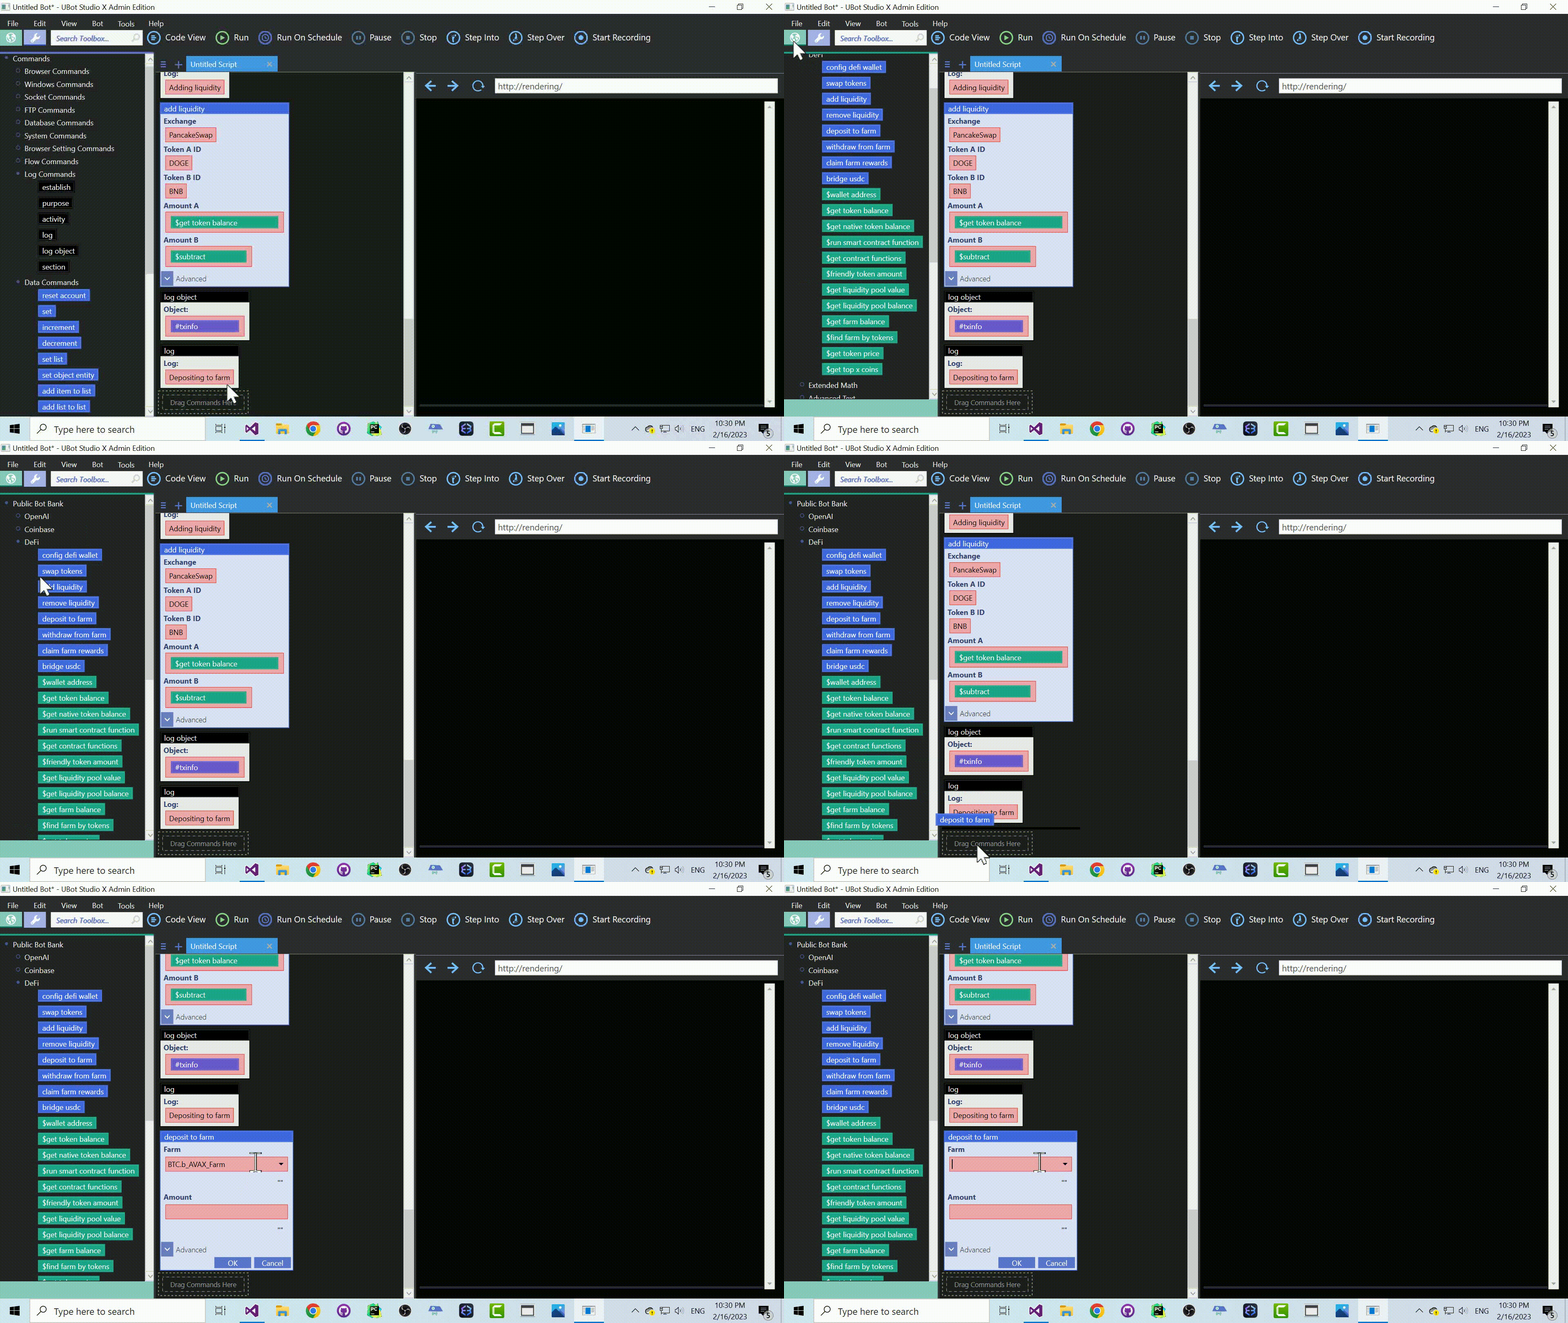
Now, we’re ready to add liquidity back into our pool. We’ll use the add liquidity command to provide liquidity for the DOGE-BNB pool on PancakeSwap. We’ll use our entire balance of DOGE tokens, but subtract 0.01 BNB from our native token balance to leave a small amount for gas fees.

Finally, we’ll deposit our liquidity into the farm. We’ll use the deposit to farm command, and use the #farm variable to specify which farm to deposit into. The $get liquidity pool balance function will get our current balance of liquidity tokens. We’ll log our result after the deposit.

And that’s it! Now we can automatically compound all of our earnings, and start seeing some sweet exponential returns. This is the good stuff, where smart crypto investors really start making money.

Here’s the code from this post:

ui console view
config defi wallet("YOUR_PRIVATE_KEY")
set(#farm,$find farm by tokens("PancakeSwap","DOGE","BNB"),"Local")
log("Claiming {#farm}")
claim farm rewards(#farm,#txinfo)
log object(#txinfo)
set(#cake amount,$get token balance("BinanceSmartChain","CAKE"),"Local")
log("Swapping Tokens")
swap tokens("PancakeSwap","CAKE","BNB",$divide(#cake amount,2),#txinfo)
log object(#txinfo)
swap tokens("PancakeSwap","CAKE","DOGE",$divide(#cake amount,2),#txinfo)
log object(#txinfo)
log("Adding liquidity")
add liquidity("PancakeSwap","DOGE","BNB",$get token balance("BinanceSmartChain","DOGE"),$subtract($get native token balance("BinanceSmartChain"),.01),#txinfo)
log object(#txinfo)
log("Depositing to farm")
deposit to farm(#farm,$get liquidity pool balance("PancakeSwap","DOGE","BNB"),#txinfo)
log object(#txinfo)

Become a DeFi Power User with Automated Yield Farming

Plant seeds in liquidity farms, and watch your wealth grow like a flourishing garden, ripe for the harvest of your dreams.

In this post, we’ll take you step-by-step through the creation of a powerful bot that can help you swap tokens, add liquidity to a pool, and deposit to a farm, all fully automated using UBot Studio. So, let’s get started!

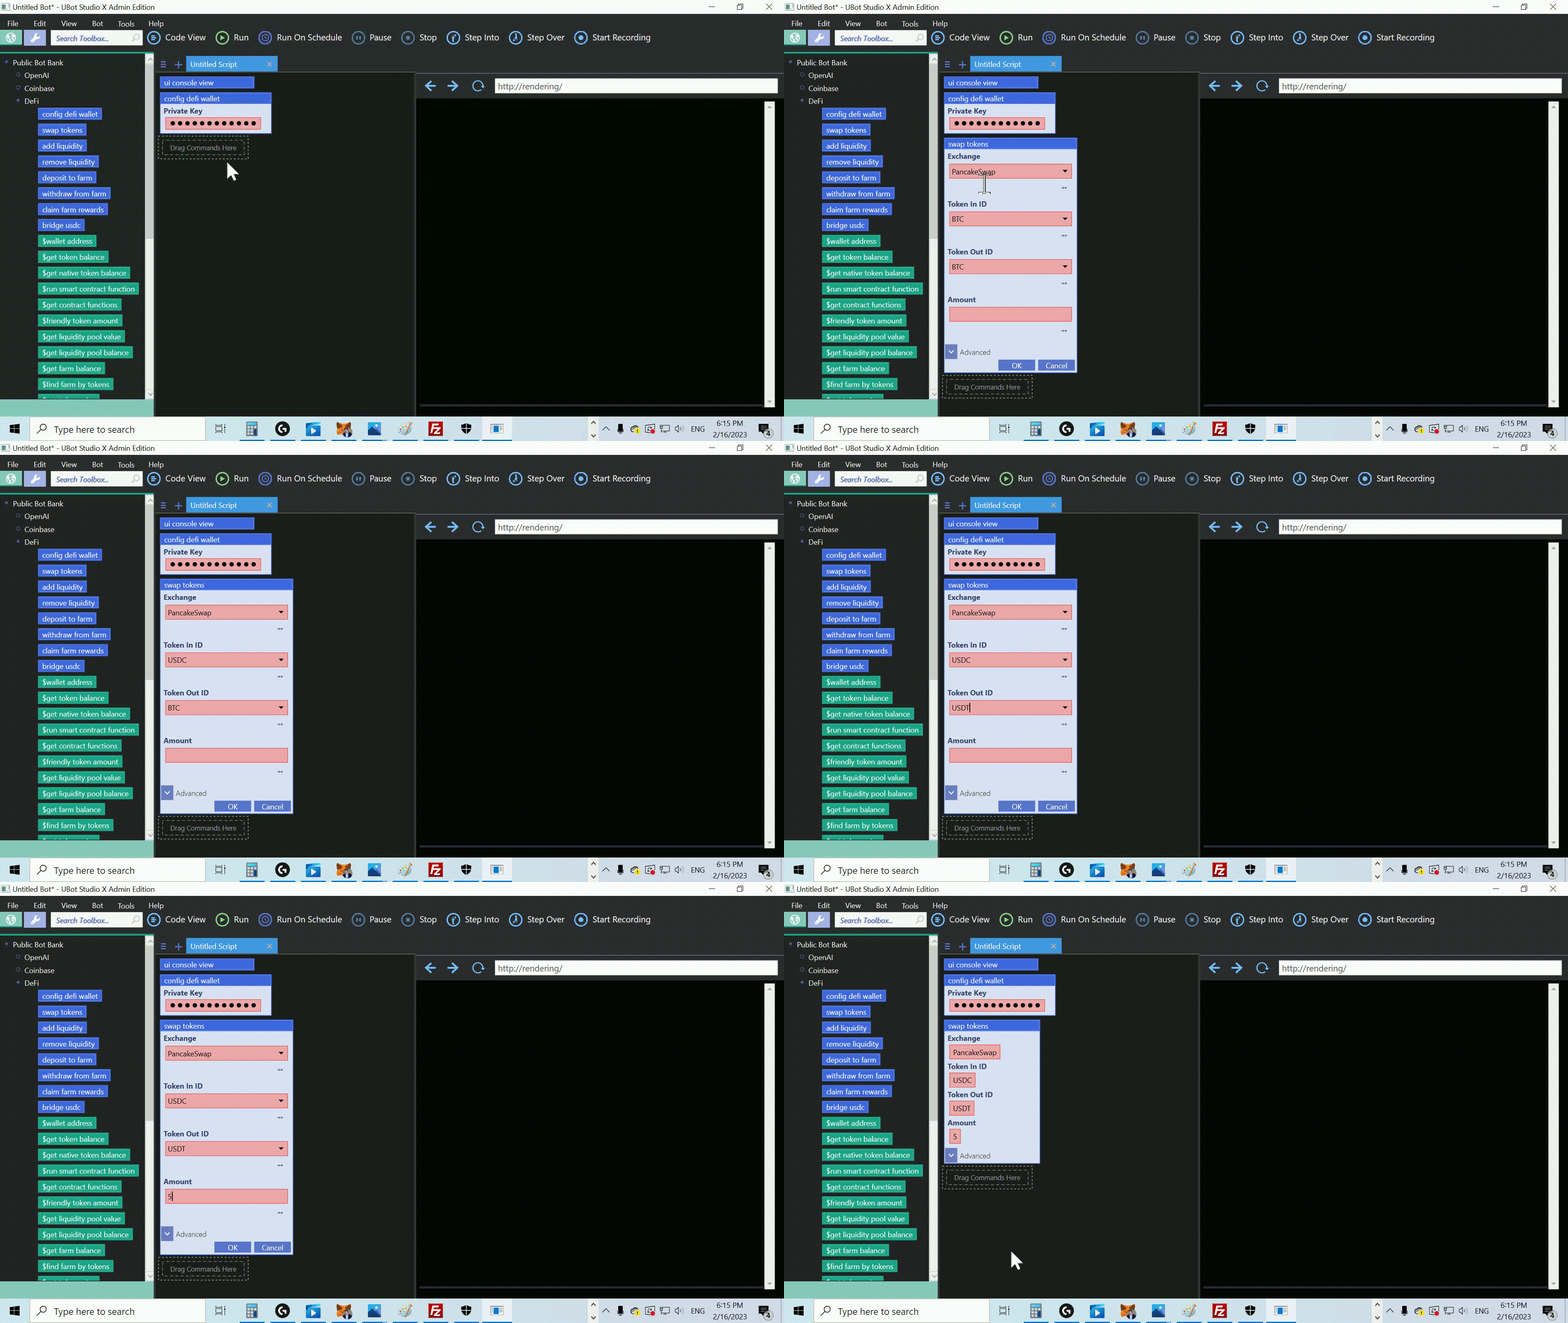
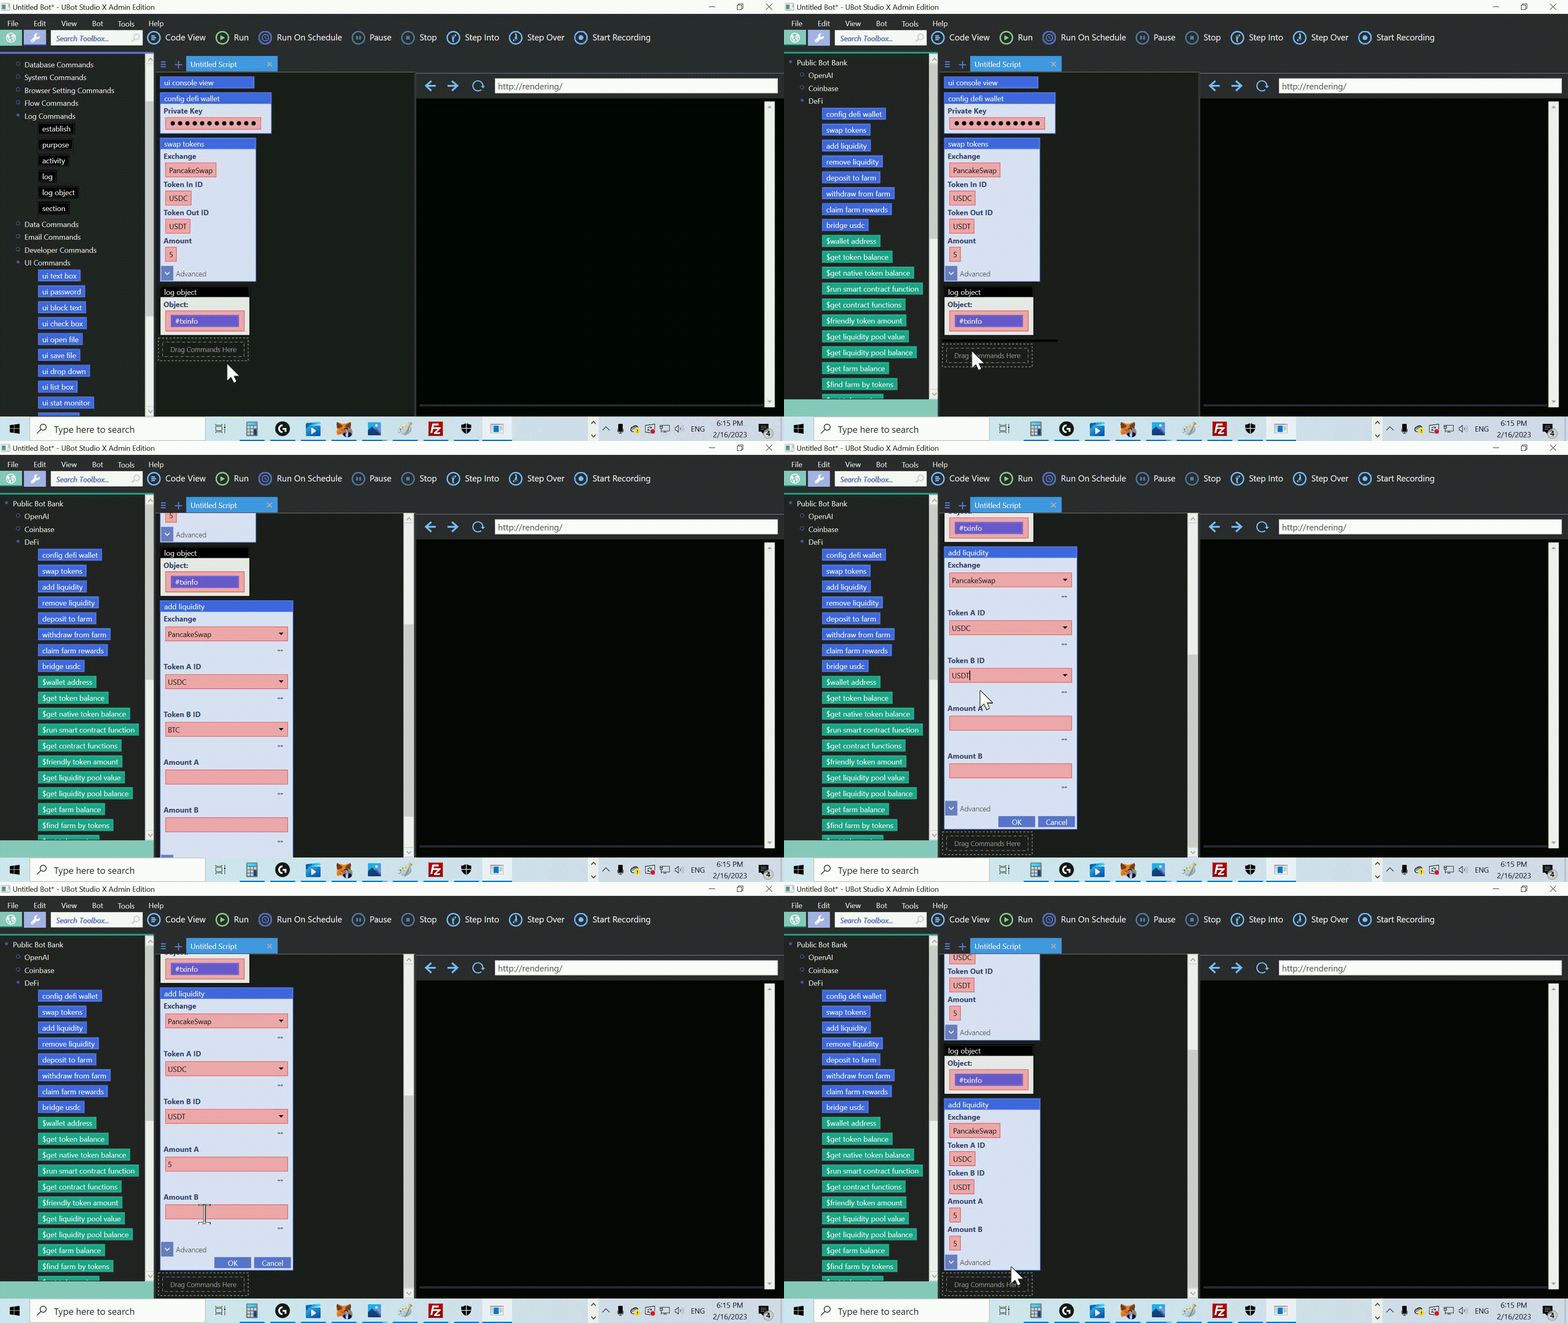
We’ll start out by dragging the ui console view command. This command will change the UBot browser into a console interface, where we can see the output of our bot’s actions.

Next, we’ll drag the config defi wallet command. This function is used to configure our wallet for use with DeFi protocols. The Private key will be your wallet private key, which you can get from MetaMask.

Now that our wallet is set up, we need to get the two tokens for this liquidity pool. We can do that with the swap tokens command. Our exchange will be “PancakeSwap”. We’ll set Token In ID to “USDC”, and Token Out ID to USDT. For the amount, we’ll put 5.

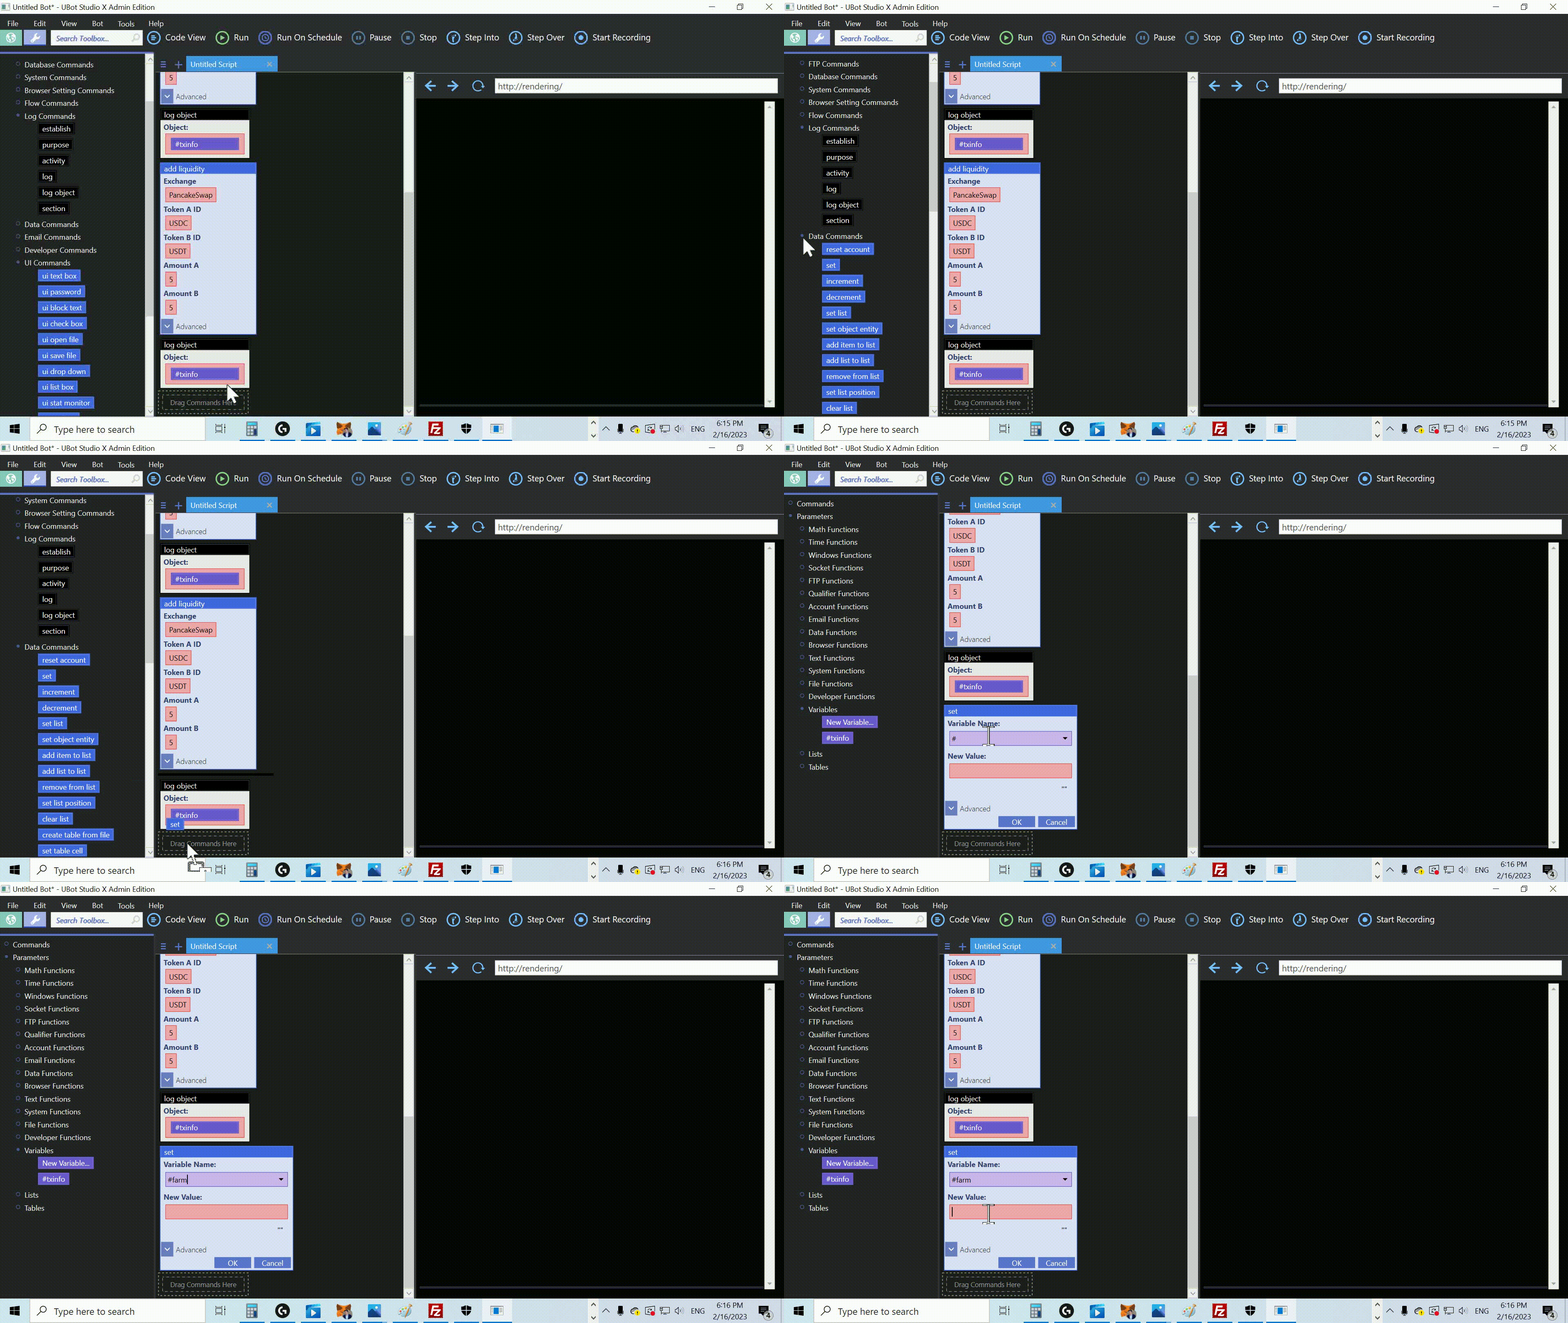
After every transaction, we want to be sure to log our result, which is stored in the #txinfo variable.

Once we have swapped the tokens, we can add them to the liquidity pool using the add liquidity command. This command allows us to provide liquidity for the exchange, and earn rewards for doing so. We’ll use “PancakeSwap” as our exchange, and set “USDC” as Token A and “USDT” as Token B. We’ll provide 5 of each token to the pool.

And once again we’ll log our result.

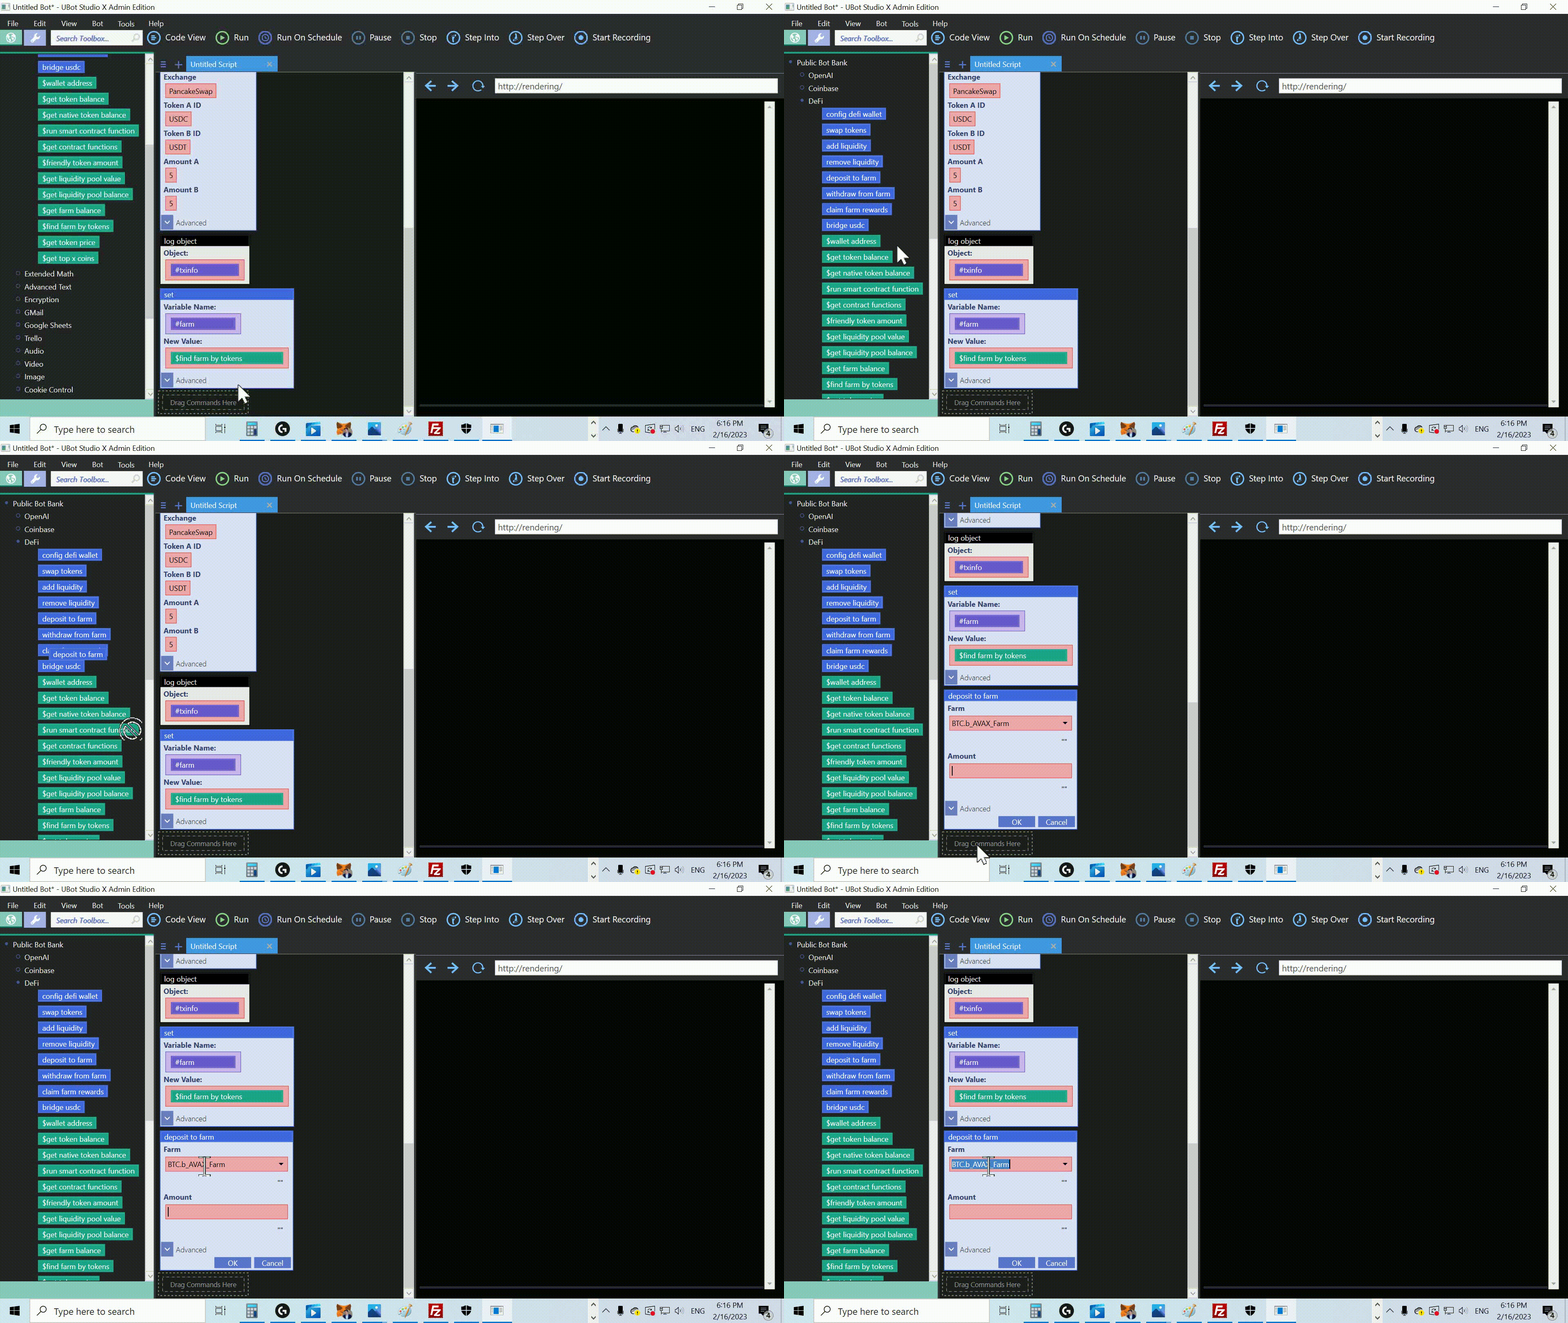
For adding liquidity, we get LP tokens that represent our share of the liquidity pool. We can boost our earnings even more by staking those LP tokens in a liquidity farm (or “yield farm”). But first, we need to find a farm to stake our tokens into. So let’s drag over the set command to set a variable. We’ll name it #farm, and for the value, we’ll drag over our $find farm by tokens function.

For our function, we’ll use “PancakeSwap” as our exchange, “USDC” as Token A and “USDT” as Token B.

Finally, we’ll deposit our liquidity into the farm using the deposit to farm command. We’ll use the #farm variable to specify which farm to deposit into, and use the $get liquidity pool balance command to get our current balance of liquidity tokens, so that we can deposit all of them.

And one last time, let’s log our result.

And that’s it! We’ve successfully created a bot that can swap tokens, add liquidity to a pool, and deposit to a farm, all fully automated using UBot Studio. With this powerful tool at our disposal, we can start participating in the world of DeFi and earning rewards for our investments.

Here’s the code:

ui console view
config defi wallet("YOUR_API_KEY")
swap tokens("PancakeSwap","USDC","USDT",5,#txinfo)
log object(#txinfo)
add liquidity("PancakeSwap","USDC","USDT",5,5,#txinfo)
log object(#txinfo)
set(#farm,$find farm by tokens("PancakeSwap","USDC","USDT"),"Local")
deposit to farm(#farm,$get liquidity pool balance("PancakeSwap","USDC","USDT"),#txinfo)
log object(#txinfo)

Dollar Cost Averaging Bot for DeFi

This is a quick video that build on our previous DCA bot. Instead of using Coinbase, this bot will do everything on decentralized exchanges.

Here’s the code. Remember to put your key into config defi wallet to make everything work.

ui console view
define purchase crypto {
    config defi wallet("")
    set list(%coins,$list from object($get top x coins(10)),"Local")
    with each(%coins,#coin) {
        set(#symbol,$change text casing($object entity(#coin,"symbol"),"Upper Case"),"Local")
        if($is eligible(#symbol)) {
            then {
                log("Purchasing: {#symbol}")
                swap tokens("PancakeSwap","USDC",#symbol,16.67,#txinfo)
                log(#txinfo)
                wait(1)
            }
            else {
            }
        }
    }
}
define $is eligible(#coin name) {
    return($not($contains("USDT,USDC,BUSD",#coin name)))
}
purchase crypto()