If we think about a uBot as an autonomous internet robot employee, then Ubot Studio’s user interface is how we communicate with it, and how we tell it what to do. UBot Studio’s interface was designed around the user, to make it as easy as possible to teach bots what to do quickly.
Today, we’re going to focus on the features that you’ll be using the most. First, UBot Studio is centered on a built-in web browser.
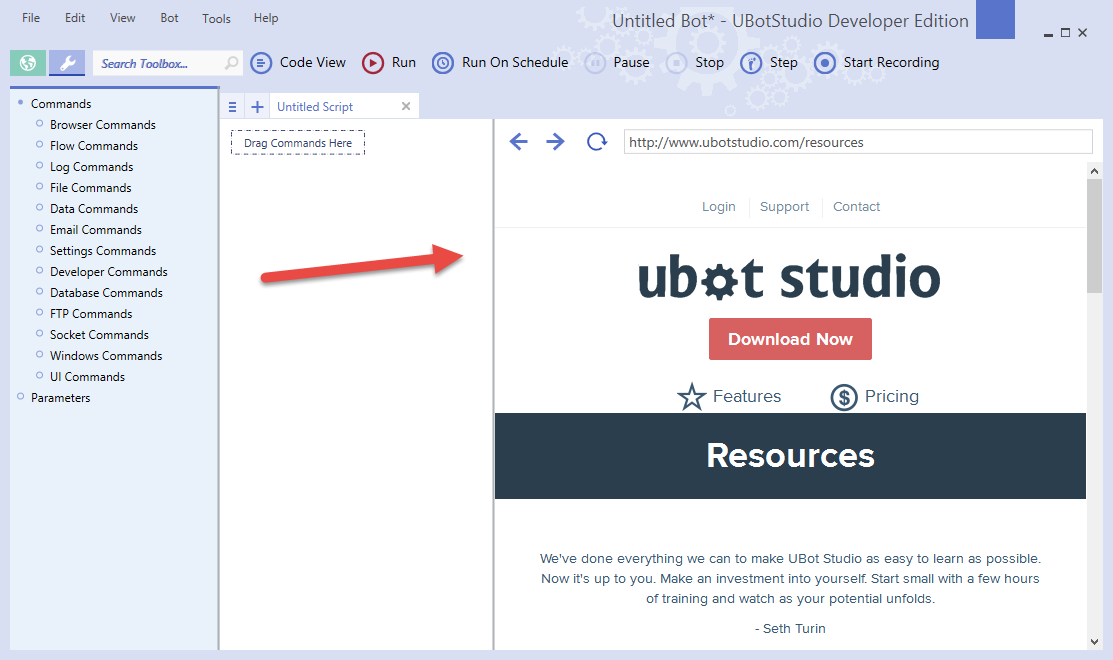
But this is no ordinary web browser. The UBot Browser is a powerful tool that let’s you interact directly with web pages to teach a bot what it’s supposed to do. It’s also hard-wired with artificial intelligence that predicts what you’re trying to do, which saves you from a lot of the configuration work that other botting tools make you do.
Next, let’s take a look at our toolbar:
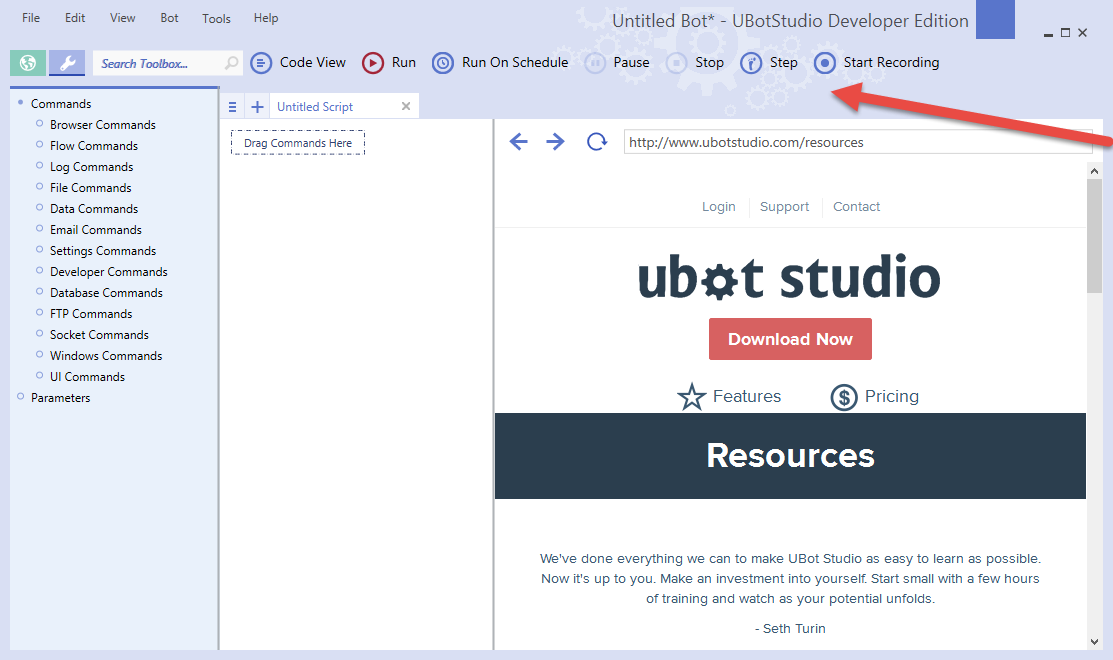
The run button will run the commands in a script, one by one. When a script is running, you’ll have the option to pause or stop it via the pause and stop buttons. The step button allows you to play through your script one command at a time, pausing after each command is complete.
The “Start Recording” button allows you to show UBot what to do instead of telling it. We’ll get to that in a future tutorial. Depending on which version you own, your toolbar may also have “Code View” and “Start On Schedule”. We will cover these later as well.
A script is a list of commands that are executed one after another. These commands often are for controlling the web browser, but they can do a great number of other things as well, including complex logic control. Scripts in UBot Studio are created visually, without the need for coding, in the Visual Scripting Editor:
The toolbox stores all the commands you’ll need for scripting, along with functions, variables, and all the other basic building blocks of uBots.
We call these basic building blocks “nodes”. Node types include Commands, Functions, Variables, Lists, and Tables. We’ll go into greater detail about each of these in a later tutorial. For now, find a command that captures your interest and drag it into the script editor.
Go ahead and try it a few times, with different nodes. Move them around, get a feel for them, but don’t run your script just yet. When you’re finished, delete each node you created but selecting it and pressing the delete key.
You can also create nodes by interacting directly with the browser:
When we dragged the button into the script editor, UBot Studio automagically figured out which button we were looking at, and filled in the appropriate information for us. Why don’t you give it a try for yourself with the following button:
Sometimes, UBot Studio will need more information from us about how to interact with an element. For example:
By dragging a textbox into the script editor, I’ve created a node telling that web browser I want it to type something. I entered “Seth” into the username field. Here’s a text field for you to try it with. Feel free to have it type whatever you’d like.
Let’s run our script and see what happens. Click the run button on the toolbar:
Besides the toolbox and direct browser interaction, there’s one more place we can find nodes – the Bot Bank:
The bot bank is a collection of many diverse and advanced nodes. If you are a new user, you get 3 months of free access to the Bot Bank. After that, you can continue your access for $9/mo.
Thus concludes our quick overview of UBot Studio’s UI! There are more goodies hiding out here and there, but this lesson has demonstrated everything you’ll need to get started making powerful web bots. Play around with it, have fun, and I’ll see you next time!
Happy botting!