Sell your products
I’d like to sell my products. How do I do it?
So you’ve got a bot or a plugin and you’d like the massive UBot Studio traffic that putting it in the Network Store will get you? Perfect. In about five minutes you’ll be ready to go.
(Oh, and if you want to advertise with us, or do a joint venture, just click here and explain what you’re interested in.)
First, make sure you’ve got an account either on the network or the forum.
I already have an account on the forum!
If you already have an account on the forum, the UBot Underground, then you’ll just need to visit network.ubotstudio.com/store and you should already be logged in.
(If you aren’t logged in already, clear your *ubotstudio.com cookies, then log into the forum one more time.)
I need to create an account!
Create an account on the store by visiting the registration link.
I’m a vendor! What next?
Visit your vendor page by clicking vendor login under the “My Account” tab.
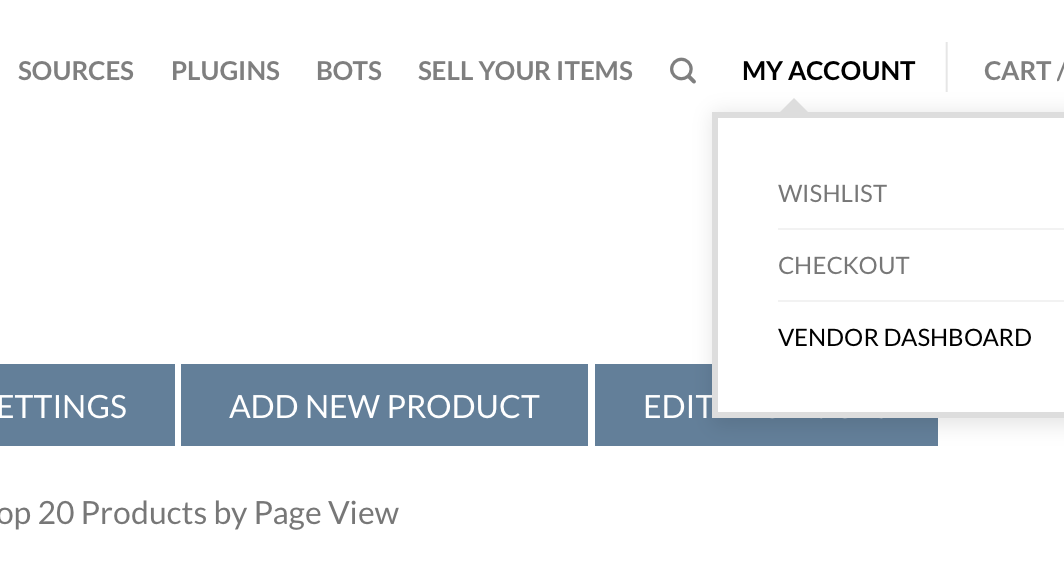
You’ll be taken to your Vendor Dashboard, where you can view stats about your products, add new ones, and update your store information.
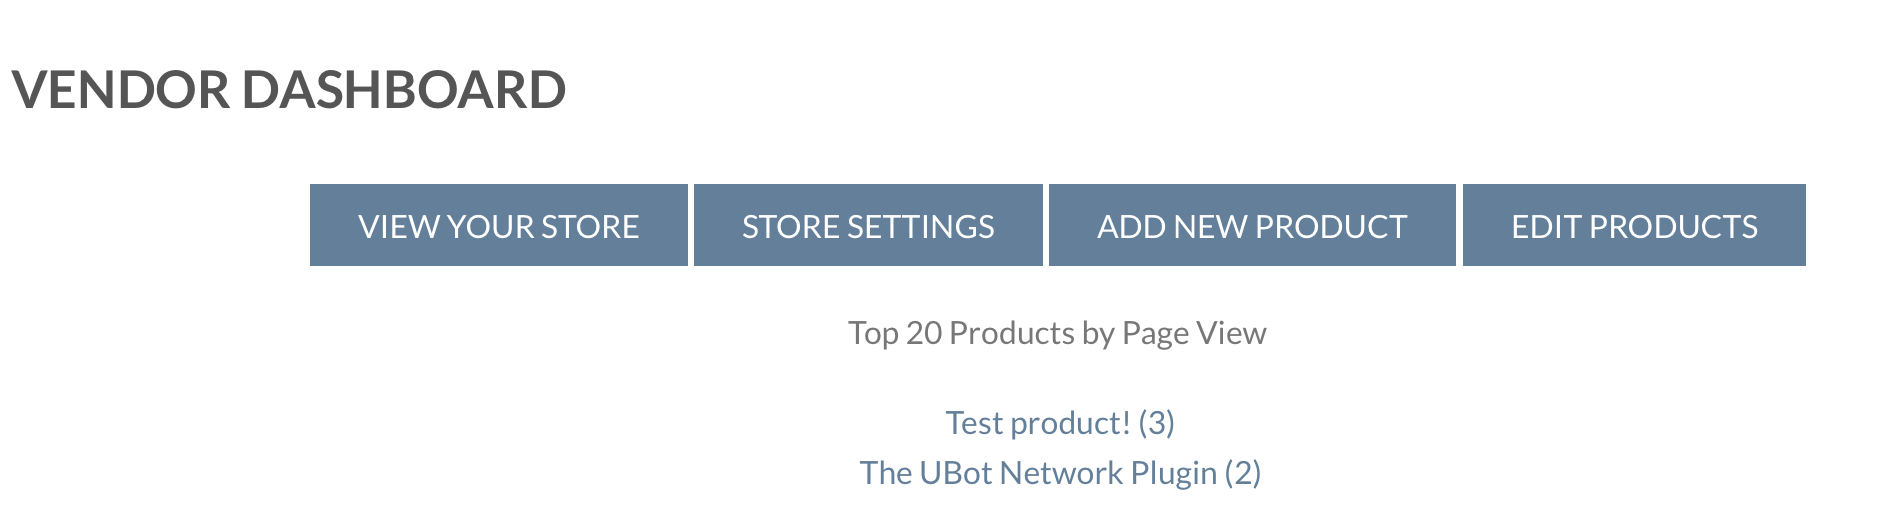
Now click “Add New Product”.
Now comes the fun stuff. Name your product and then build your sales page for it just like you normally would using WordPress.
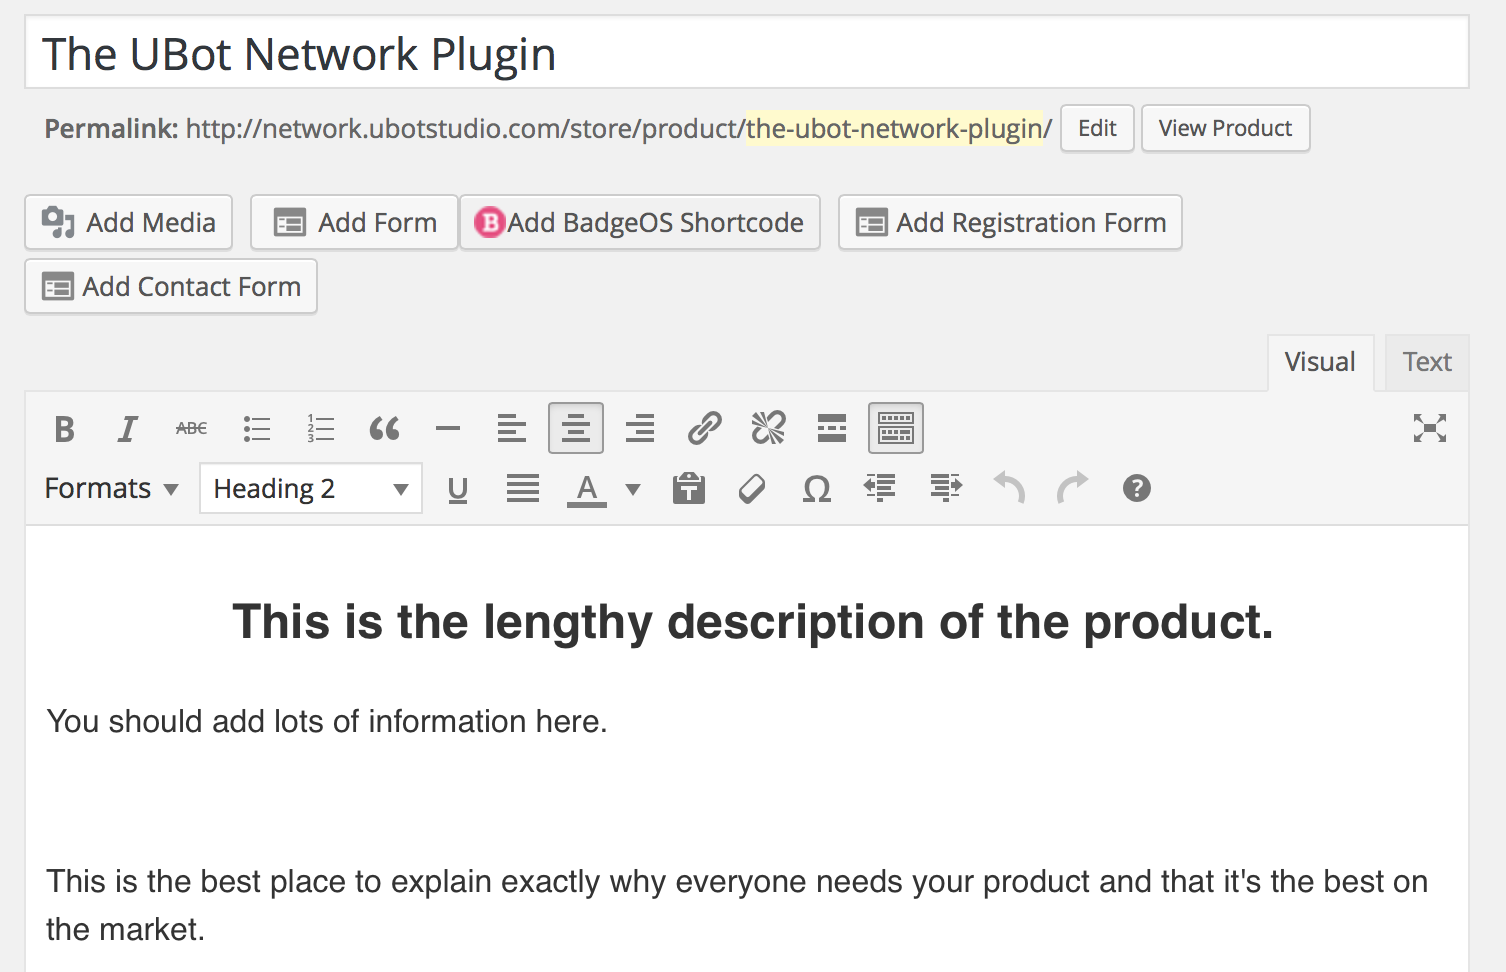
This long description is your main sales page. Be as descriptive as possible. Use plenty of pictures, testimonials, etc.
You also get to add a shorter description. This shows up on category pages, search results, and inside your shop. Make this brief and punchy!
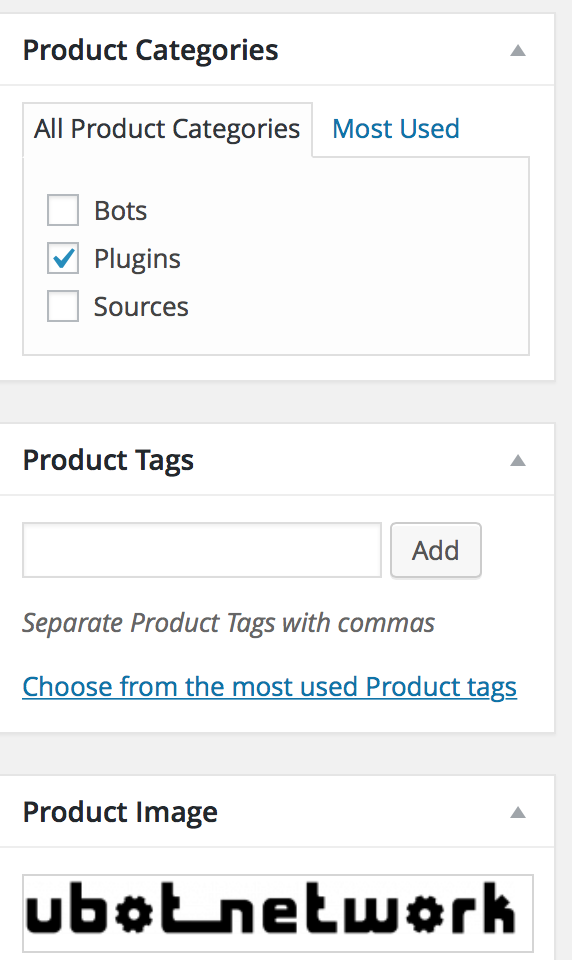
On the sidebar, choose your category. (Product doesn’t fit in our categories? Contact us and let us know!)
Then you’ll want to add a Product Image. Click the “Set product image” link on the right side of the screen and upload an image of your product.
(Tip: Use a high quality image that will help your product look professional. For examples, you may want to visit other Digital Download Stores. Like these:)
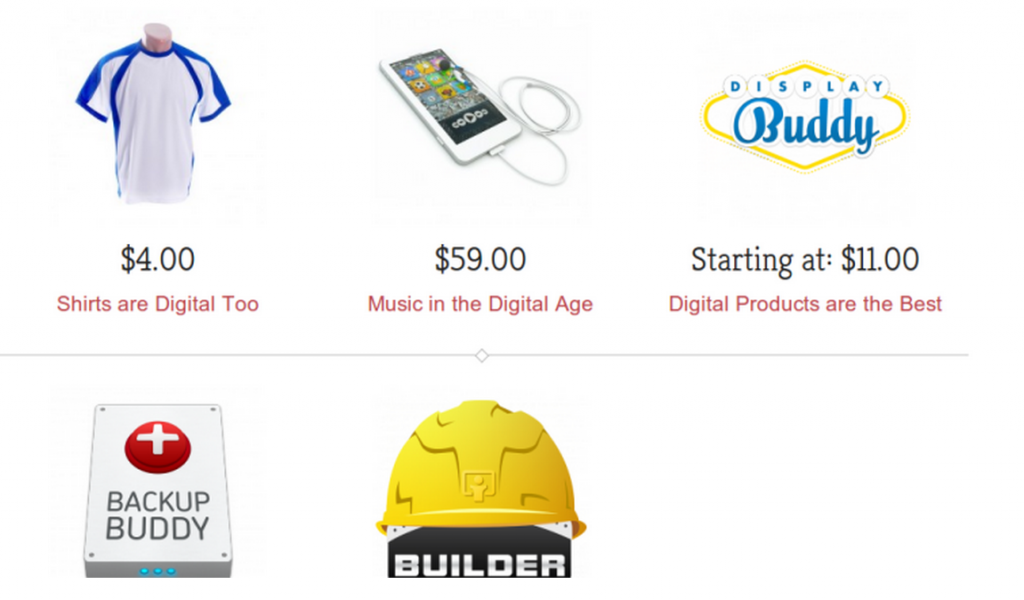
The Easy Digital Downloads theme Thrifty has some good example images.
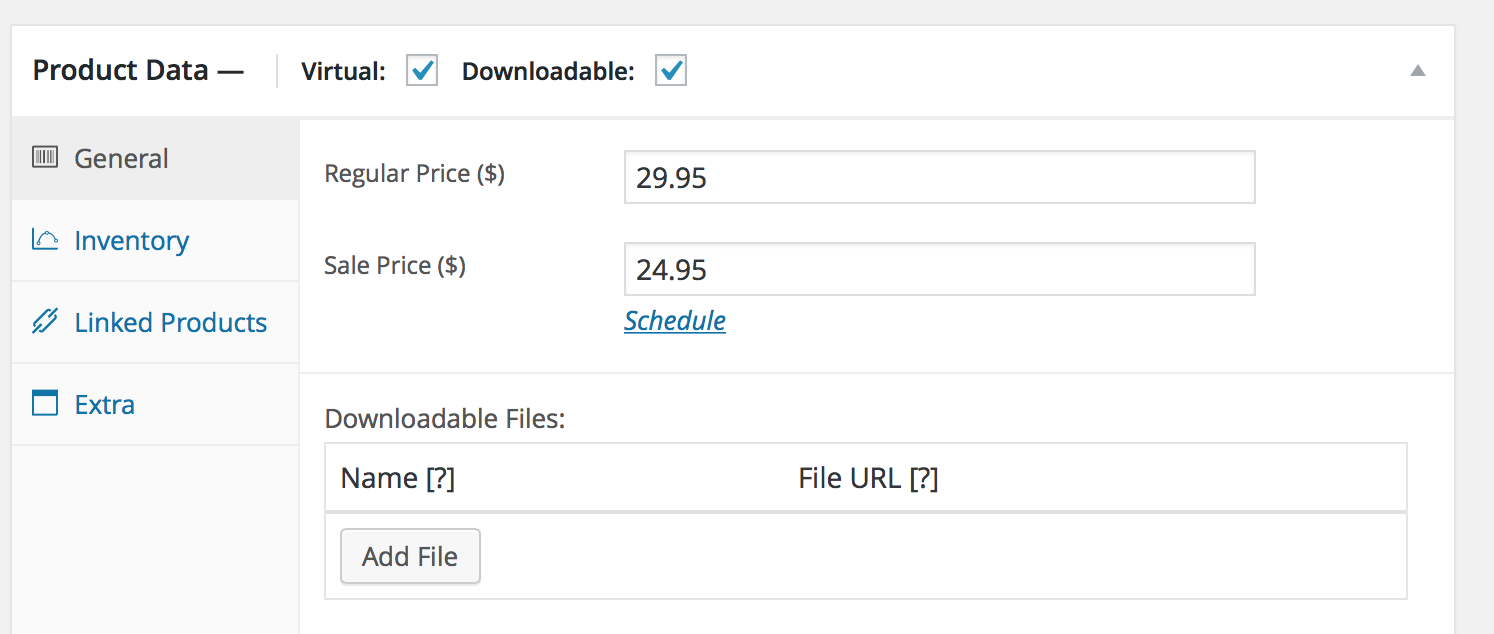
Lastly, list all the details about how to get your file. With the UBot Network Store, we’ll handle the transaction completely for you.
- Check the boxes marked “Virtual” and “Downloadable.”
- Have your own checkout system? If you’d like to link to a product outside of the Store, that’s fine. Follow the instructions at the bottom of the page.
- Enter the Regular Price of your product and a Sales Price and schedule for the sale (if desired).
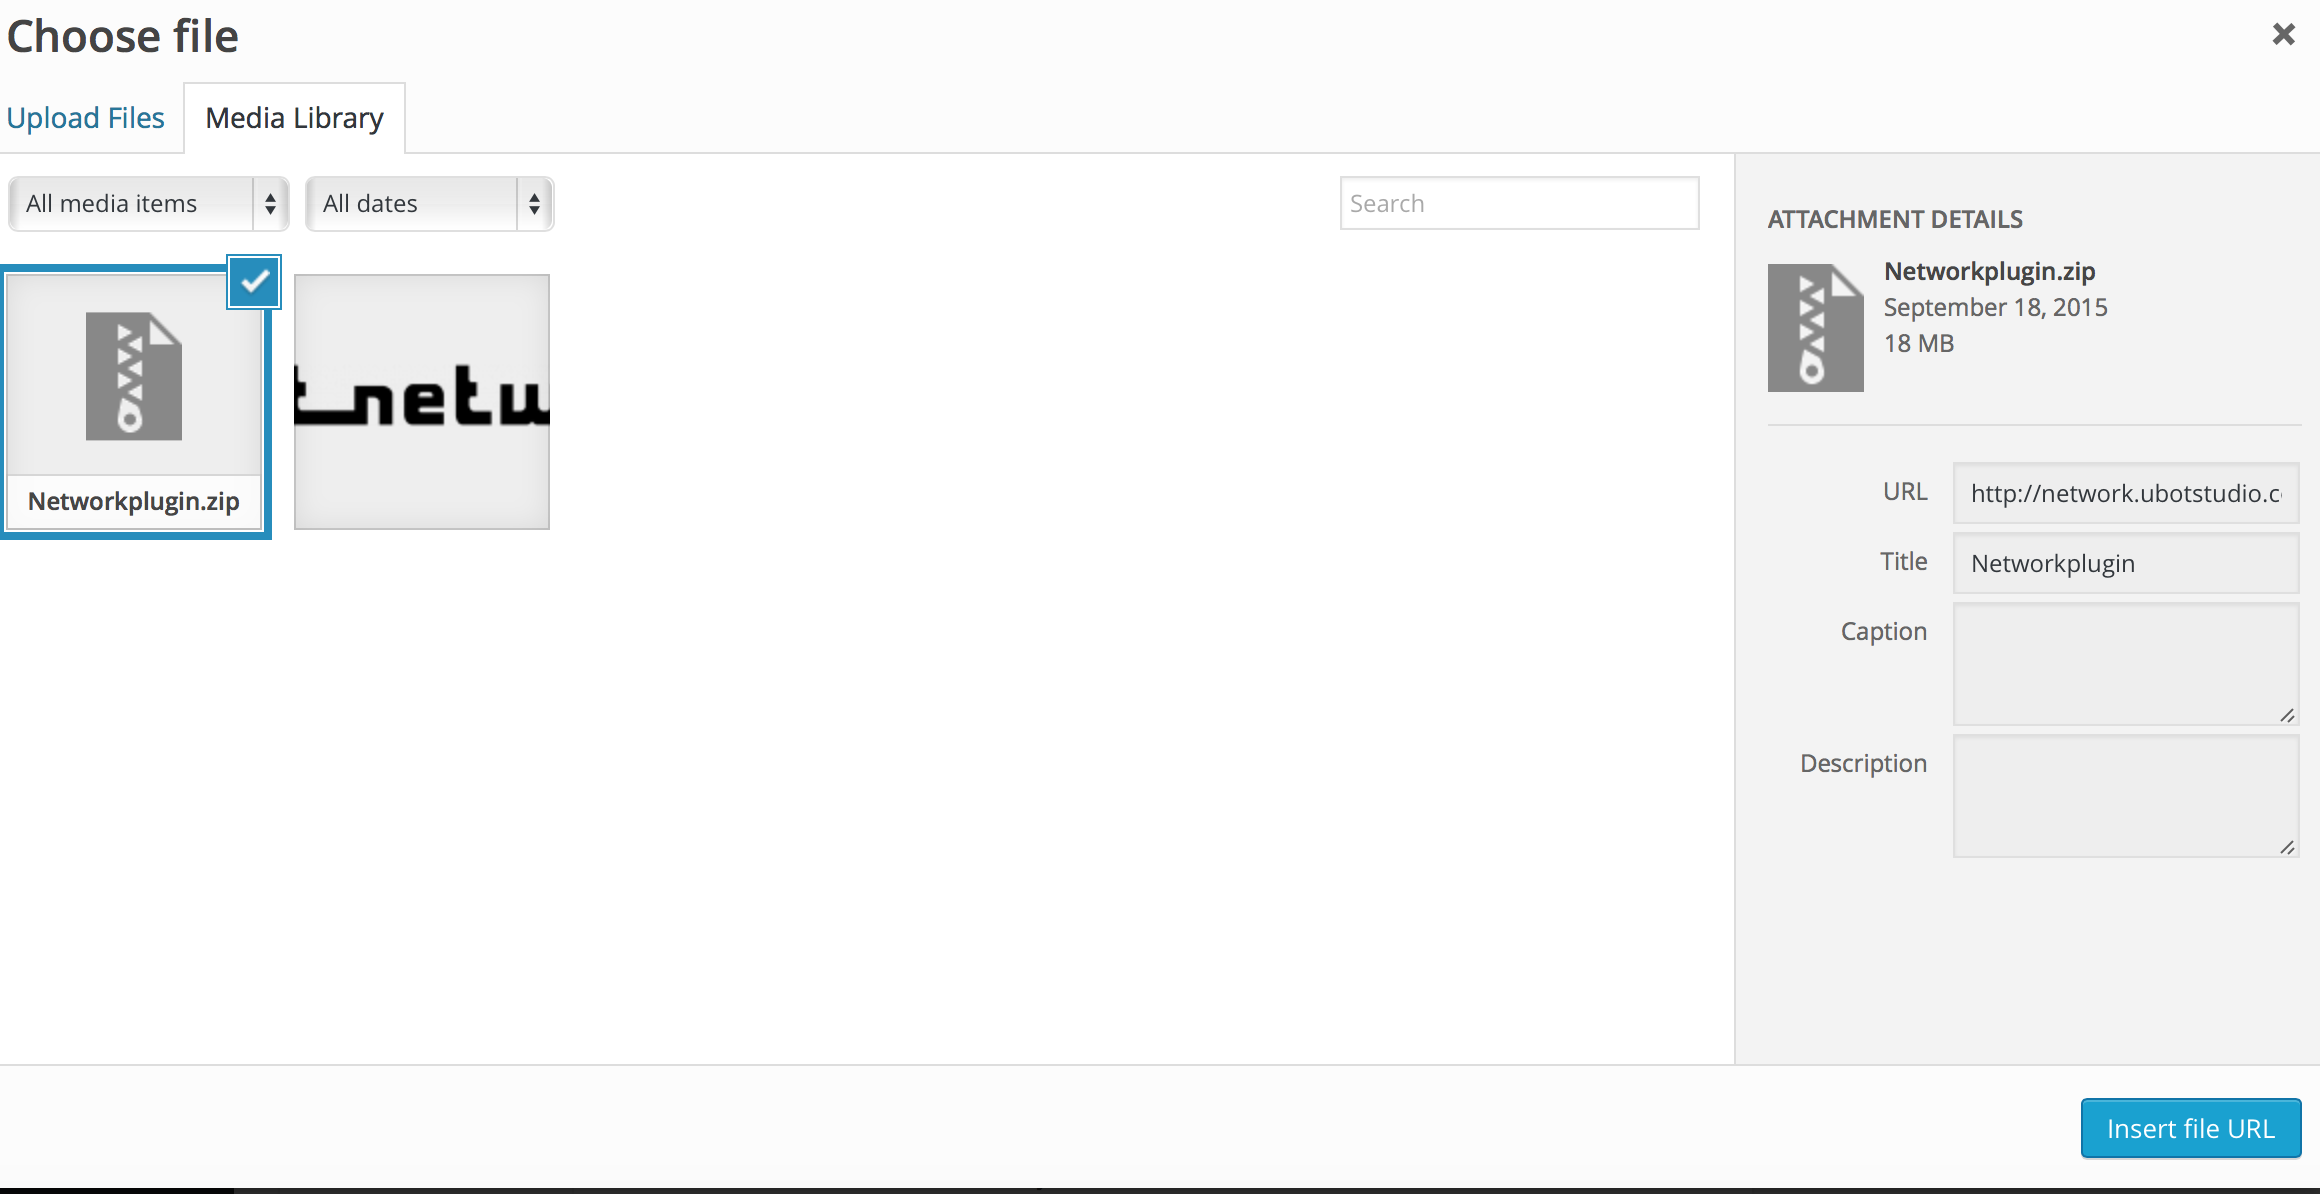
- Add the file you’d like users to receive once they purchase. We recommend using either an installation file (.exe) or a .zip that includes the .ubot file, .exe, or plugin and a well-documented Readme.
You’ll need to click “Add File” and choose the file you want to upload. You don’t need to give any additional information about the file, simply choose it and upload it in the uploader.
Some other options:
- Inventory to limit the number of products available. The number remaining will display on the product page.
- Add linked products to up-sell, cross-sell, and group together.
That’s it!
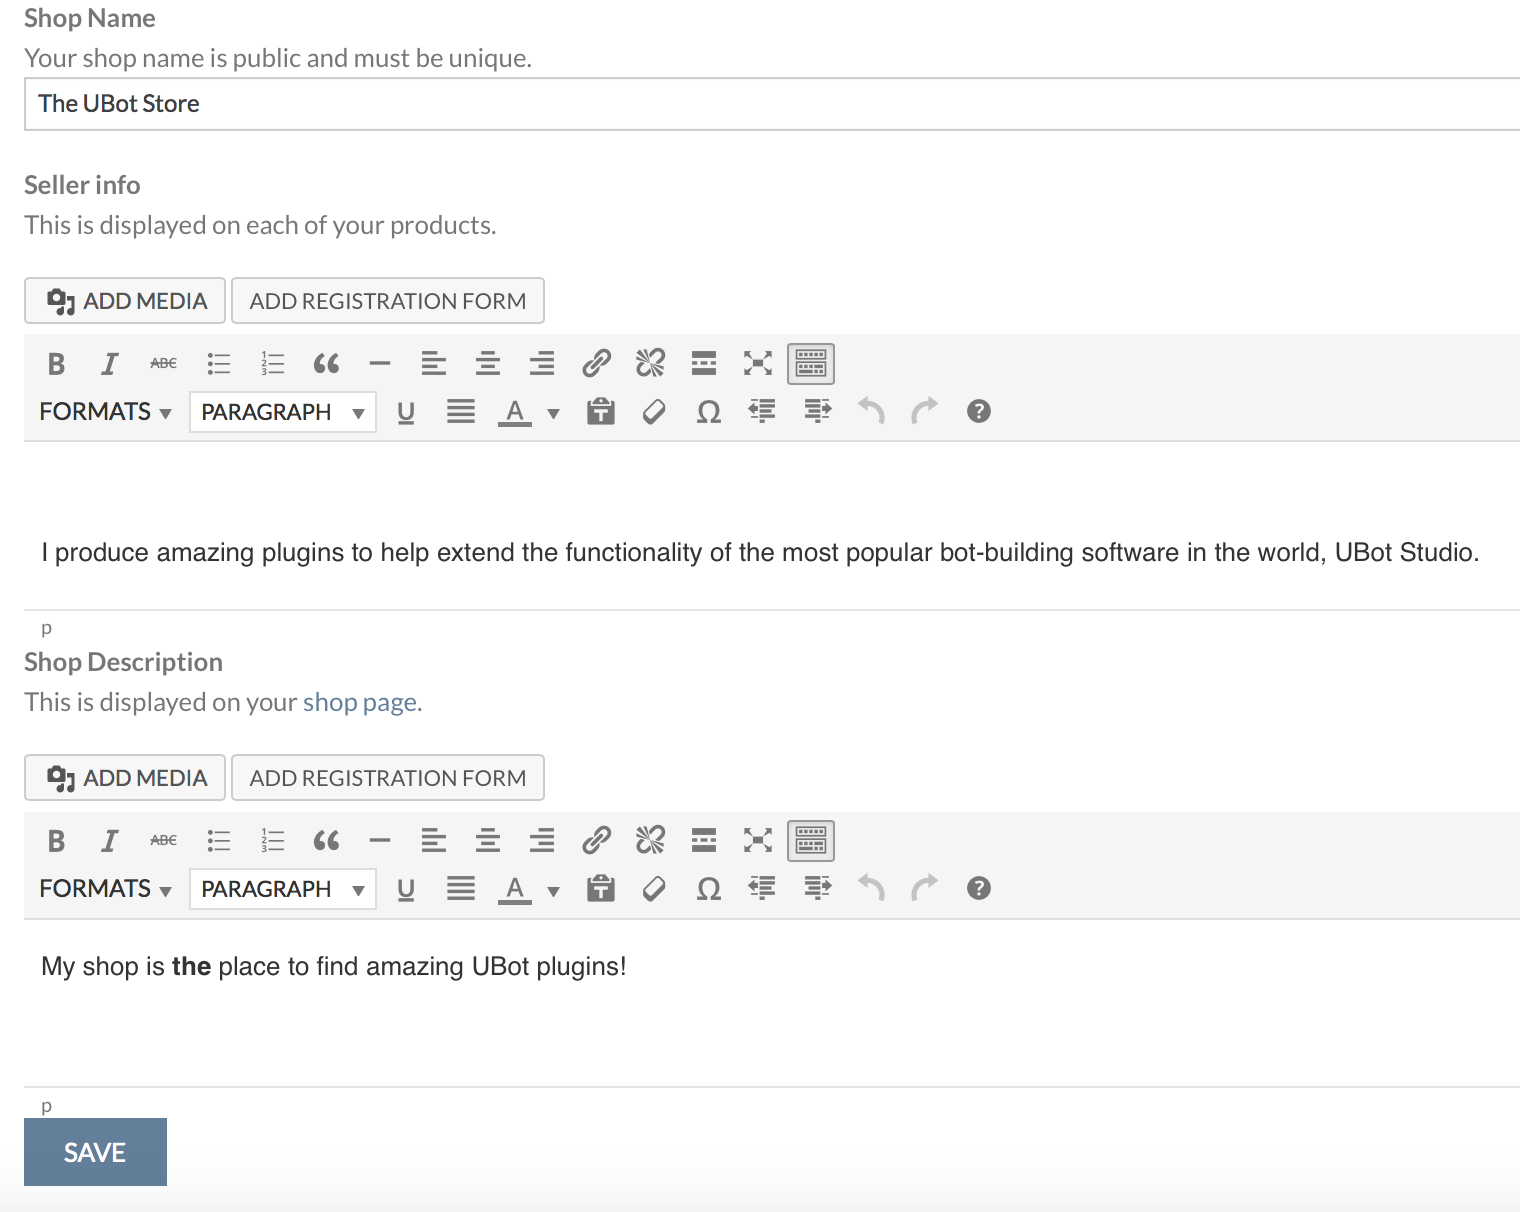
Oh, before you sell, don’t forget to explain to buyers more about you and your store in your Vendor Settings.
I’d like to link to my product OUTSIDE of the Store. Is this possible?
Yes! Just follow these instructions: